


RASFinder RF300E/RF310E User Guide
RF300E/RF310E80
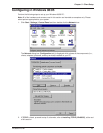
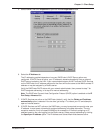
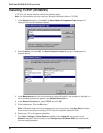
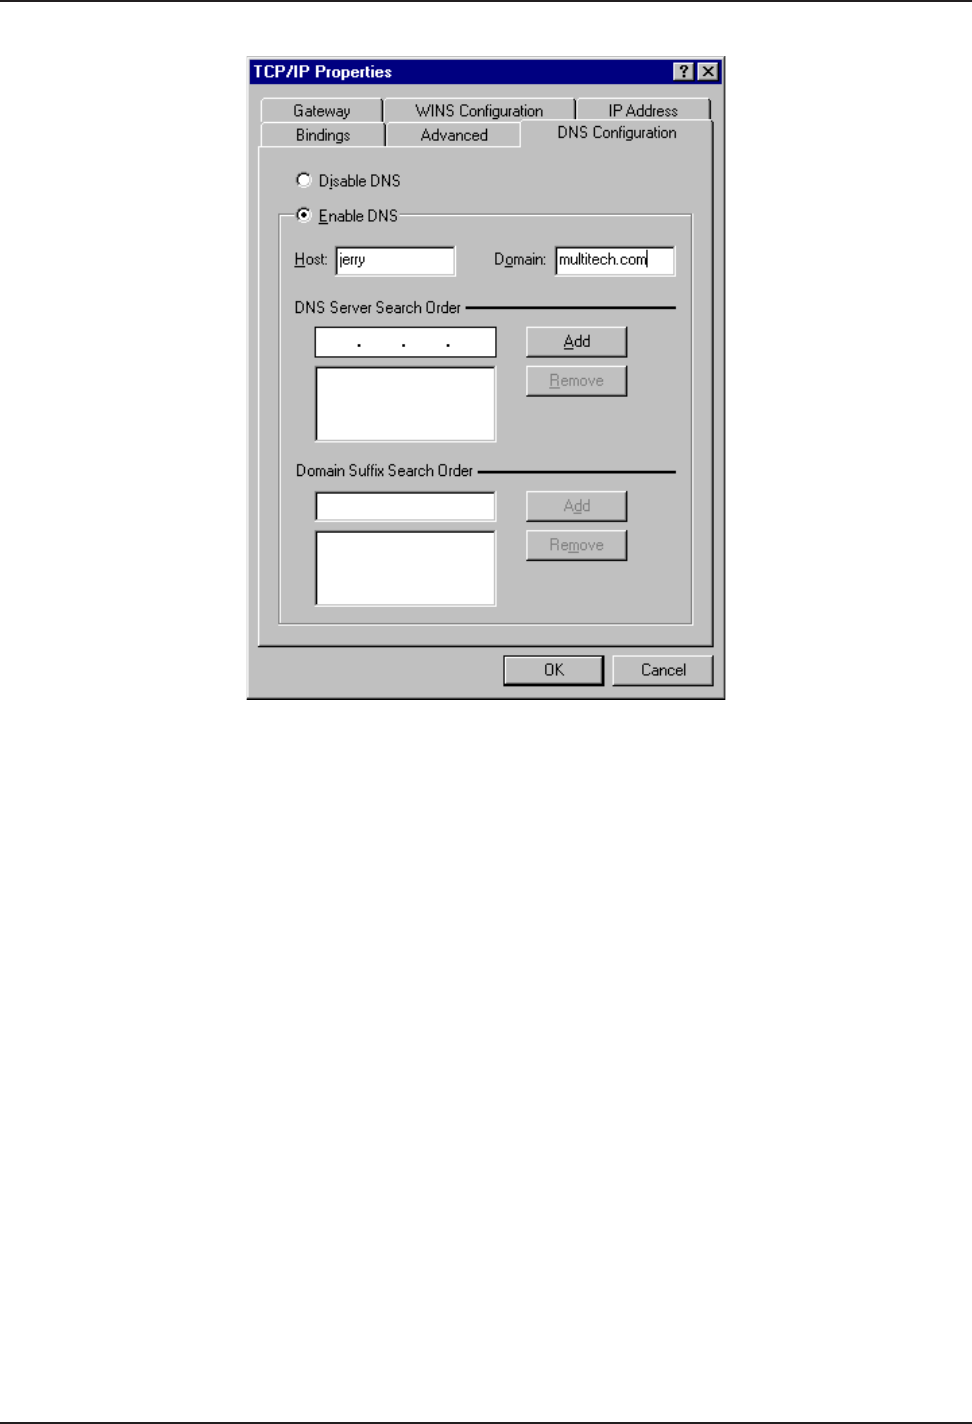
12. Click the DNS Configuration tab. Verify that Enable DNS is selected (checked).
13. In the Host field, enter your user name (e.g., jerry).
14. In the Domain field, enter your company’s domain name (usually the company name followed by
one of the following extensions: .com, .edu, .gov, .org, .mil, or .net. For example, multitech.com).
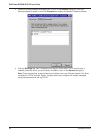
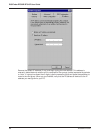
15. In the DNS Server Search Order group, place the cursor in the first group of the address field
and type the IP address of your LAN’s DNS server (provided by your network administrator).
Click Add and the new address is displayed in the list below the address field.
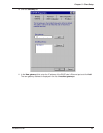
Your network may have more than one DNS server, allowing you to use a secondary DNS server
if the primary DNS server is not available. If this is the case, add the IP address of the secondary
DNS server using the same procedure as with the first.
Note: The address that is displayed first (at the top) of the list is the primary server (the first one
searched). You can “drag and drop” the items in the list, if necessary, until the primary DNS
server is listed first.
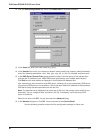
When this is done, click OK. You are returned to the Network dialog.
16. In the Network dialog box, Click OK. You are returned to the Control Panel.
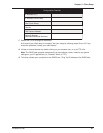
Use the following checklist to record all the configuration settings for future use: