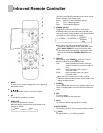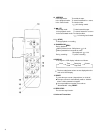
Remote Controller
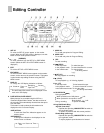
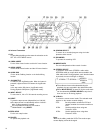
Editing Controller
Setup
Set Up
Installing the Batteries
Installing the Batteries
1
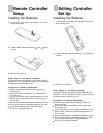
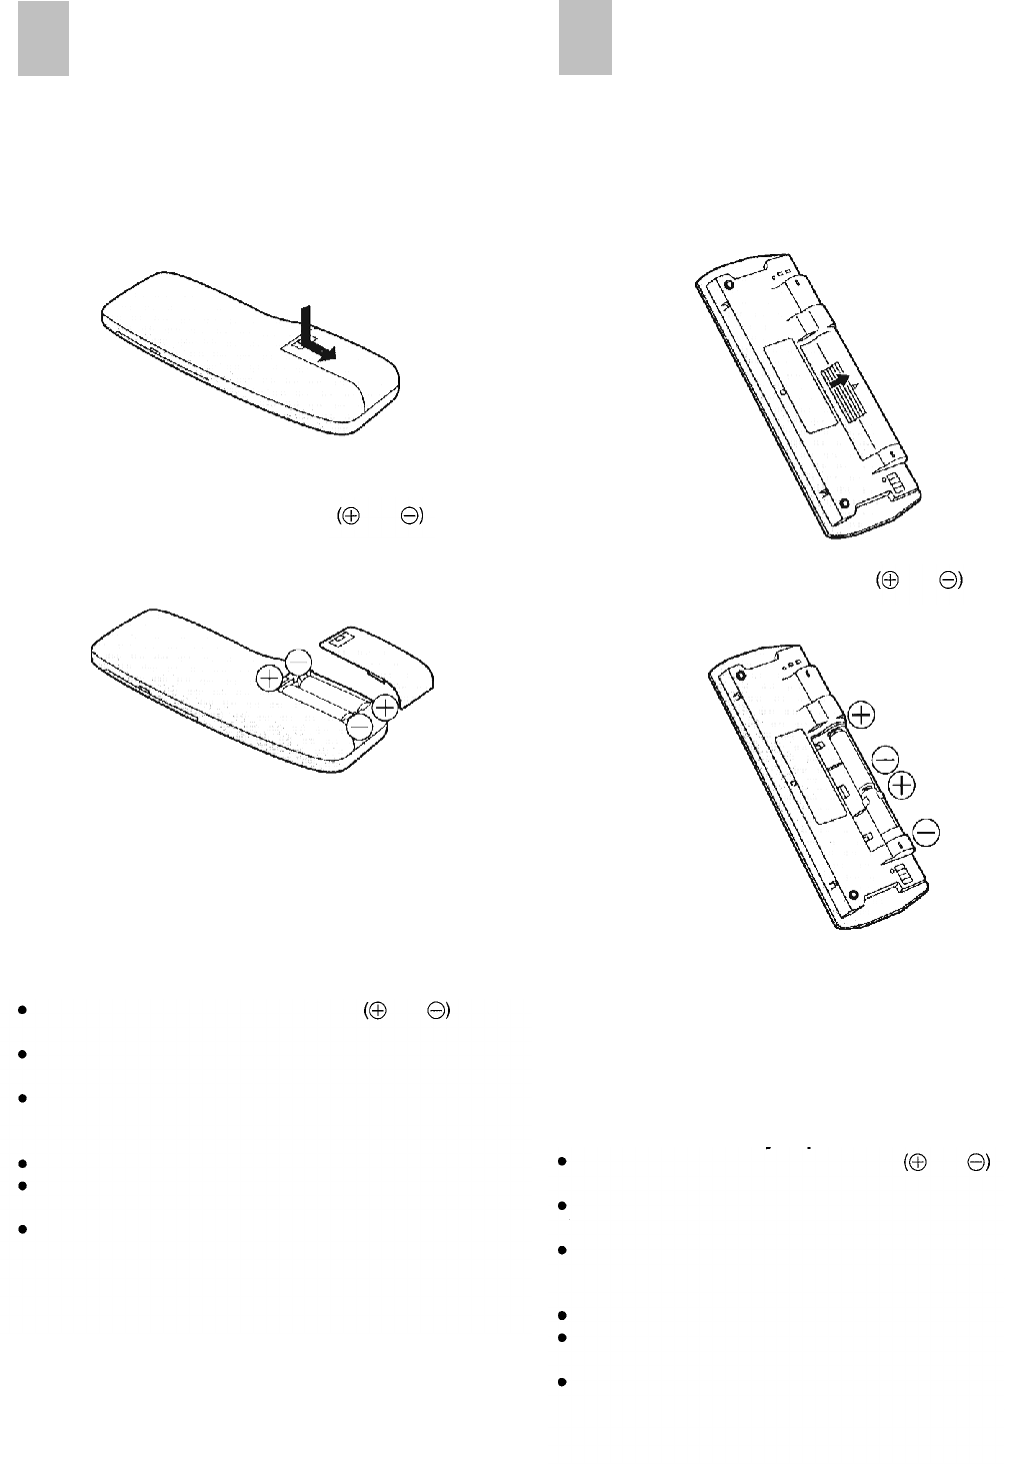
To remove the cover, slide it in the direction of the arrow
1 To remove the cover, slide it in the direction of the arrow
while pressing down.
while pressing down.
2
Load the batteries with their polarity
and
aligned
correctly.
2
Load the batteries with their polarity
and
aligned
correctly.
3
Slide the cover back on.
Power Source for the Remote Controller
The remote controller is powered by 2 AA, UM3 or R6 size
batteries. The life of the batteries is about one year, although
this depends on the frequency of use.
Precautions for Battery Replacement
Load the new batteries with their polarity
and
aligned correctly.
Do not apply heat to the batteries, or an internal short-
circuit may occur.
If you do not intend to use the remote controller for a long
period of time, remove the batteries and store them in a
cool, dry place.
Remove spent batteries immediately and dispose of them.
Do not use an old and a new battery together, and never
use an alkaline battery with a manganese battery.
Do not use rechargeable batteries.
3
Slide the cover back on.
Power Source for the Editing Controller
The editing controller is powered by 2 AA, UM3 or R6 size
batteries. The life of the batteries is about one year, although
this depends on the frequency of use.
Precautions for Battery Replacement
Load the new batteries with their polarity
and
aligned correctly.
Do not apply heat to the batteries, or an internal short-
circuit may occur.
If you do not intend to use the editing controller for a long
period of time, remove the batteries and store them in a
cool, dry place.
Remove spent batteries immediately and dispose of them.
Do not use an old and a new battery together, and never
use an alkaline battery with a manganese battery.
Do not use rechargeable batteries.
11


