


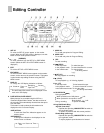


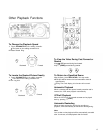

Operating
Controller
the Editing
The Editing controller can be operated in any of the
following 3 ways:
It can be operated while remaining attached to the
main unit.
Its batteries can be loaded, and it can be separated
from the main unit and operated as the remote
controller.
It can be separated from the main unit, connected
using the accessory editing controller cable and
operated as the remote controller.
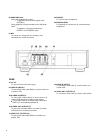
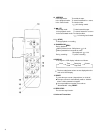
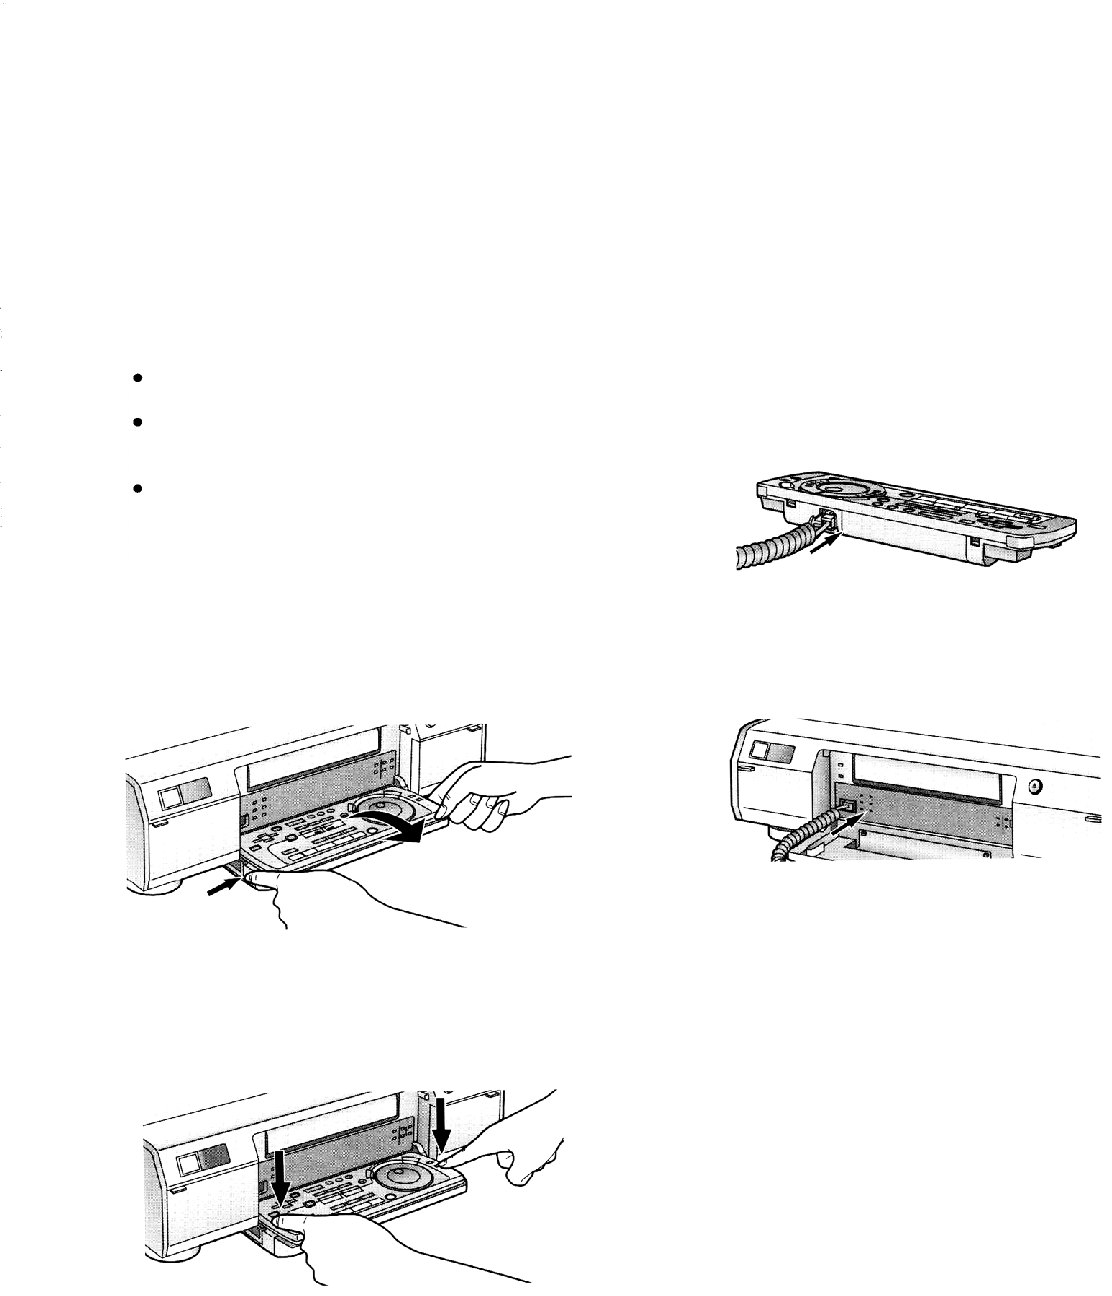
How to separate the editing controller
While pressing the buttons at the left and right of the
main unit’s front panel, remove the editing controller with
both hands.
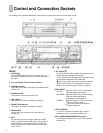
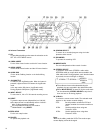
When connecting the editing controller to the
video unit using the editing controller cable
1
Remove the cover over the controller socket on the rear
panel of the editing controller, and insert the plug at one
end of the editing controller cable into this socket until it
clicks into position.
2
Remove the modular cap over the unit’s controller
socket, and insert the plug at the other end of the editing
controller cable into this socket until it clicks into position.
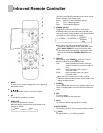
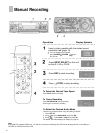
When using the editing controller as a remote
controller
How to attach the editing controller
Push down on the editing controller until the areas
around the left and right buttons on the unit’s front panel
click into position.
As a remote controller, the editing controller can be
operated at a distance up to about 3 m in front and up to
an angle of up to about 30 degrees to the left or right of
centre. (This range changes in accordance with the
ambient brightness.)
Note:
When the VCR’s remote control mode has been switched,
switch the remote control mode on the editing controller as
well.
12