


29
Copying (Duplicate)
It is possible to copy recorded images onto an external recording device (HDD, DVD-R, CD-R, USB memory, etc.) connected
to the recorder. It is recommended to make back-up copies on a regular basis for unexpected situations such as malfunction
of the HDD.
Important:
• Do not disconnect the cable connecting between the external recording device and the recorder in the process of copy-
ing. Otherwise, it may damage both the recorder and the external recording device.
• When copying recorded images using the WJ-RT416V with the internal CD/DVD drive, the disk drive to be used for copy-
ing will be determined in the following priority.
1. External recording device connected to the COPY2 port (Front)
2. External recording device connected to the COPY1 port (Rear)
3. Internal CD/DVD drive
(When external recording devices are connected to both the COPY1 port (rear) and the COPY2 port (front), recorded
images will be copied only onto the external recording device connected to the COPY2 port.)
• When using an external HDD or a USB memory, format it in FAT32 system in advance.
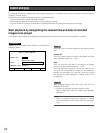
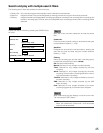
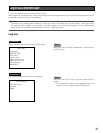
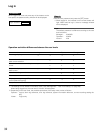
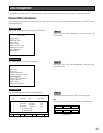
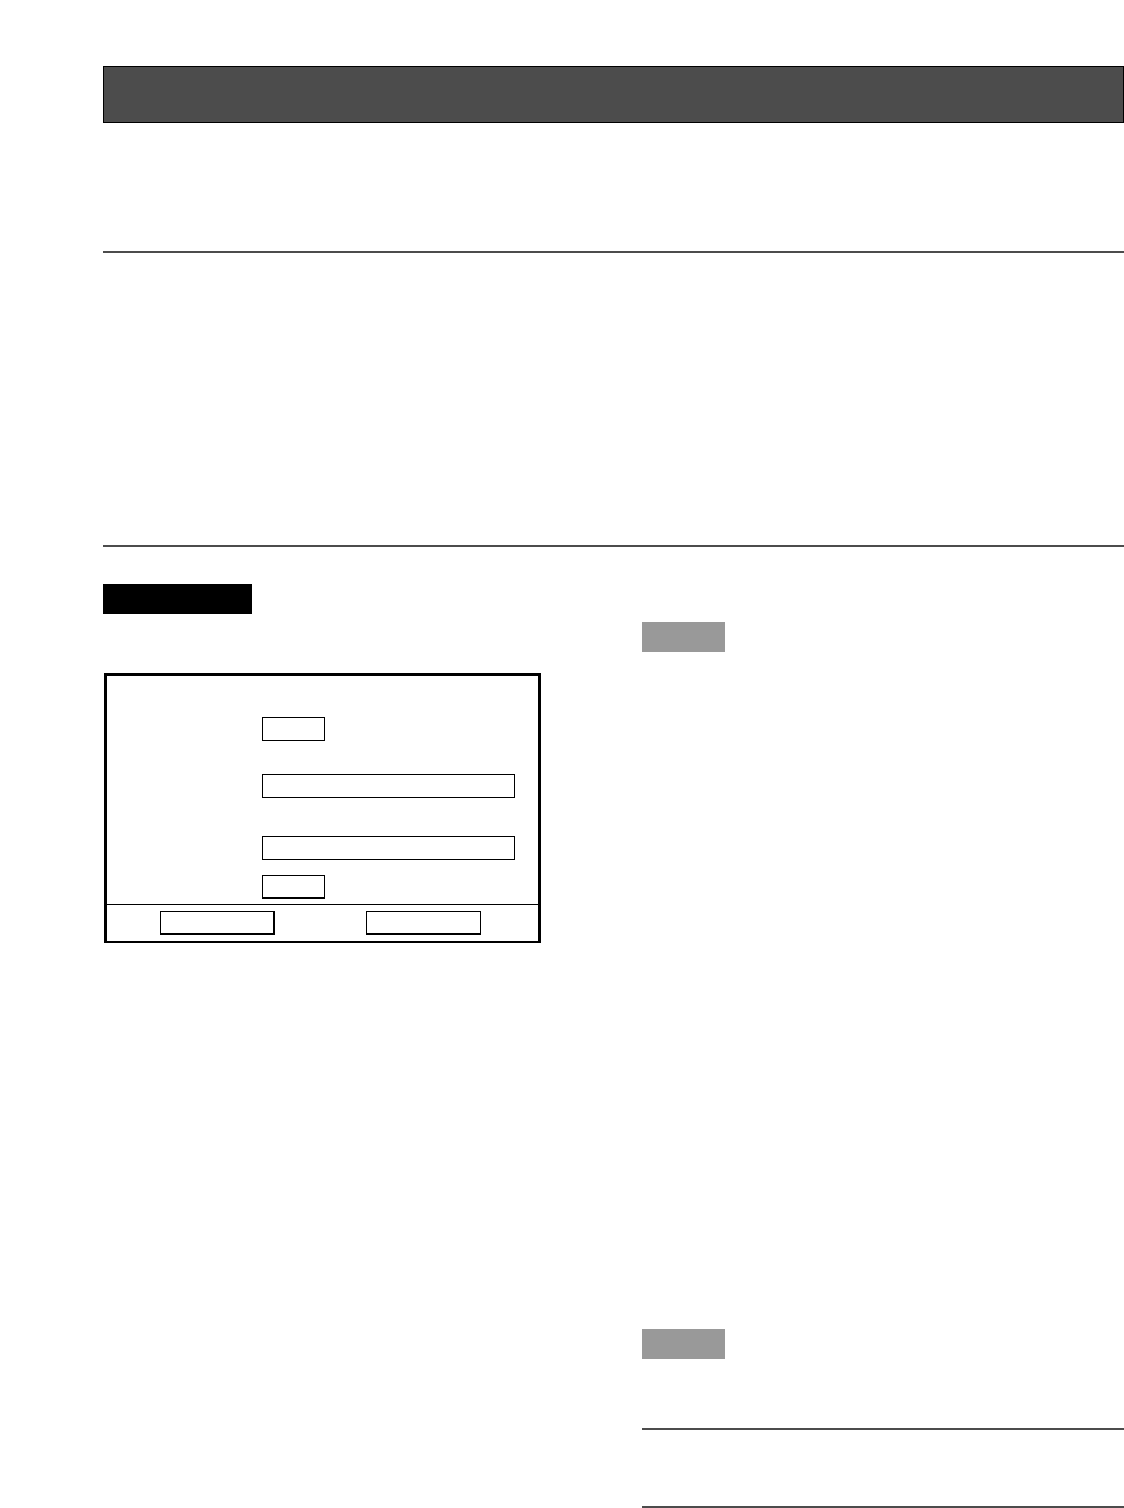
Screenshot 1
Display the Copy window by pressing the COPY button.
Step 1
Search for recorded images to be copied by setting each
search filter on the "Copy" window.
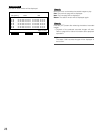
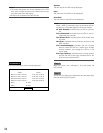
Camera No.
Enter the camera channel number to be searched using the
camera selection buttons (1 - 10/0).
Start/End
Designate the time period to be searched by entering the
start and end time and date.
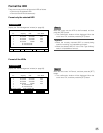
Filtering
Select the recording type and the alarm recording type to
be searched using the skip buttons (sd).
Off: Searches without filtering
Manual: Searches for only images recorded manually
Timer: Searches for only images recorded by the timer
recording
Alarm: Searches for only images recorded by the alarm
recording (Terminal alarm recording/VMD alarm record-
ing/command alarm recording)
Terminal: Searches for only images recorded by the termi-
nal alarm recording
VMD: Searches for only images recorded by the VMD
alarm recording
Com: Searches for only images recorded by the alarm
recording triggered by a command alarm reception
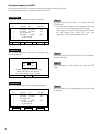
Step 2
When determining the filter settings, move the cursor onto
"OK" and press the [SET] button.
Note:
When "00" is entered for "Camera No.", all of the camera
channels will be searched.
Copy
05
Camera No.
Off
Filtering
10-21-2006 11:30:30
Start
OK
Cancel
Month-Day-Year
10-22-2006 11:30:30
End
Month-Day-Year