52
Basic operation of the setup menu
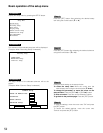
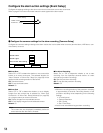
Screenshot 1
Display the setup menu by pressing the SETUP button.
Step 1
Press the [SET] button after selecting the desired setup
item using the arrows button (C or D).
Setup Menu
System Setup
Recording Setup
Event Setup
Display Setup
Camera Control Setup
Communication Setup
User Management
Maintenance
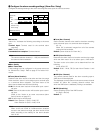
Screenshot 2
The submenu of the selected setup item will be displayed.
(Example: When "Recording Setup" is selected)
Step 2
Press the [SET] button after selecting the desired submenu
using the arrows button (C or D).
Recording Setup
Common Setup
Manual Rec. Setup
Timer Rec. Setup
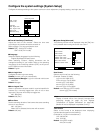
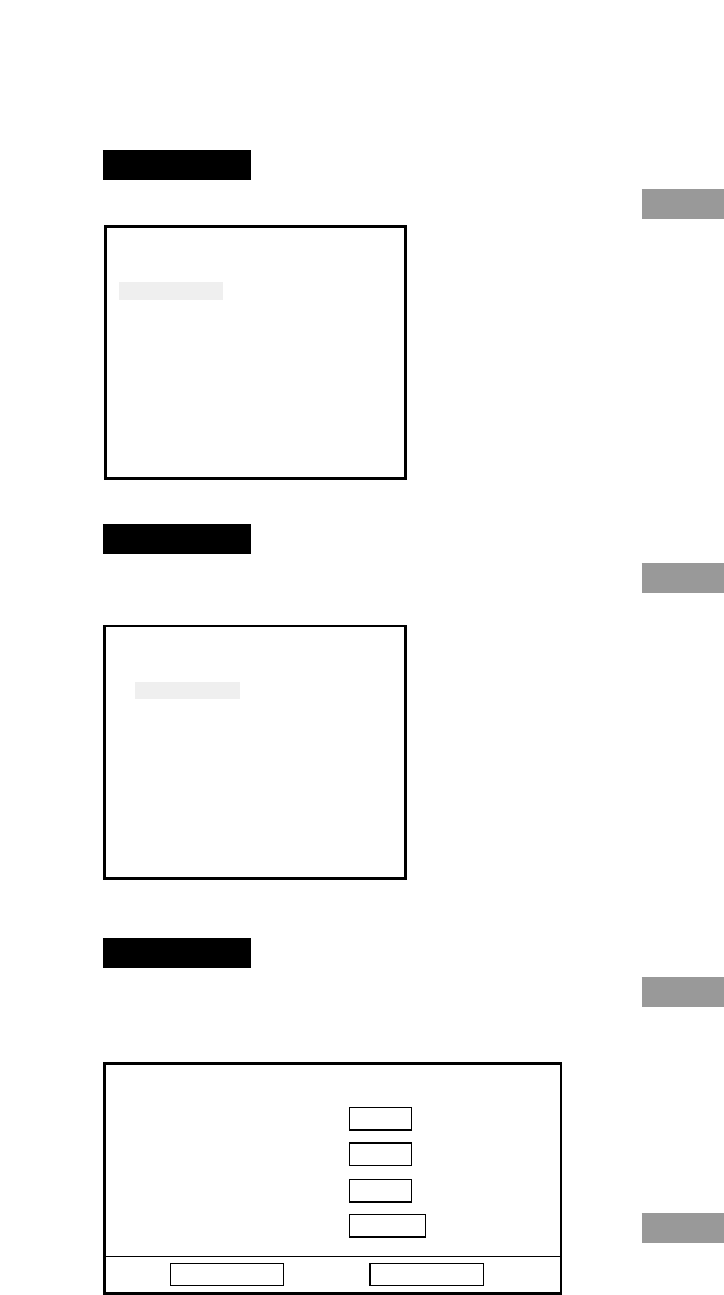
Screenshot 3
The setup window of the selected submenu will be dis-
played.
(Example: When "Common Setup" is selected)
Step 3
Configure each setting on the setup window.
To select the setup item: Move the cursor onto the
desired setup item using the arrows button (CDAB).
To change the parameter, to move the cursor on the
setup window: Press the [SKIP s] or [SKIP d] button.
To enter a number: Press the camera selection buttons.
To go back to the previous page: Press the [ESC] button.
Step 4
To save the settings, move the cursor onto "OK" and press
the [SET] button.
To cancel the edited settings, move the cursor onto
"Cancel" and press the [SET] button.
Common Setup
Power On Manual Rec.
Off
Overwrite
On
Audio Select
Set
Advanced Setup
Set→
OK
Cancel


