Operation
3-93160-A2-GB21-50 January 1997
Setting Customer
Identification
The customer identification is the only identity number
you can change. It is used to uniquely identify the
DSU/CSU.
To change the customer identification (CID),
1. From the top-level menu, press the
key until
the Ctrl selection appears on the screen.
2. Select Ctrl.
3. From the Control screen, press the
key until
the CID selection appears on the screen.
4. Select CID.
F1
Control:
Reset CID Passwd
F2
F3
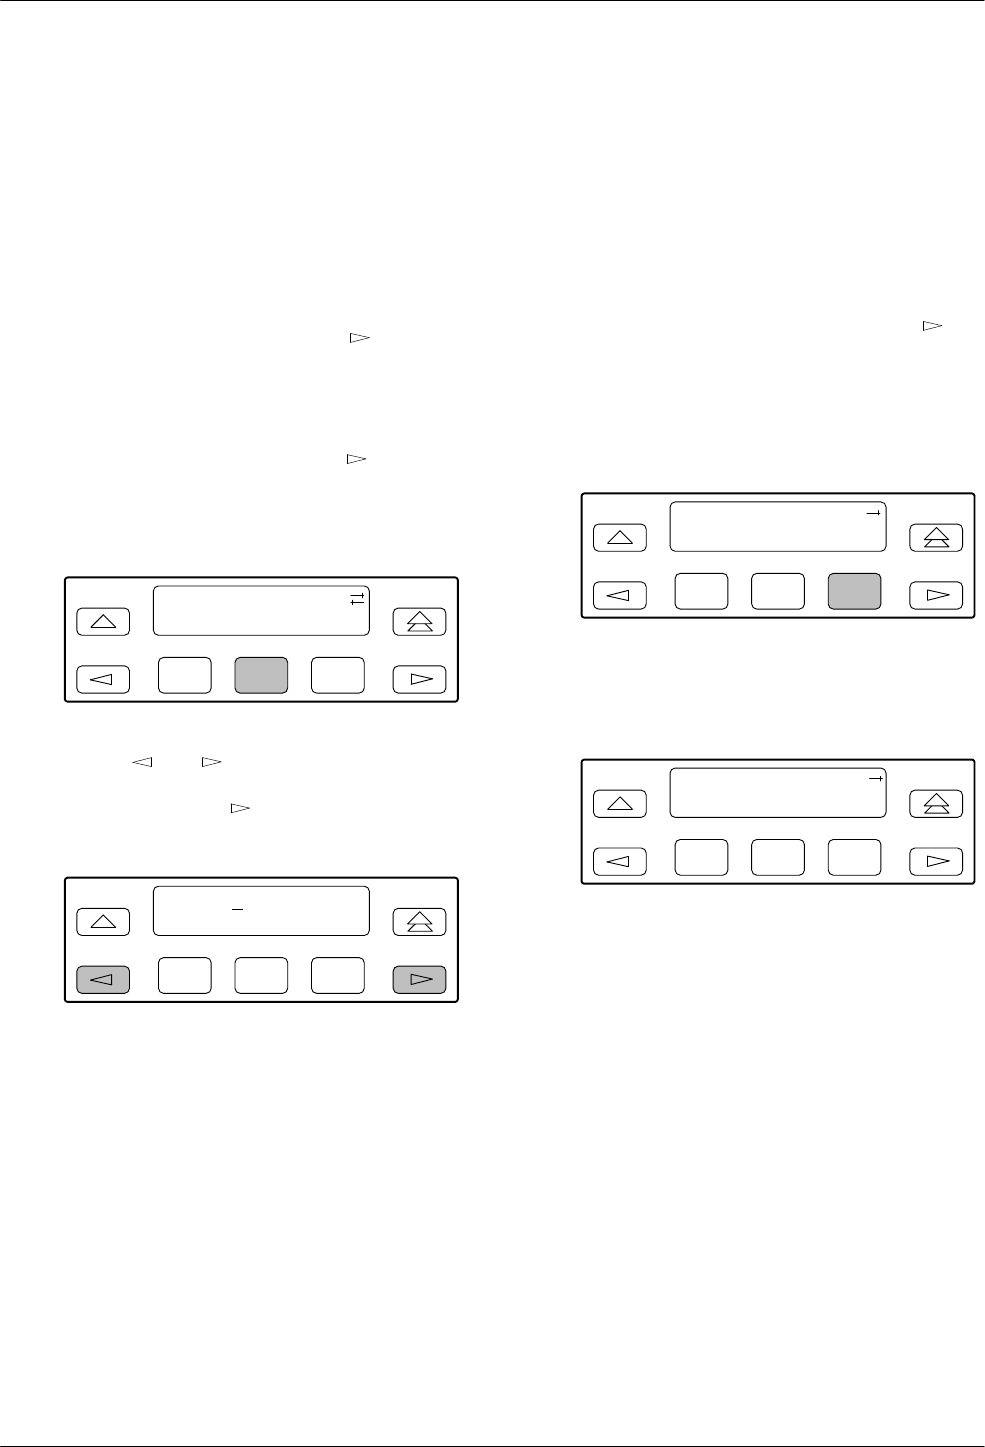
5. Use the and keys to position the cursor
under the desired character. You must enter a
character before the
moves the cursor to the
next space to the right.
F1
CustID:
xxxxxxxx
Up Down Save
F2
F3
6. Enter the desired ID. Press F1 (Up) and F2
(Down) to scroll up and down through the valid
characters/numbers for the customer ID. Valid
characters are 0 through 9, #, -, ., /, A to Z, and
blank space. Press F3 (Save) to save the ID.
Selecting the DTE Drop/Insert
or Data Port for LED Display
Use the LED command on the Control branch to select
which port’s (DTE Drop/Insert or data port) status appears
on the five shared LEDs on the front panel.
To select a port for LED display,
1. From the top-level menu screen, press the
key
until the Ctrl selection appears on the screen.
2. Select Ctrl.
3. From the Control screen, select LED.
F1
Control:
Call Rel LED
F2
F3
The currently selected port name appears on the
top line of the LCD. DTE indicates the DTE
Drop/Insert (DSX-1) port.
F1
LED Dsply: DTE
DTE Prt1 Prt2
F2
F3
4. From the LED Dsply screen, press the Function
key that corresponds to the DTE Drop/Insert
(DSX-1) or data port for which you want the
LEDs to display. Use the scroll keys, if necessary.
Select DTE to monitor the DTE Drop/Insert
(DSX-1) port’s SIG, OOF, ALRM, PDV, and BPV
status signals on the shared LEDs.
Select a particular data port to monitor the data
port’s DTR, TXD, RXD, CTS, and RTS control
signals on the shared LEDs.
