English 53
Getting started
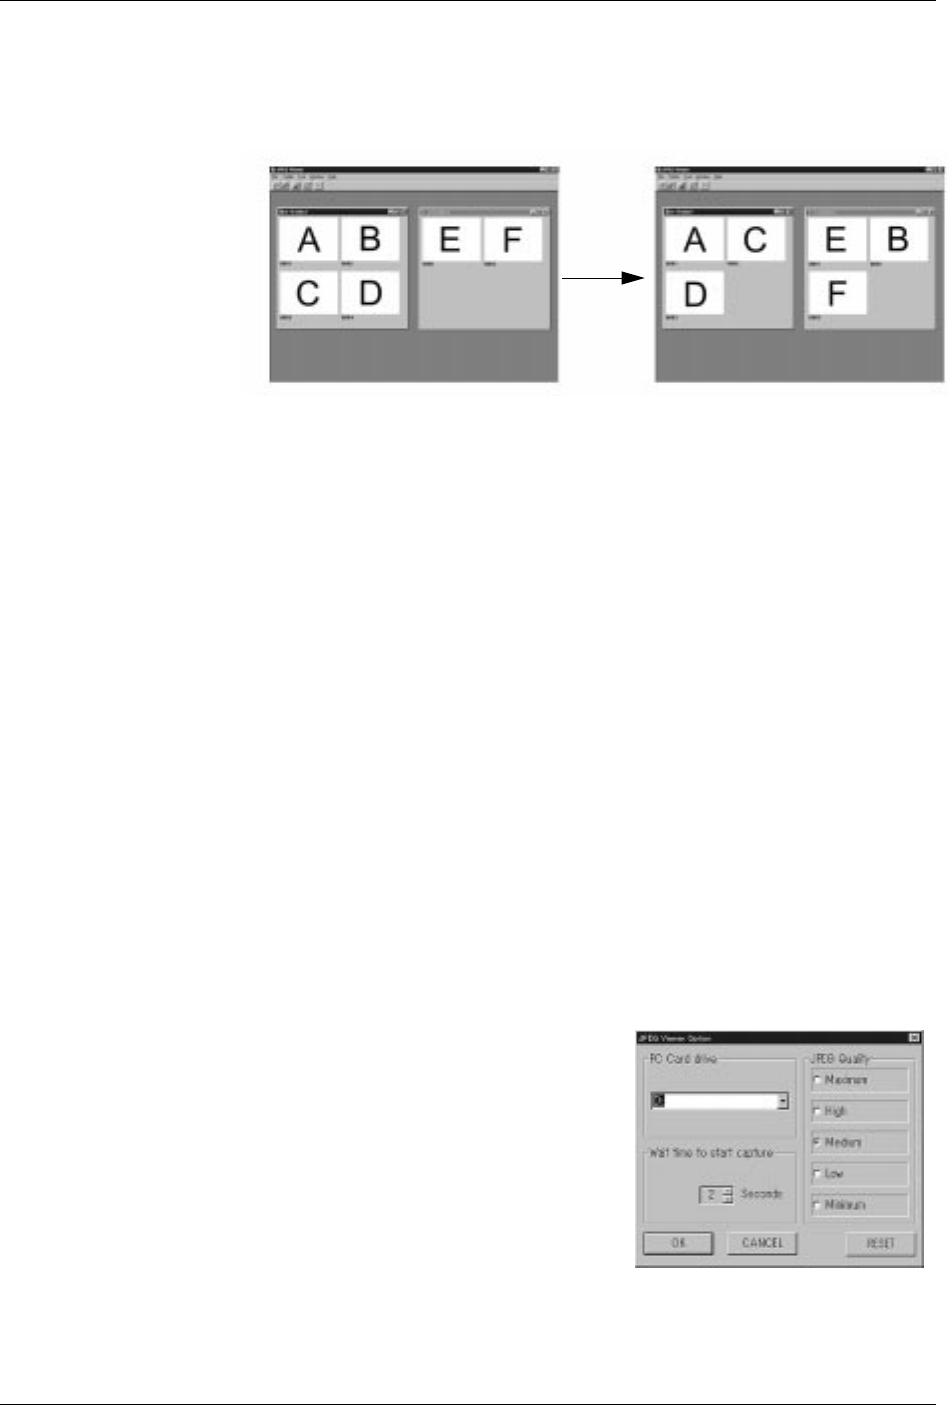
Moving the images between Folders
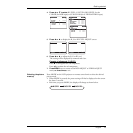
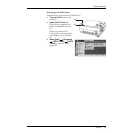
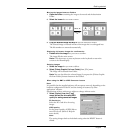
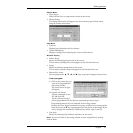
1. Open the Folder containing the image to be moved and the destination
Folder.
2. Select the image that you want to move.
3. Drag the selected image and drop it into the destination Folder.
The selected image is inserted in front of the image that it was dropped into.
The file numbers are renewed automatically.
Displaying full-screen images for confirmation
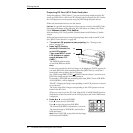
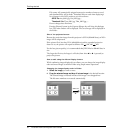
1. Double-click the image that you want to confirm.
The image fills the entire screen.
Note: Click the mouse or press any button on the keyboard to return the
screen to the Album display.
Deleting images
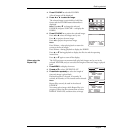
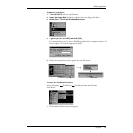
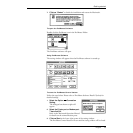
1. Select the image that you want to delete.
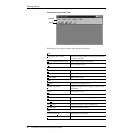
2. Select [Delete Graphic file from Folder] from [File] menu.
The image will be deleted from Folder.
Note: You can also delete the selected image if you press the [Delete Graphic
file from Folder] shortcut button on the Toolbar.
When using the BMP
to JPEG Converter feature
Note:
It is possible that the supplied software will not operate correctly, depending on the
hardware configuration of the PC and the sharing of resources by other
applications’ software.
Specifications of these software are subject to change without notice.
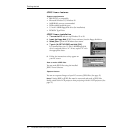
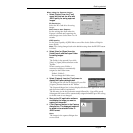
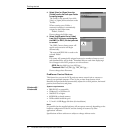
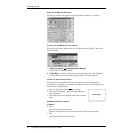
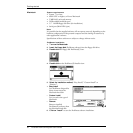
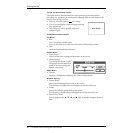
1. Select [Option] from the [Tool]
menu, and set the drive and JPEG
quality for saving converted images.
PC-Card drive
Select the PC-Card drive for saving
images.
JPEG quality
Set the picture quality of JPEG files to
one of five levels. (Refer to Help for
more details)
Note:
The setting changes back to the default setting when the RESET button is
clicked.
select “B”
drop into
“F”


