Using the DVD Player's Menu System
Set the Distance of the Attached Speakers
Use tile l)i._tance option to set the distam:e of the attached speakers. By setting the distance, you are
letting the speakers know how far the sound has to travel to reach your set listening point. This
allows the SOLind frol/1 L'ach speaker to reach the listener at the same time.
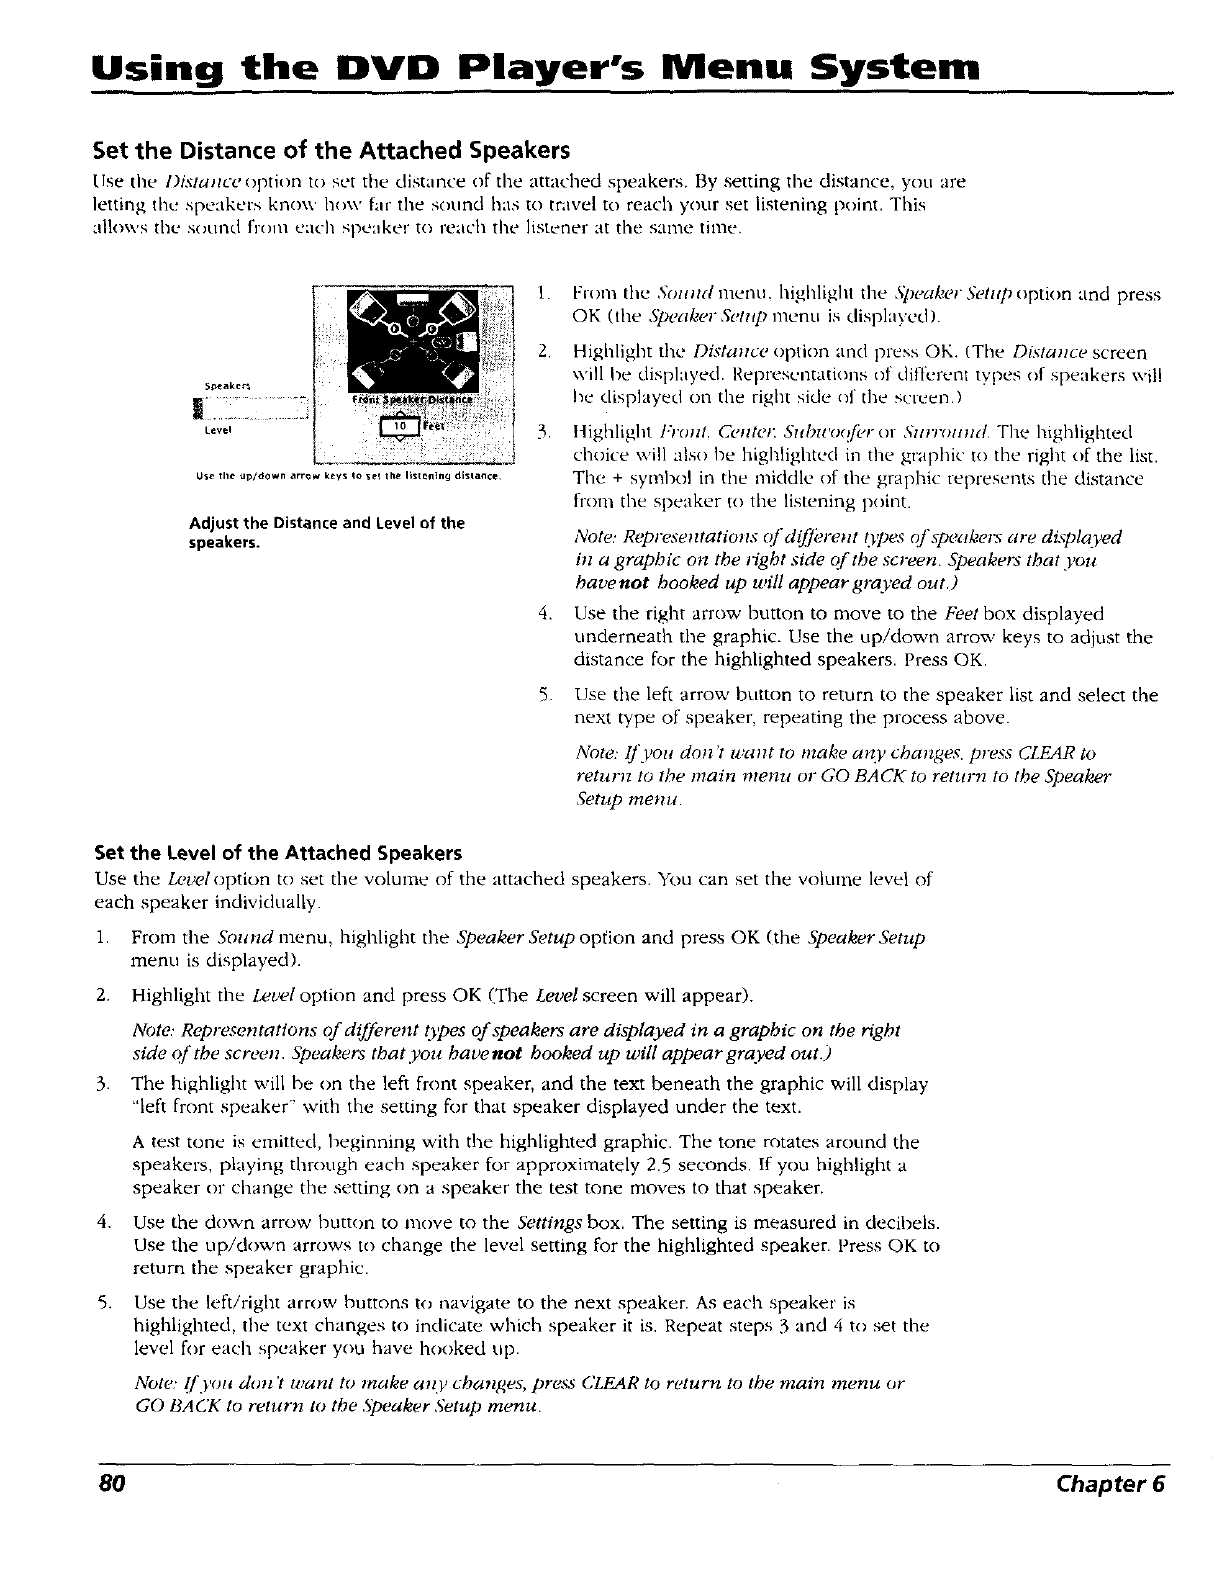
5peake_
Level
Use the up/down arrow keys to se_ the listening dislance
Adjust the Distance and Level of the
speakers.
1.
2.
3.
4.
From the Sound metro, highlight the _S})eakerSr,tnp option and press
OK (the Speaker &,t*tp menu is clisplayed).
Highlight the Distance option and press OK. (Tbe Dista*_ce screen
,.,,'illbe displayed. I._epresentatious of ,.lifl'erent types of speakers ",_.il!
be displayed on the right side {_fthe screen.)
ltighlight I"l'olzl, C¢,lllel; Sllhll'o(_/_,ror Snrr(mlld The highligV_ted
choice will also be highlighted in the graphic to the right of the list.
The + symbol in the middle of tbe graphic represents the distance
fl'om the speaker to the listening point.
Note: Representatio*ts c?fdif[Z,rent O,pes c_/'speake*_ are displayed
ill a graphic on the t_ght side of the screen. Speakers that you
havenot hooked up will appear grayed out.)
Use the right arrow button to move to the Feet box displayed
underneath the graphic. Use the up/down arrow keys to adjust the
distance for the highlighted speakers. Press OK.
Use the left arrow button to return to the speaker list and select the
next type of speaker, repeating the process above.
Note: If you dcm't waTtt to make any changes, press CLEAR to
return to the main menu or GO BACK to return to the Speaker
Setup menu.
Set the Level of the Attached Speakers
Use the Leveloption to set the volume of the attached speakers. You can set the volume level of
each speaker individually.
1. From the Sound menu, highlight the Speaker Setup option and press OK (the Speaker Setup
menu is displayed).
2. Highlight the Level option and press OK (The Level screen will appear).
Note: Representations of different {t,pes of speakers are displayed in a graphic on the right
side (>[the screen. Speakers that you havenot hooked up will appear grayed out.)
3. The highlight will be on the left front speaker, and the text beneath the graphic will display
"left front speaker" with the setting for that speaker displayed under the text.
A test tone is emitted, heginning with the highlighted graphic. The tone rotates around the
speakers, playing through each speaker for approximately 2.5 seconds. If you highlight a
speaker or change the setting on a speaker the test tone moves to that speaker.
4. Use the down arrow button to move to the Settings box. The setting is measured in decibels.
Use the up/down arrows to change the level setting for the highlighted speaker. Press OK to
return the speaker graphic.
5. Use the left/right arrow buttons t,:) navigate to the next speaker. As each speaker is
highlighted, the text changes to indicate which speaker it is. Repeat steps 3 and 4 to set the
level for each speaker you have hooked Ul).
Note' {[you don't want to make a*zF changes, press CZEAR to return to the main menu or
GO BACK to return to the Speaker Setup menu.
80 Chapter 6


