41
Using Various Functions with the Control Menu
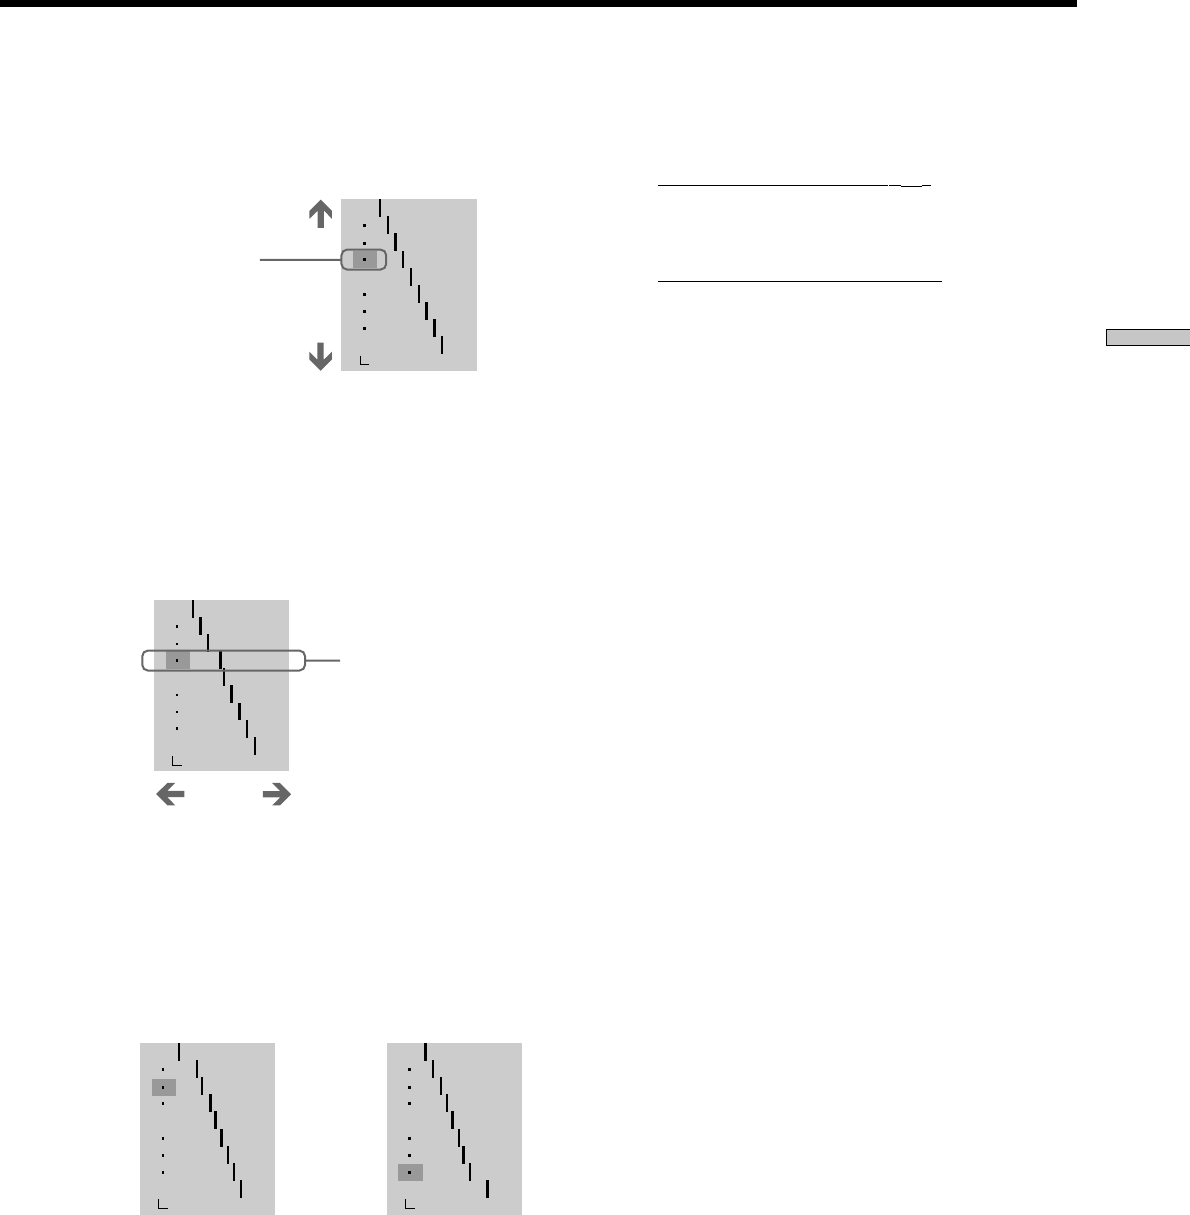
4 Press M/m to select areas of an image.
The upper region adjusts the dark areas and the lower
region adjusts the light areas.
5 Press </, to adjust the brightness level of the
area that you selected.
< will decrease the level (darkens the area), and ,
will increase the level (lightens the area). The level
can be adjusted between 16 and 235. However, the
level for the dark areas can never be greater than the
light areas.
6 Repeat steps 4 and 5 to adjust the brightness level
of other areas that you select.
Try to keep the line that connects the brightness level
of each area as smooth and straight as possible.
To prevent the image from appearing overly altered,
do not give the line any sharp changes. Gradually
make the adjustments while viewing the image on
your TV screen.
Press ORETURN to stop making adjustments to the
image.
How to darken the light
areas of an image.
7 Press ENTER.
“VIDEO CONTROL” display appears.
8 • If you selected “PB MEMORYt”
The adjusted values are stored in memory when you
remove the disc or press ?/1 on the remote and
place the player in standby mode.
•
If you selected a memory number
Select [SAVE] at the bottom of the “VIDEO
CONTROL” display by pressing M/m and press
ENTER.
The adjusted values are stored in memory for the
memory number you selected in step 2.
To reset only the gamma value to the default
setting
Select “RESET” in the gamma adjustment display by
pressing M /m and press ENTER.
zYou can move the gamma adjustment display horizontally
By pressing ./>, you can move the gamma adjustment
display horizontally.
OFF
1: ENGLISH
2: FRENCH
3: SPANISH
1: ENGLISH
32
64
96
128
160
192
224
RESET
0%
50
100
OFF
1: ENGLISH
2: FRENCH
3: SPANISH
1: ENGLISH
32
64
120
128
160
192
224
RESET
0%
50
100
OFF
1: ENGLISH
2: FRENCH
3: SPANISH
1: ENGLISH
58
89
94
128
160
192
224
RESET
0%
50
100
OFF
1: ENGLISH
2: FRENCH
3: SPANISH
1: ENGLISH
35
64
105
128
150
159
174
RESET
0%
50
100
How to lighten the dark
areas of an image.
Dark areas
Lighten
Light areas
Darken
Selected areas
of an image
Gamma value and the
position of the bar change
depending on your
adjustment.
