57
Settings and Adjustments
PICTURE
MEMORY
Storing a picture in memory
During playback, when you find the scene to be stored
in memory, press PICTURE MEMORY on the remote.
The picture is stored in memory.
Notes
• The player can store only one scene in memory. The stored
picture appears in both the background and the startup screen.
• When the picture is stored in memory by pressing PICTURE
MEMORY, the picture stored before is erased.
• If you operate this player while the picture is being stored in
memory, the player will fail to store the picture.
• Depending on the DVD, some scenes cannot be stored in
memory.
x BLACK LEVEL
You can select the black level (setup level) for the output
video (NTSC) signal.
•
OFF: This will set the black level of the output signal to
the standard level. Normally set it to OFF.
• ON: This will raise the standard black level. Use this
setting when the picture appears too dark.
Notes
• Black level setup does not work for progressive (525p) signals
output from the COMPONENT VIDEO OUT connectors.
• This does not work with PAL format discs.
1
4
7
2
5
8
0
3
6
9
-
“CUSTOM SETUP” allows you to set the playback
conditions.
The default settings are underlined.
Select “CUSTOM SETUP” in the setup display.
x COMPONENT OUT
This will change the type of signal output from the
COMPONENT VIDEO OUT connectors on this player.
See page 74 for more information about the different
types.
•
INTERLACE: This outputs the signal in interlace
format. Select this when you are connected to a
standard (interlace format) TV.
• PROGRESSIVE: This outputs the signal in progressive
(525p) format. Select this when you have a TV that can
accept progressive signals.
Notes
• If you select “PROGRESSIVE” when you connect the player to
a TV that cannot accept the signal in progressive format (525p),
the image quality will deteriorate. In this case, set the SCAN
SELECT switch on the back panel of the player to
“INTERLACE.” Then set “COMPONENT OUT” to
“INTERLACE” when you can see the TV screen correctly, and
set SCAN SELECT to “SELECTABLE.”
• “PROGRESSIVE” does not work for PAL signals. Even if you
set “COMPONENT OUT” to “PROGRESSIVE,” the output
signal is automatically switched to interlace format for PAL
signals.
x COLOR SYSTEM
Selects the color system when you play a VIDEO CD.
•
AUTO: outputs the video signal in the system of the
VIDEO CD, either PAL or NTSC. If your TV is the
DUAL system, select AUTO.
• PAL: changes the video signal of an NTSC VIDEO CD
and outputs it in the PAL system.
• NTSC: changes the video signal of a PAL VIDEO CD
and outputs it in the NTSC system.
Notes
• If your player has the remote RM-D122O, “COLOR SYSTEM”
is not available. The player will automatically output the NTSC
signal or PAL signal in accordance with the disc being played.
• You cannot change the color system of the DVD itself.
• You can change the color system of this unit according to the
connected TV. See page 9.
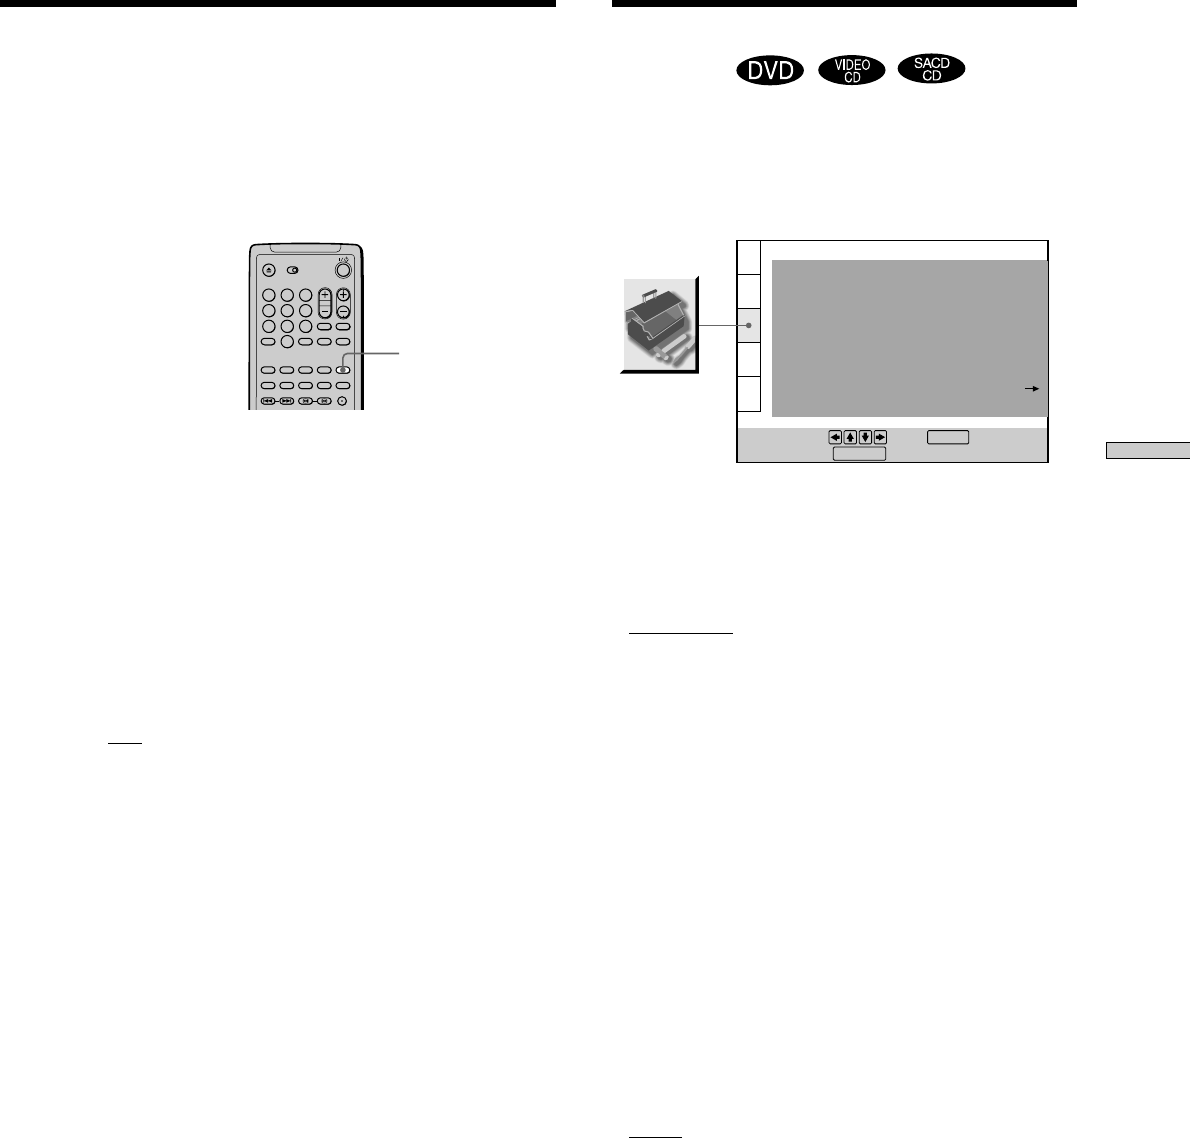
Custom Settings (CUSTOM
SETUP)
CUSTOM SETUP
To set, press , then .
To quit, press .
ENTER
DISPLAY
COMPONENT OUT:
DIMMER:
PAUSE MODE:
INTERLACE
COLOR SYSTEM: AUTO
AUTO PLAY: OFF
BRIGHT
AUTO
OFF
TRACK SELECTION:
OFF
ON
PARENTAL CONTROL
PLAYBACK MEMORY:
CHROMA FILTER


