


27
information from both the Gracenote CDDB Service and
the XiVA on-line service. You will receive confirmation if
this search has been successful once the connection is
complete. For information about setting up the Internet
connection see Registering your Digital Music Server
p.22.
If you do not have an Internet connection, or the CD is
not listed in the database, it will be given names such as
Album 35, Artist 21, and Track 1, Track 2 etc. and it will
be classified in genre Unclassifiable.
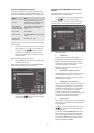
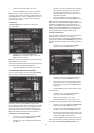
CD-Text Support
If the CD you have inserted contains CD-Text information
your Digital Music Server will use this information to
label the recording appropriately.
Once the recording process has finished:
• Press the Open/Close button to remove the disc.
If you have selected a recording quality using one of the
MP3 compression settings, the compression process will
begin once the Digital Music Server is idle.
Listening to music while recording a CD
You can play music from your music library while you are
recording a CD.
• If you are already playing music from the library
press the -Output action key to return to
displaying information about the track you are
playing.
• If you are not already playing music from the
library or wish to change the music you are
listening to, press the 1
key on the Digital
Music Server remote control and select music as
normal.
For more information on selecting music for playback see
the chapter called Playing Music p.30.
At any time you can return to see the progress of your
recording by selecting CD from the Main Menu.
Note: During the recording process the update of the TV
display may be slightly slower.
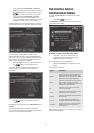
RECORDING FROM AN ANALOGUE OR
DIGITAL INPUT
Using the line-in connectors on the back of your Digital
Music Server you can make recordings from sources such
as Minidisc, vinyl record and cassette. Before beginning a
new recording make sure that the device you wish to
record from is connected to one of the following inputs:
• Digital Optical input
• Digital Coaxial input
• Analogue input
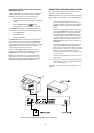
For more information on these connectors see the rear
panel diagram on p.17.
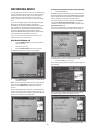
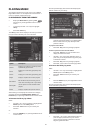
To create a new line-in recording session
• Display the Main Menu by pressing the 1
action key on your Digital Music Server remote
control.
• If necessary use the 9 or 8 keys to highlight
Line-In.
• Press the 5Select key.
A series of screens allows you to set up the new recording.
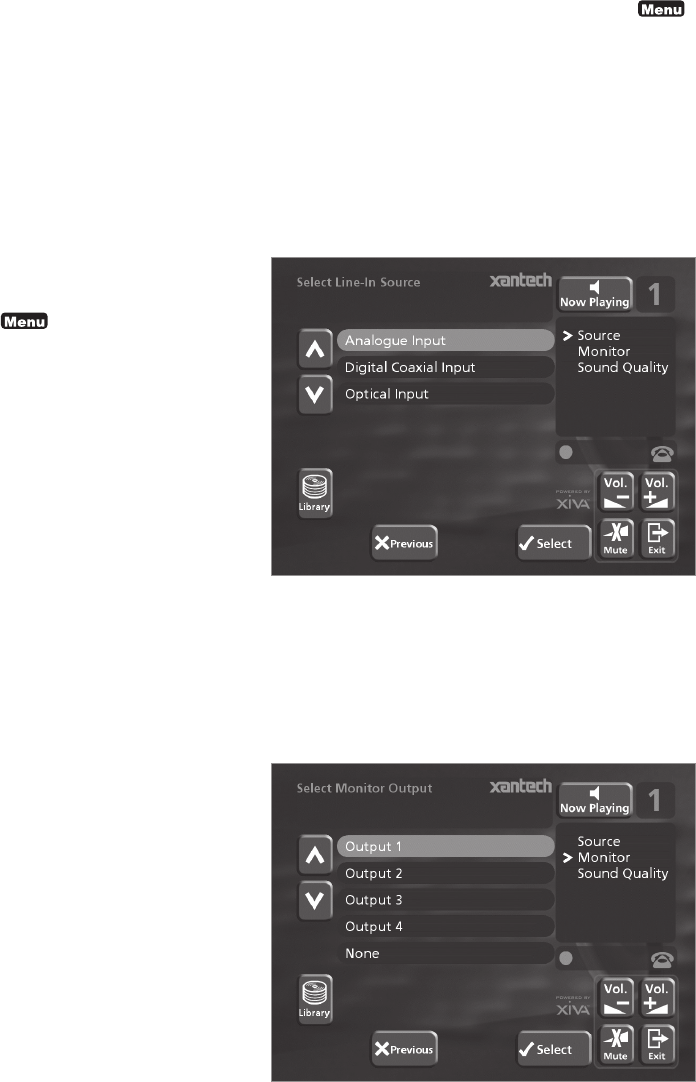
Line-in Source
The Line-in Source menu lets you specify which input
connector to use for the new recording:
• Use the 9 or 8 keys to choose the input your
device is connected to.
• Press the 5Select key to confirm your selection.
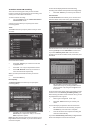
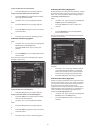
Monitor Output
The Monitor Output menu allows you to select which
output you would like to use to listen to the line-in
recording: