


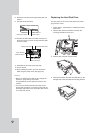

23
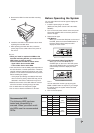
PTZ Camera Control
PTZ Camera Control
You can control the cameras connected via the data
port of RS-422/485 terminal. You must set the config-
uration between the PTZ camera and the DVR.
1. Select the PTZ camera channel on the main mon-
itor you want to control.
2. Press PTZ or Click the PTZ icon in the system
control bar.
Virtual PTZ remote control is displayed on the
main monitor.
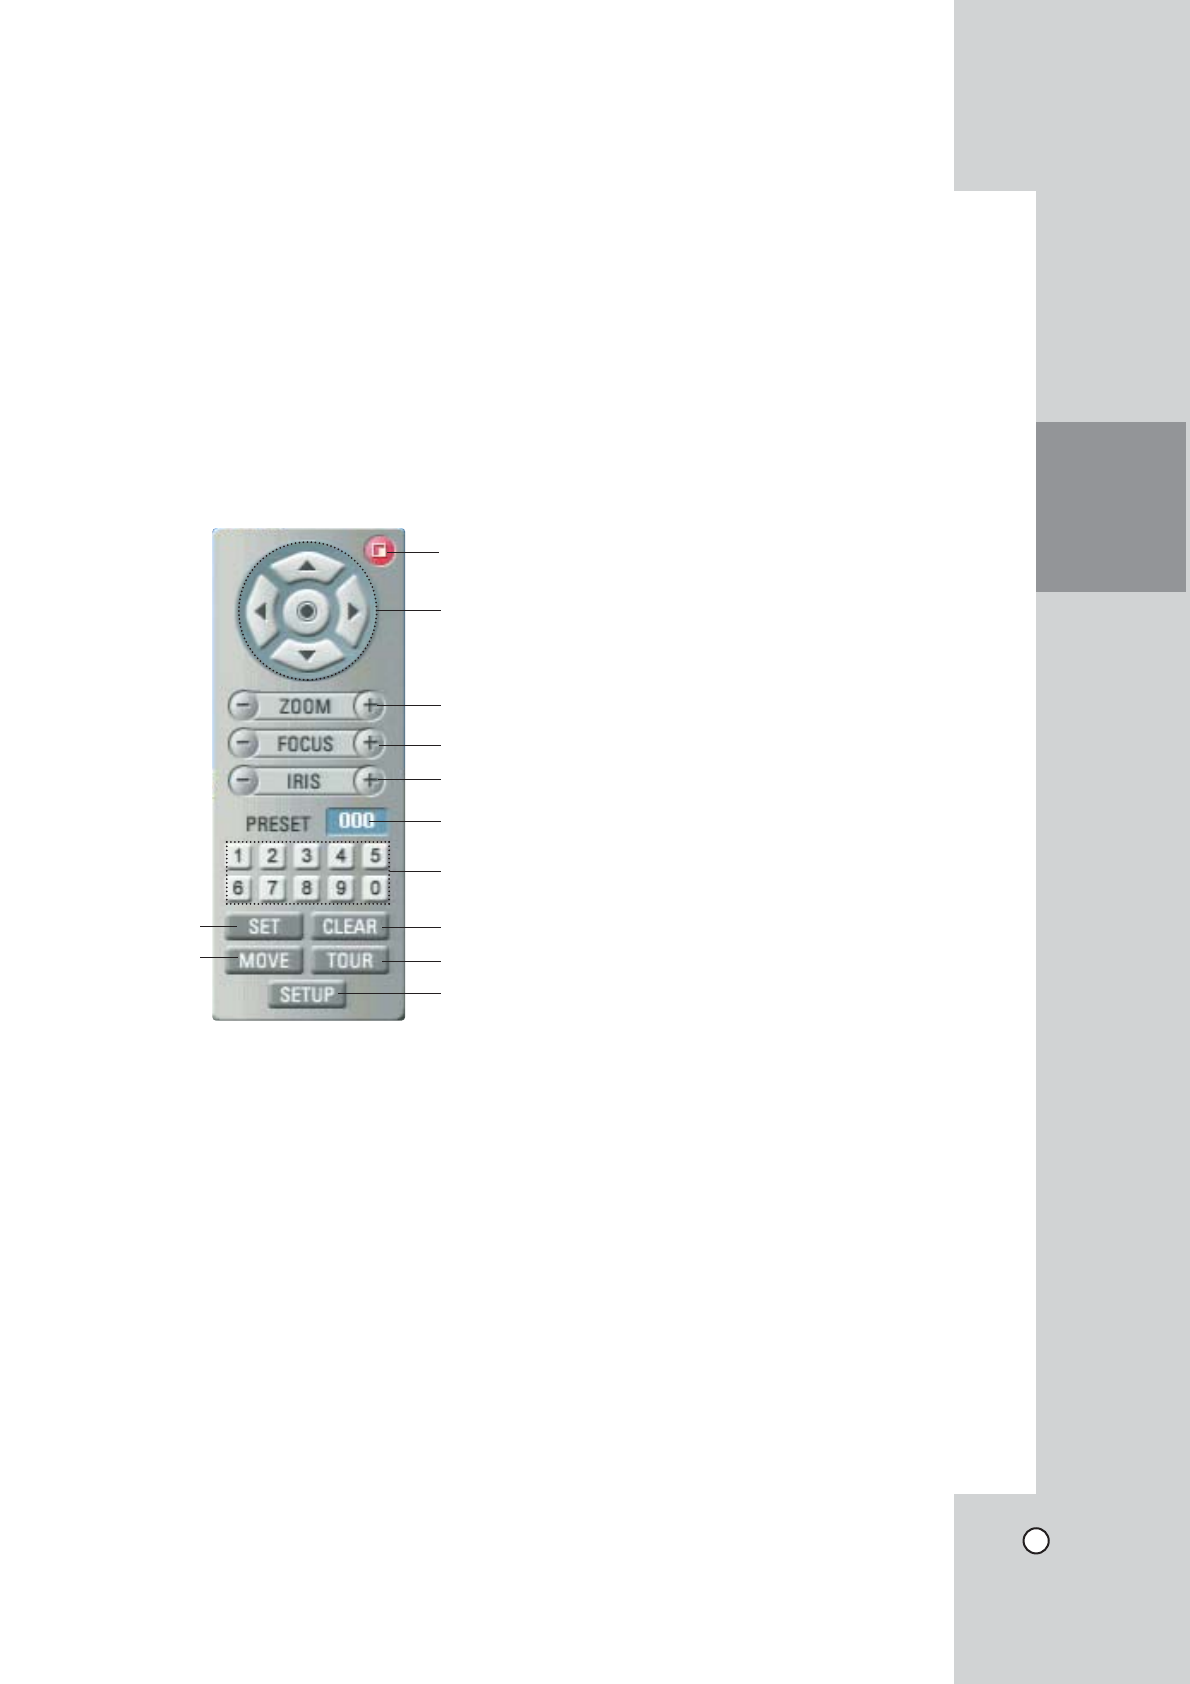
3. Use each item to control the PTZ camera.
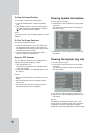
a Exit
Remove the PTZ virtual remote control.
b v/V/b/B
Use to pan/tilt the camera.
~
Confirm the preset position.
c ZOOM + / -
To adjust the camera zoom.
d FOCUS + / -
To manually adjust the focus of a camera.
e IRIS + / -
To manually adjust the iris of a camera.
f Displays the Selected Preset Number
g Number Buttons
To input the preset number.
h SET
To register preset positions.
i MOVE
To move the camera to the preset position.
j CLEAR
To delete a memorized preset position.
k TOUR
To start a preset tour.
l SETUP
To displays the setup menu of the PTZ camera.
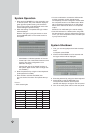
Preset Settings
Preset position is the function to register camera
monitoring positions (preset positions) associated
with position numbers.
By entering the position numbers, you can move
cameras to the preset positions.
Note:
To activate this function, you need to register the pre-
set positions of combination cameras.
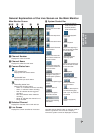
To Register Preset Positions
1. Move the camera to a point you wish by using the
v/V/b/B.
2. Press SET or click the [SET] icon.
3. Select the preset number you wish to register.
4. Press ENTER or click the [
~
] icon.
The position and its number are memorized.
5. Repeat steps 1-4 to add additional positions.
Note:
Preset numbers from 0 to 255 are available on this
unit but the actual preset range differs depending on
PTZ cameras.
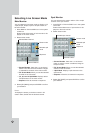
Changing to a Picture in a Preset Position
The following function is available only with cameras
provided with the preset function.
The preset function makes the combination camera
move to the programmed preset position.
It is necessary to program preset positions for the
combination camera beforehand.
1. Press the MOVE button or click the [MOVE] icon.
2. Use number buttons to enter the memorized pre-
set position’s index number then press ENTER or
click the [
~
] icon. The camera moves to the preset
position and the picture of the camera in that posi-
tion appears on the monitor.
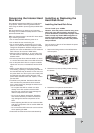
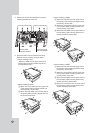
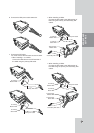
HOOKUP AND
SETTINGS
a
b
c
d
e
f
g
j
k
l
h
i