


41
Notes:
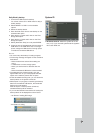
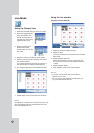
• Recorded data shown on the time graph will be dis-
played in different colors depending on the record-
ing type.
- Green: Continuous recording.
- Red: Sensor recording.
- Blue: Motion-detection recording.
- Gray: No recording.
• Use the ZOOM + button to view the detailed time
by 6 hour intervals.
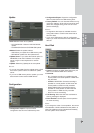
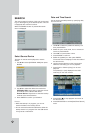
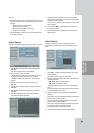
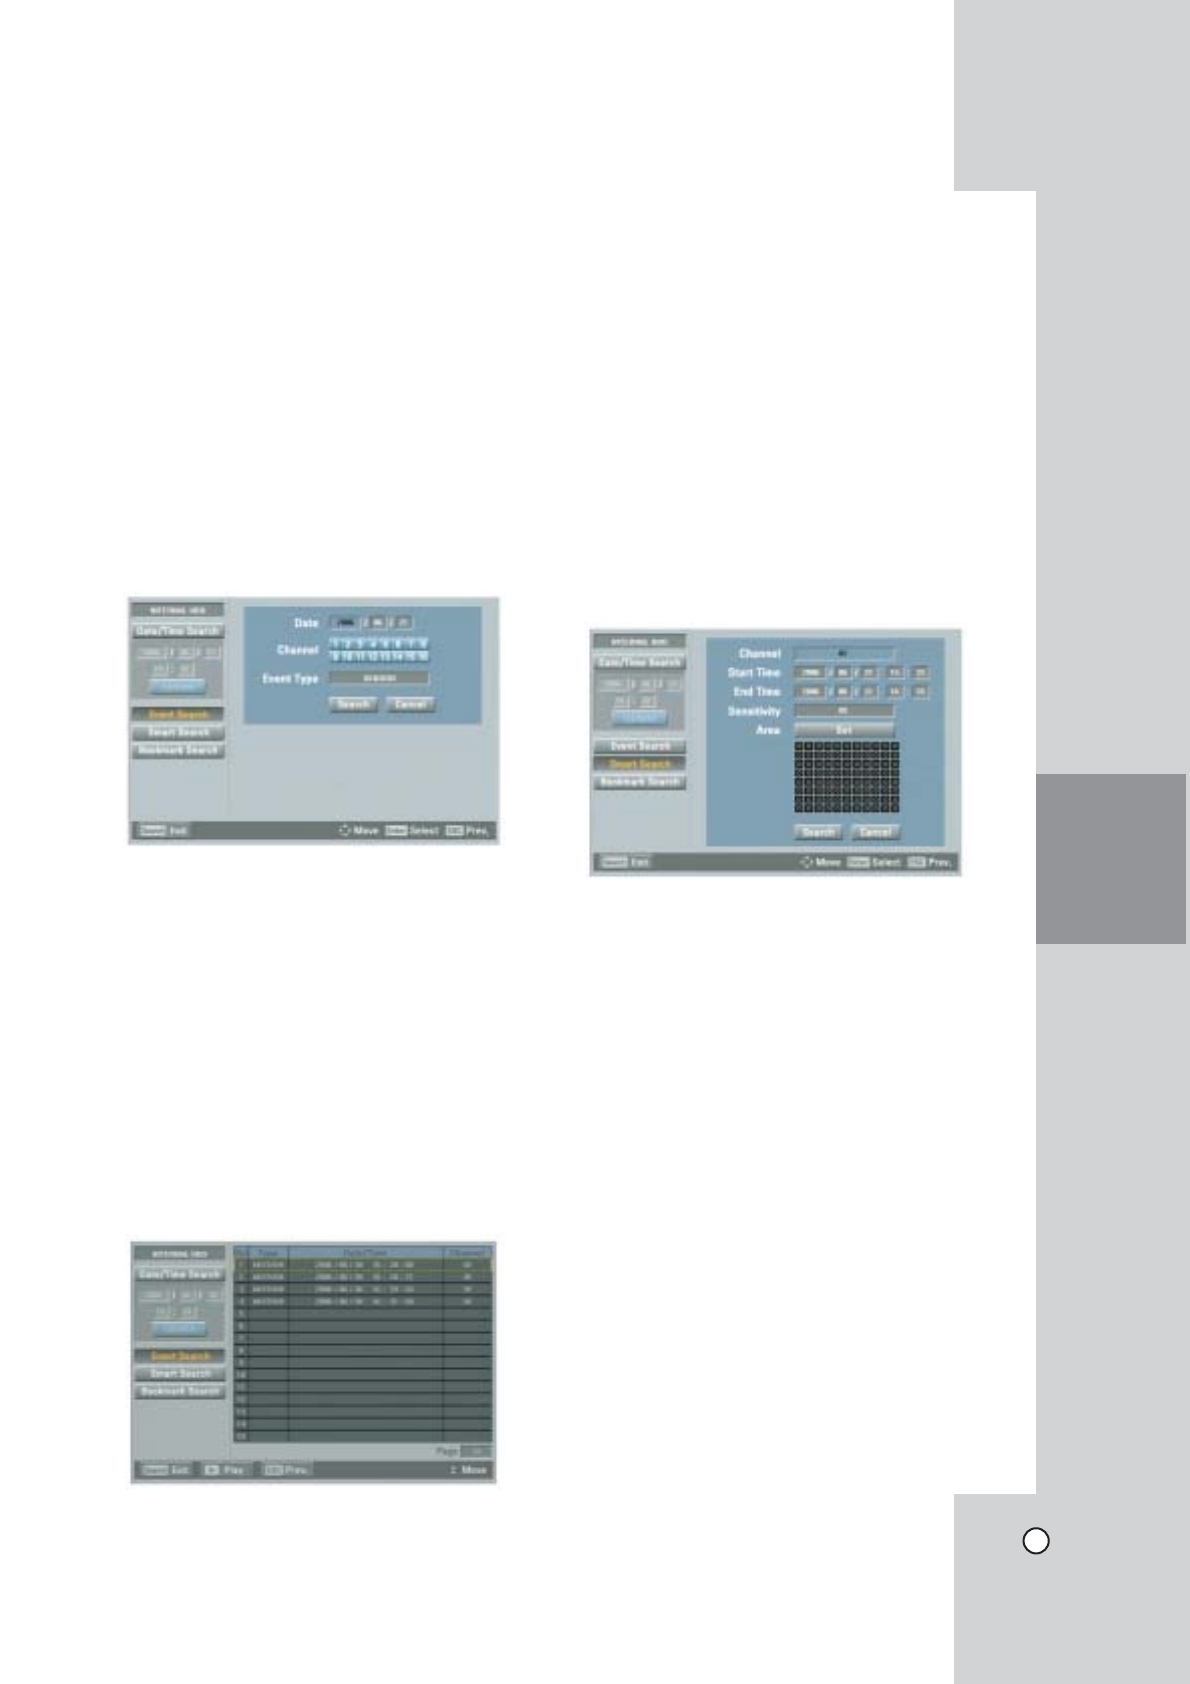
Event Search
Search a recorded picture by date and type of event.
1. Use v/V to select [Event Search] then press
ENTER.
The event search menu is displayed.
2. Set the year, month and date.
- b/B: Moves to the previous or next column or
changes the setting at the current position.
- ENTER: Selects the column or confirms the
setting.
3. Select the channel for event search using
ENTER.
4. Use v/V to select the [Event Type] then press
ENTER.
5. Use b/B to select the event type then press
ENTER.
6. Select the [Search] icon then press ENTER.
The event list menu appears.
7. Select the recording data on the event list then
press PLAY, click [Play] or double click the select-
ed data to start playback.
The picture is displayed in the POP window of the
main monitor.
8. Press STOP (x) to stop playback and return to
the event list menu.
9. Press SETUP/ESC repeatedly to exit the event
search menu.
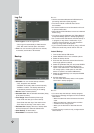
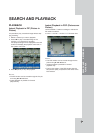
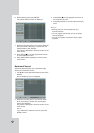
Smart Search
Pictures recorded via motion detection can be
searched by specifying the motion detection condi-
tions.
1. Use v/V to select the [Smart Search] icon then
press ENTER.
The smart search menu is displayed.
2. Set the channel number, start time, end time and
sensitivity options.
- b/B/v/V: Moves to the options.
- b/B: Sets the selected option.
- ENTER: Selects option or confirms the setting.
Note:
The time between the start time and the end time
is automatically set at 1hour.
3. Select the [Set] in the [Area] option then press
ENTER.
The picture from the selected camera is displayed.
4. Set the motion mask setting.
The area switches between active and inactive
each time you press ENTER.
Click the one point and drag & drop the end point
to select the motion using the mouse.
The active areas are indicated in red.
5. Press SETUP/ESC to exit the mask setting.
SEARCH AND
PLAYBACK