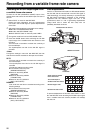
55
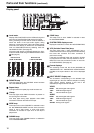
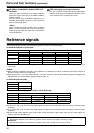
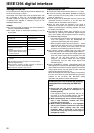
Time code/user bits
Time code
The time code is used when the time code signal generated
by the time code generator (time code signal generator) is to
be recorded on the tape, its values are to be read by the time
code reader (time code signal reader), and the absolute
position of the tape is to be displayed in increments of hours,
minutes, seconds and frames.
The time code is written in the sub-code area (data area) of
the helical track. The VTR’s playback speed can be read
from the stop mode to slow-motion playback up to high-
speed play (approx. 50 a normal speed approx. 100 a when
using DVCPRO tape).
The time code values are indicated using the display and
superimpose functions.
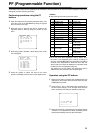
User bits
“User bits” refers to the 32-bit (8-digit) data frame among the
time code signals which has been released to users. It
enables operator numbers values to be recorded.
The alphanumeric characters which can be used for the user
bits are the figures 0 to 9 and the letters A to F.
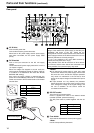
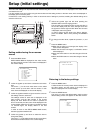
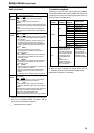
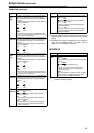
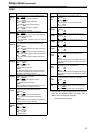
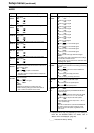
Setting the internal time code
1 Set the VTR to stop mode.
2 Select “TC” using the COUNTER button.
3 Set the run mode for the time code generator using
menu No. 504 RUN MODE.
REC:
The internal time code generator is advanced during
recording.
FREE:
When the power is on, the internal time code generator is
advanced regardless of the operation mode.
4 Set the TCG switch to REGEN mode.
REGEN:
In this mode, the continuity of the original time code is
maintained.
A more detailed setting can be performed using menu
No. 505 TCG REGEN.
PRESET:
In this mode, recording is commenced from the value
which was set by the TC PRESET button.
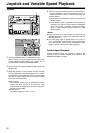
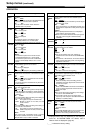
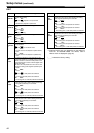
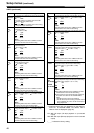
5
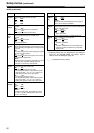
To preset the time code or user bit, take the following steps.
1. Set the TCG switch to “PRESET.”
2. Select “TC” or “UB” using the COUNTER button.
3. When the TC PRESET button is pressed, operation is
transferred to the setting mode, and the setting digits
start flashing on the counter display.
4. Operate the joystick, and set the preset value.
Left, right > for moving between digits;
Up, down > for changing the setting
zWhen the RESET button is pressed, the preset
value is reset to zero.
5. The preset value is set by pressing the TC PRESET
button.
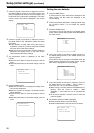
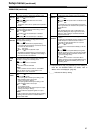
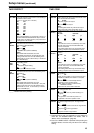
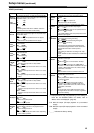
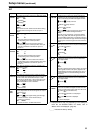
Setting the external time code
1 Set the VTR to stop mode.
2 Select “TC” using the COUNTER button.
3 Set the TCG switch to “EXT”. (External time code
selection)
4 The following settings can be selected with menu No.
507 EXT TC SEL.
EXT_L:
The LTC signal input to the TIME CODE IN connector
(BNC) on the rear panel is recorded as time code.
SLTC:
The SLTC time code on the input video signal is
recorded.
SVITC:
The SVITC time code on the input video signal is
recorded.
<Note>
The LTC signal must be synchronized with the video
signal.
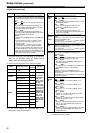
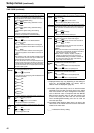
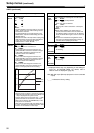
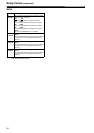
Reproducing the time code/user bits
1 Set the VTR to stop mode.
2 Select “TC” or “UB” using the COUNTER button.
3 Press the PLAY button.
Playback starts and the time code is shown on the
display.
When the SUPER switch is set to ON, the time code
value is superimposed on the video signals from the
VIDEO MON connector.
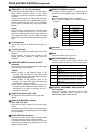
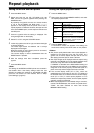
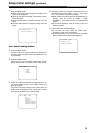
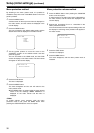
<Note>
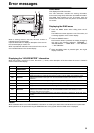
When the time code signal cannot be read, the time code
is automatically interpolated by the CTL signal. The
display appears as shown below.
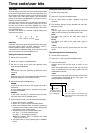
TCR 00 : 07 : 04 : 24
Hours
Minutes Seconds
Frames
T ¢ R 00 : 01 : 04 : 07 ¢
When the time
code signal cannot
be read, an asterix
(¢) is displayed.
“ ” : 1, 3 field
“¢” : 2, 4 field
The colon between the seconds and
frames changes to a period during drop
frame mode.