43
Chapter 3 Setting a Route to Your DestinationNAVI
Displaying Certain POI on the
Map
Selected POI in a certain category can be shown
on the map, and you can check the location on
the display.
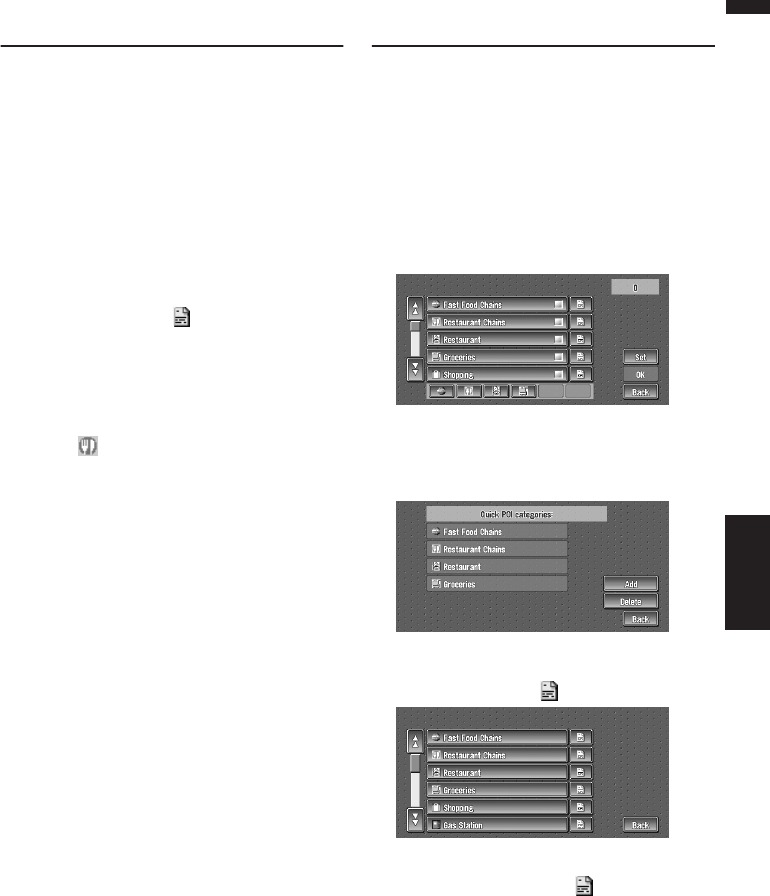
1 Touch “Info/Traffic” in the Main menu,
then touch “Overlay POI”.
The list of POI categories appears.
2 Touch the category you want to display.
The selected item is marked. If you want to
select other categories, repeat this step.
❒ If you want to display with more detailed
categories, touch . When the subcate-
gory list appears, touch the item you want
to display and touch “Back”.
❒ You can select the detail category up to
100 items.
❒ If you touch one of the POI shortcuts
(e.g. ), you can display POI immediately
by selected category on the POI shortcut.
3 Touch “Back”.
POI’s in the selected category appear on the
map.
➲ Searching the destination by map ➞
Page 33
➲ Viewing the information of POI ➞ Page 33
❒ When some sub-categories are selected,
the corresponding category is marked
blue. When all the sub-categories within a
category are selected, that category is
marked red.
❒ You can also display POI by using the
shortcut menu if “Overlay POI” is
selected on the “Short-Cut Selection”.
Registering/deleting POI Short-
cuts
You can register up to six shortcuts to your
favorite POI. You can also change or delete the
registered shortcuts.
Registering a POI shortcut
1 Touch “Destination” in the Main menu,
and then touch “Vicinity Search”.
2 Touch “Set”.
Displays a list of already registered POI short-
cuts.
3 Touch “Add”.
Displays a POI category list.
4 Touch category or .
Touching category adds that category to the
shortcuts. After touching , please proceed
to Step 5 and select a subcategory.
5 Touch subcategory.
The selected category is added to the list of
POI.
When registering another icon, repeat steps 3
through 5.
