English 112
DVR Management Menu (Required user access level: ID4)
☞To schedule a timer recording that
continues for more than 24 hours:
When you want to schedule a timer recording
that continues for more than 24 hours, follow
these steps:
1
Click [Over 24H].
The last two rows (seventh and eighth
rows) are switched to a special format.
To exit from the special format, click the
button again.
2
In the upper row, specify the day of
the week and the time at which to start
the timer recording.
3
In the lower row, specify the day of the
week and the time at which to end the
timer recording, and then select the
“ON” radio button in the [ON/OFF]
area.
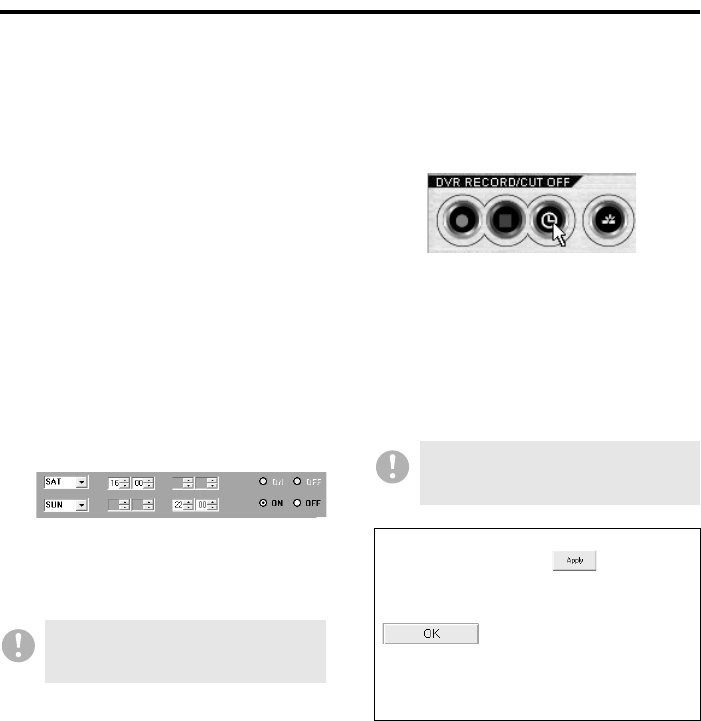
<Example>
In this example, a timer recording is
scheduled to start at 04:00:00 PM on
every Saturday and continue for 30 hours
until 22:00 on Sunday.
☞To activate a timer recording schedule:
On this tab, you can only define timer
recording schedules. To have the timer
recording mechanism actually work based on
your defined schedules, you have to click the
timer recording button on the control panel.
The scheduled timer recording is put into
standby and will automatically start when your
start time conditions are met. The title bar of
the window shows the timer recording status
with the appropriate symbol.
• Standby :
C
• Recording in progress : Ca
You can schedule only one timer
recording that continues for more than
24 hours.
You must have user access level ID3 or
higher to operate the timer recording
button.
When you have finished configuring the
settings on this tab, click and make
sure that the tab index text turns yellow.
When you have finished your configuration
task across all the tabs, finally click
. Configuration information is
uploaded to the DVR, and the tab index text
returns from yellow to black. (For more
information on the command buttons, see
P103.)


