English 86
Initial Set Menu (Required user access level: ID4)
A newly registered DVR is by default assigned
a title that consists of the last six digits
(XX-XX-XX) of the MAC address, but you can
change the title through the following steps:
1
Choose a DVR.
On the tree list or registration list, select
the DVR whose title you want to change.
The selected DVR is highlighted in blue.
2
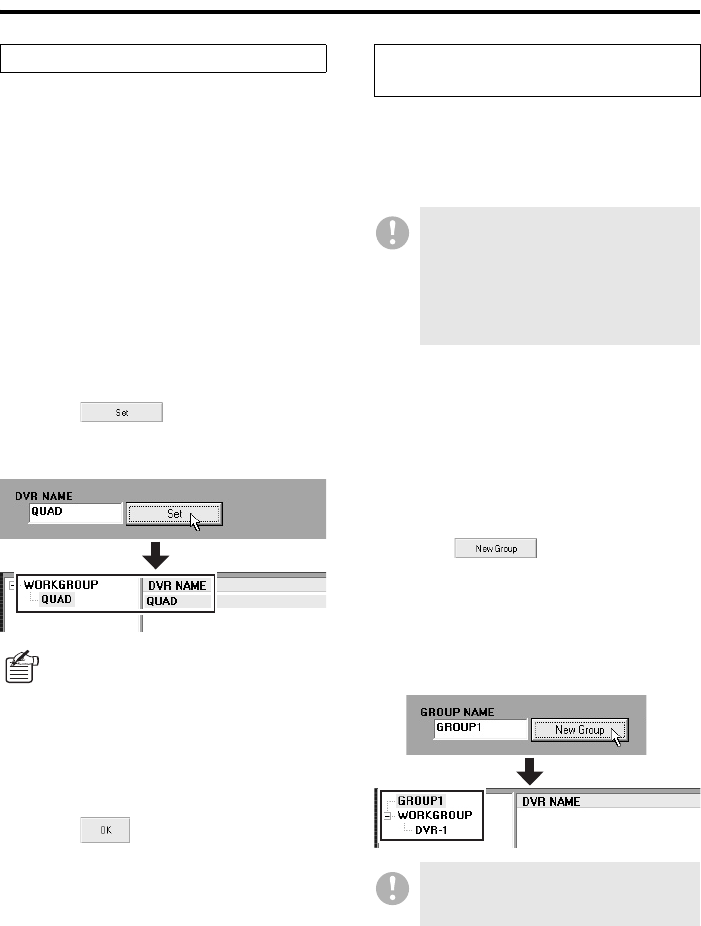
Type your desired title into the [DVR
NAME] box.
A DVR title can contain uppercase letters
and numbers, up to 10 characters in all.
It can also contain these special
characters: - : . /*, and space.
3
Click .
The tree list and registration list are
updated to reflect the new DVR title.
4
If you have other DVRs whose titles
you want to change, repeat steps 1 to
3 above for each of the DVRs.
5
Click .
Your changes are saved and uploaded to
the DVR.
A newly registered DVR belongs to the
“WORKGROUP” group by default, but you can
create new groups or rename existing groups so
that you can monitor the DVRs more effectively.
● To create a new group:
1
Enter the new group name into the
[GROUP NAME] box.
A group name can contain uppercase
letters and numbers, up to 10 characters
in all. It can also contain these special
characters: - : . /*, and space.
2
Click .
The new group is added to the list and
appears as the last group in the list, but
above the built-in “WORKGROUP”
group, which is always displayed at the
bottom of the tree list.
3
If you have other groups you want to
create, repeat steps 1 to 2 above for
each group.
Change a DVR Title
Alternatively, you can type in a new
DVR title by clicking a DVR on the tree
list and then immediately clicking the
DVR’s title part.
Creating, Modifying, or Deleting
a Group
• WORKGROUP is a built-in group that
cannot be renamed or deleted.
• When you edit the tree list and groups
actually displayed on the user
interface, you must use the [Tree Edit]
window, rather than the [Register
DVR] window.
If your entered group conflicts with an
existing group name, a
“duplicate” error
results.


