22
1 08-11-04 21:47:55 28.3G
2 08-12-04 06:55:58 8.03G
3 08-12-04 10:02:15 1.00G
4 08-12-04 12:42:31 18.0M
5 08-12-04 12:42:47 10.0M
HD1
Live
Playback
button
8
. This function is available only
when the MUX option has been set to
OFF.
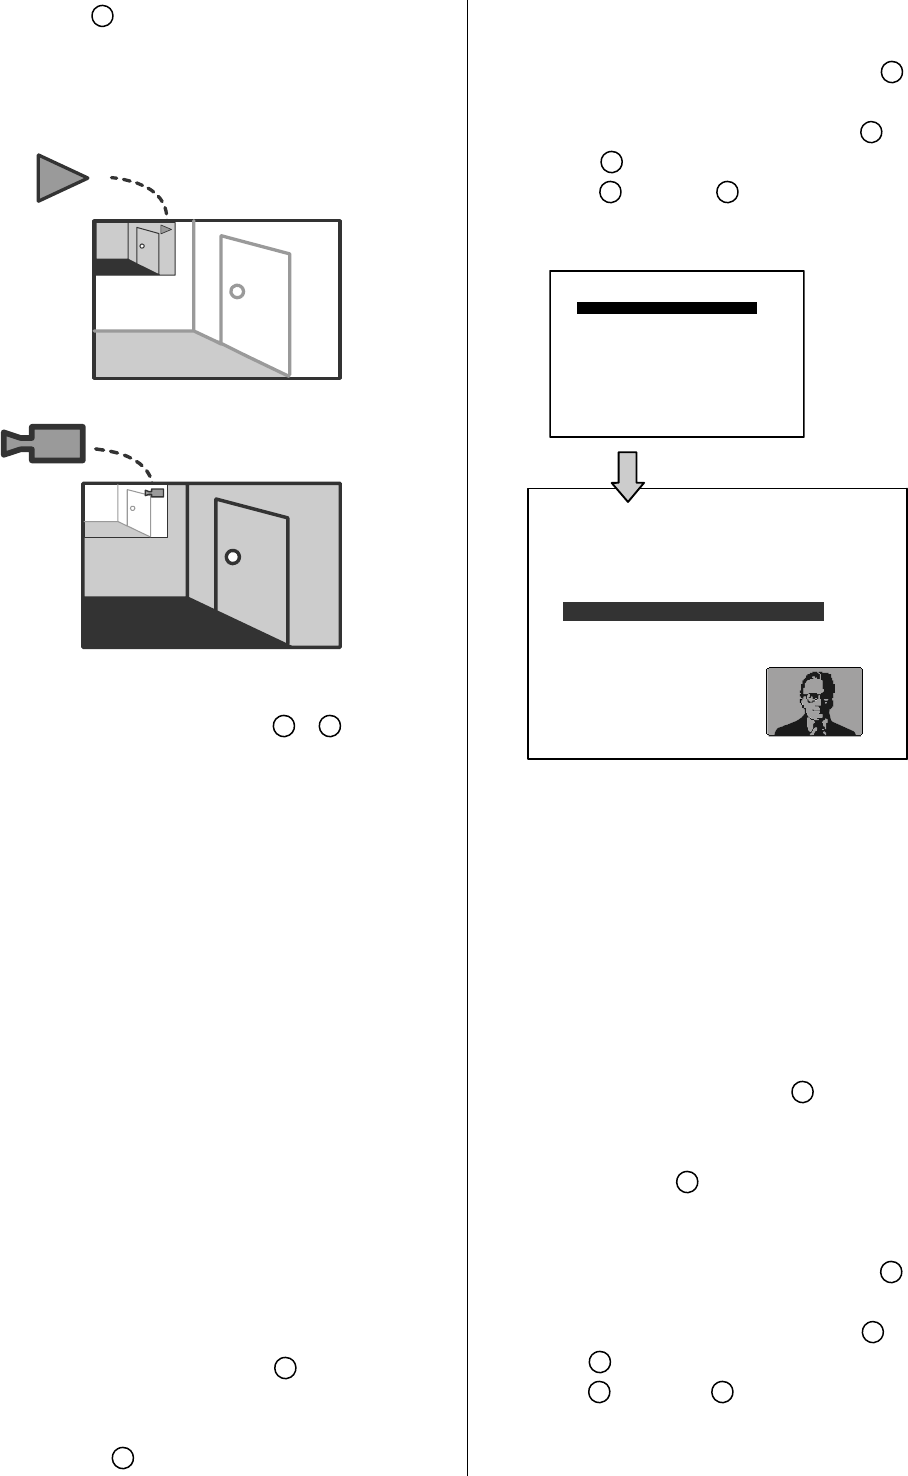
When the DVR is under PinP display mode,
please use the “<”, “>”, “v”, “^”
11
~
14
buttons
to move the position of the small windows as
your desire.
3.4 Search Operations
This section shows you how to access
recorded video.
Note: The Search button has another special
function. You can press and hold it down
for over 3 seconds. The REVIEW TEXT
mode will then be activated. The
REVIEW TEXT page has 6 items for
selection. Please refer to Chapter 6. for
more details.
3.4.1 FULL LIST Search
Take the following steps to proceed with the
full-list search function.
(1) Press the Search button
10
to enter the
search mode.
(2) Select the FULL LIST and press the Enter
button
15
to access the complete list of
recorded video.
(3) Highlight the specific recorded video you
require and press the Enter button
15
to
display the selected video.
( Key Operation: Press the “
^”
12
and
“v”
13
buttons to select a video; press
the
11
“<” and
14
“>” buttons to flip
over a page.)
NOTE: T: Timer recording; R: External trigger
recording; A: Alarm recording.
NOTE: The maximum number of index in the
list, for a respective HDD, is 3000.
3.4.2 ALARM LIST Search
Take the following steps to proceed with the
alarm-list search function.
(1) Press the Search button
10
to enter the
search mode.
(2) Select the ALARM LIST and press the
Enter button
15
to access the complete
list of alarm-event recorded video.
(3) Highlight the specific recorded video you
require and press the Enter button
15
to
display the selected video.
(Key Operation: Press the “
^”
12
and
“v”
13
buttons to select a video; press
the
11
“<” and
14
“>” buttons to flip
over a page.)
SEARCH
ALARM LIST
TIME SEARCH
THUMBNAIL
SD CARD
CD (For CD-RW model only)
FULL LIST


