


31
RECORD
ALARM/ MOTION
CLOCK/ TIMER
COMMUNICATION
DISK
SYSTEM
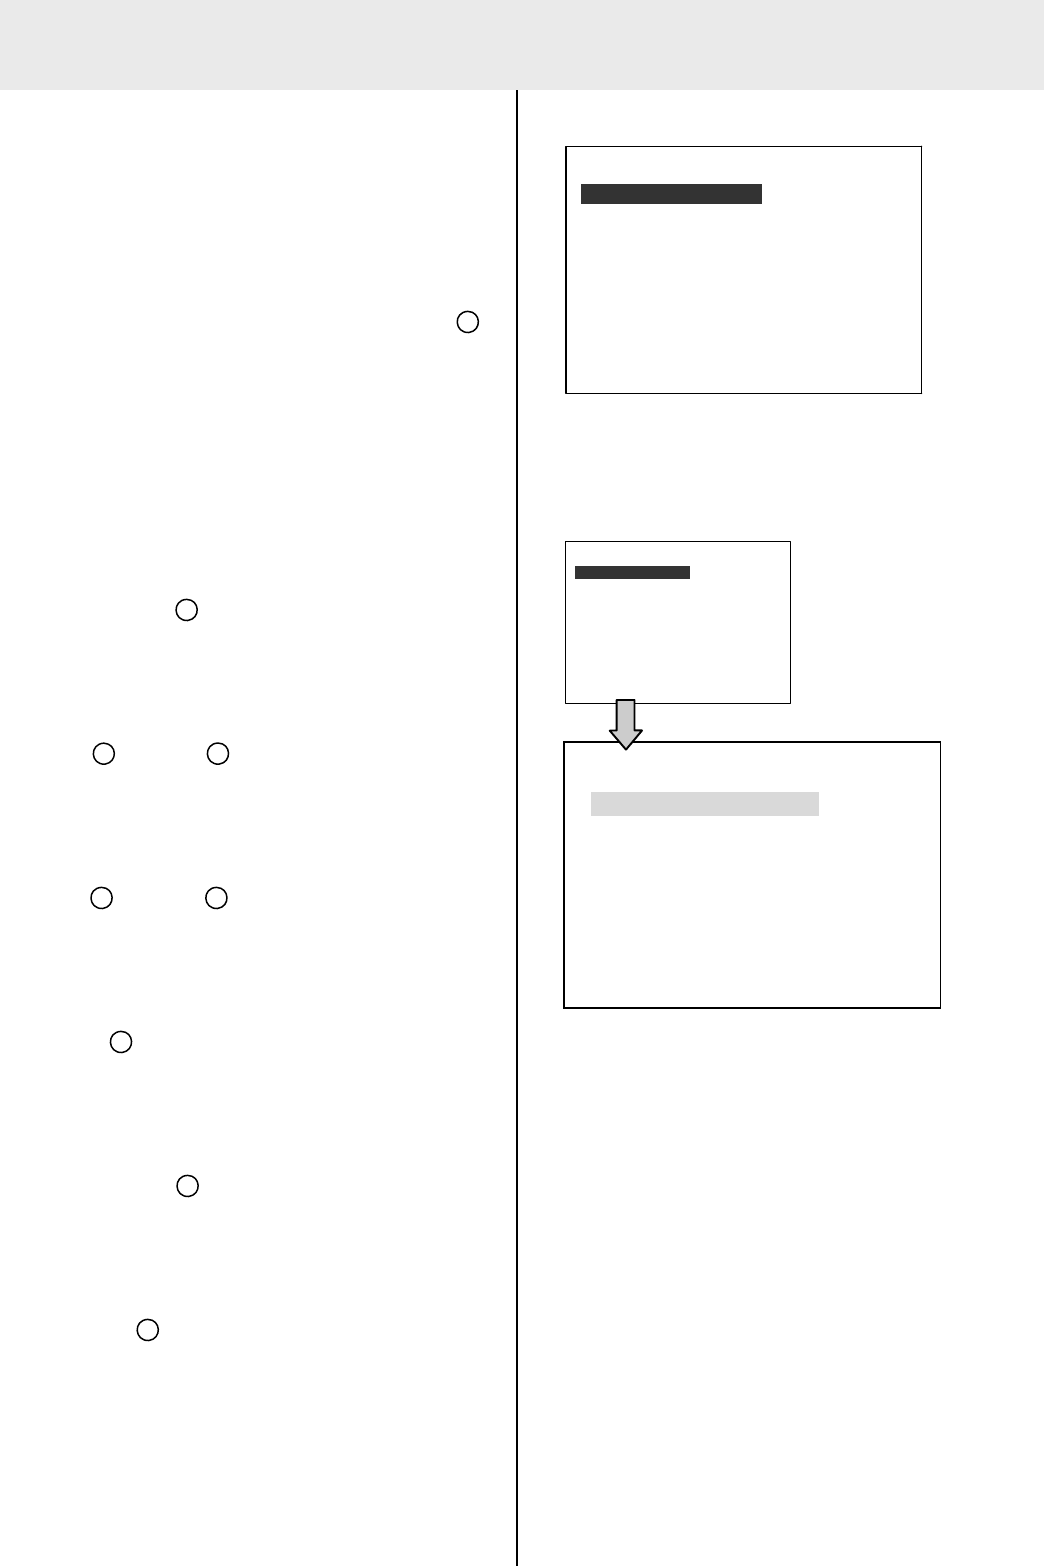
MAIN MENU
GOTO REC PAGE
4. MENU SETUP
RECORD
ALARM/ MOTION
CLOCK/ TIMER
COMMUNICATION
DISK
SYSTEM
MAIN MENU
GOTO REC PAGE
4. MENU SETUP
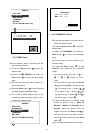
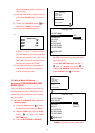
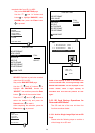
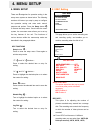
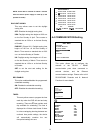
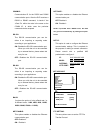
There are 6 categories for operation setting in the
setup menu system as shown below. The following
sections will instruct you step by step to configure
the operation setting and state each menu’s
purpose and options. Press the Setup button
9
to access the setup menu. Once inside the menu
system, the on-screen menu allows you to set up
the key features of the unit. The functions of
various buttons within the menu-setup mode are
described in the paragraphs below.
KEY FUNCTIONS
Setup button
9
:
Press to enter the setup menu. Press again to
exit the setup mode.
“
^”
12
and “v”
13
buttons :
Press to select the desired item or entry for
setting.
“<”
11
and “>”
14
buttons :
Press to highlight the desired option or to select
the context for setting.
Enter
15
button :
Press to enter the selected item and to save the
setting.
Shuttle Ring
20
:
Turn to highlight the desired option or to select
the context for setting.
Jog Dial
21
:
Turn to select the desired item or entry for
setting.
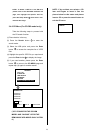
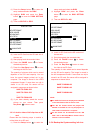
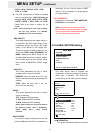
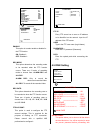
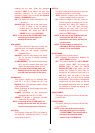
4.1 REC Setting
This page allows you to set the recording rate
and recording quality, and enables you to
continue recording when the disk is full.
AUTO START REC:
This option determines the way to record
automatically after power activated if
necessary.
OFF: Disables it.
ON: Enables it.
REC RATE :
This option is for adjusting the number of
pictures recorded every second into a storage
disk. The recording rate controls the frequency
at which the number of video pictures can be
recorded.
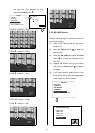
z For an NTSC unit there are 11 different
recording rates you can select from: 60F/S (60
fields per second), 30F/S, 20F/S, 12F/S,
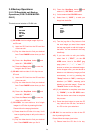
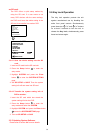
REC SETTING
AUTO START REC :OFF
REC RATE :30 F/S
REC QUALITY :BEST
DISK FULL :REWRITE
AUDIO :OFF
MULTIPLEXER :ON
TEXT INSERTION
MAIN PAGE