


6. NetCommand 65
NetCommand-Controlled Recording, continued
Time-Delayed Recording from ChannelView
Set Up the Recording
1. Ensure that TV Energy Mode is set to Fast Power
On and the TV clock is set to the correct time and
day. See “Setup Menu” in chapter 5, “TV Menu
Settings.”
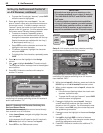
2. Press
GUIDE
to view ChannelView listings for the
current input.
3 Press to highlight the source channel from
which you wish to record.
4. Press to view a list of future programs on that
channel.
5. Press to highlight a future program.
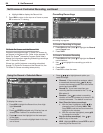
6. Press (
RECORD
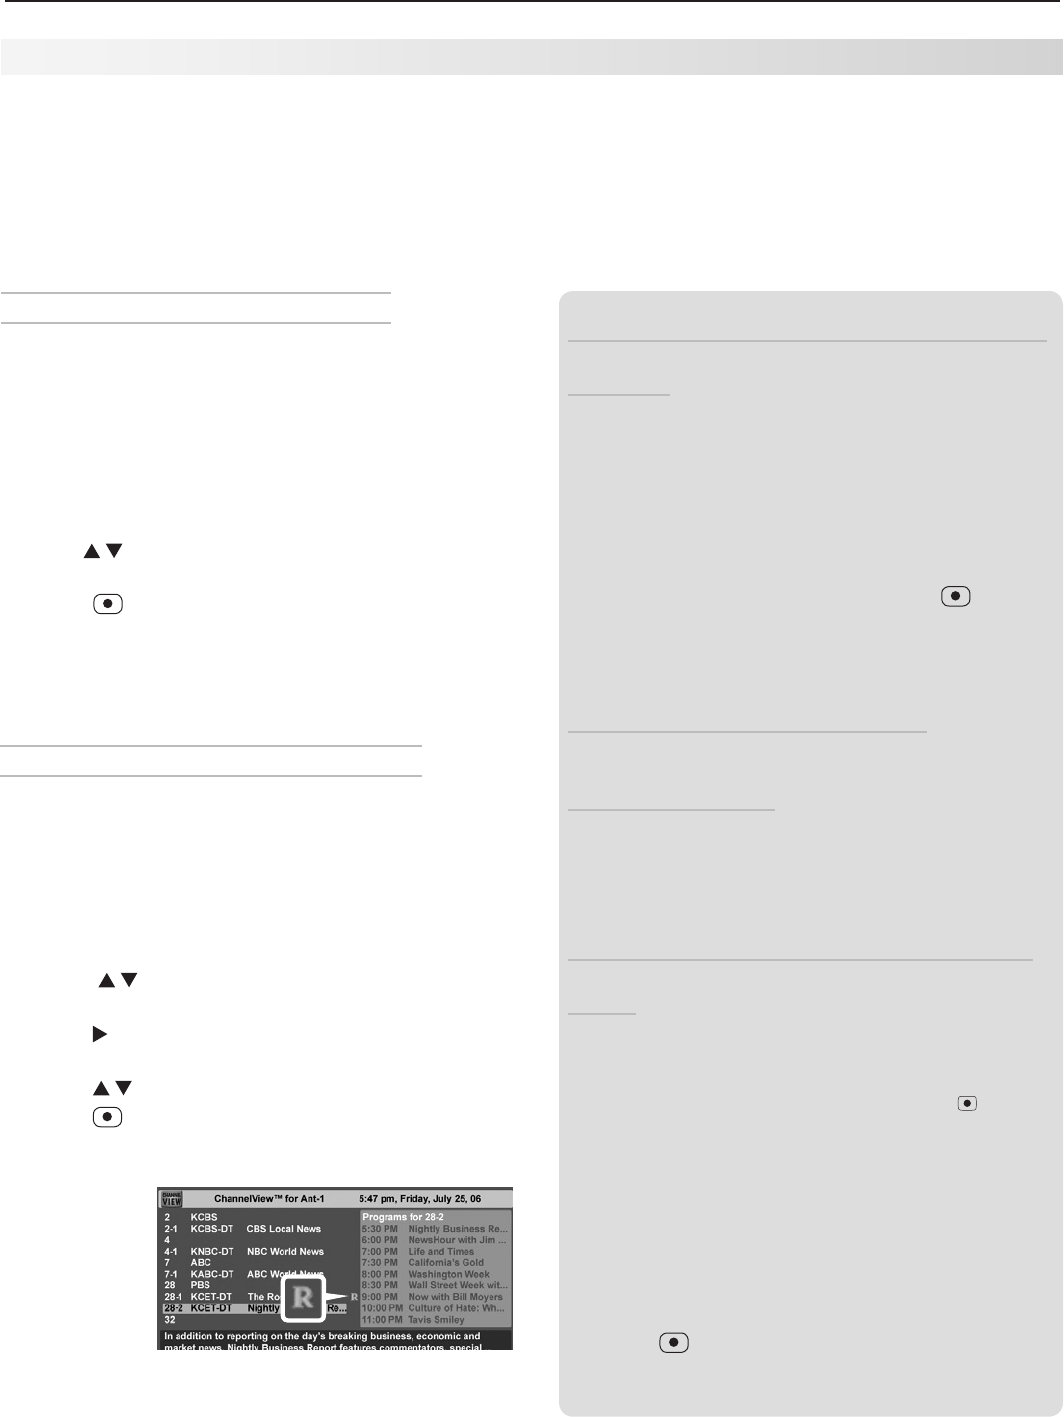
). A red “R” temporarily displays
next to the program listing to indicate the program
will be recorded.
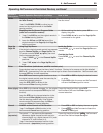
A red “R”
appears briefly
in ChannelView
to indicate
a scheduled
recording.
7. Review the Record List to confirm that the record-
ing is now in the schedule. To view the Record List:
a. Press
MENU
to display the Record menu.
More on VCR Recording
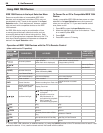
Setting Up Analog VCR Recordings with TV Guide
On Screen
When setting up a recording using TV Guide On
Screen, note that:
• You must select the desired recording device in
the TV Guide On Screen Record Options menu.
If you have both analog and digital recording
devices, always verify that the analog device is
the TV Guide On Screen default device before
starting an analog recording with the
(
RECORD
)
key.
• The destination recording device for analog
recordings must be the analog device connected
to the TV’s
RECORD OUTPUT
jacks.
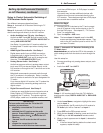
Restrictions for Traditional VCRs with
NetCommand- and TV Guide On Screen-
Controlled Recording
• Your VCR must be connected directly to the
RECORD OUTPUT
audio and video outputs.
• If the source device or recording device does not
have separate power on and off controls, then
leave the device powered on.
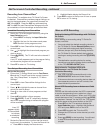
Direct VCR Recording from an Antenna or Cable
Source
You can use this method when the VCR is connected
to receive programming from a cable box, direct
cable, or over-the-air antenna. When your VCR is the
current device and the TV remote control’s (
RECORD
)
key has been “learned” for the VCR, the TV’s remote
works the same as the record button on the VCR.
1. Press
INPUT
on the TV’s remote to display the
Input Selection menu. Highlight the traditional
VCR and press
POWER
to turn on the VCR.
2. Press
ENTER
to switch the TV to the VCR.
3. Change the VCR’s tuner to the channel you wish
to record.
4. Press
(
RECORD
) t
o start recording. You will need
to stop the recording manually at the end of the
program.
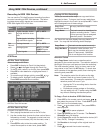
Recording from ChannelView
™
ChannelView
™
is available when TV Guide On Screen
is disabled. ChannelView provides program listings, as
sent by the broadcasters, for memorized channels on
ANT 1
and
ANT 2
. Press the
GUIDE
key while watching
ANT 1
or
ANT 2
to see ChannelView listings and to set
up immediate or future recordings as described here.
Immediate Recording from ChannelView
1. Switch the TV to the program source by using the
Input Selection menu.
a. Press INPUT to display the Input Selection
menu.
b. Highlight the icon for the antenna and press
ENTER
to switch to the program source.
2. Press
GUIDE
to view ChannelView listings for the
current input.
3. Use to highlight the channel and program you
wish to record.
4. Press (
RECORD
). The TV will tune to the channel if
needed.
A red “R” briefly appears next to the program listing
to indicate the program will be recorded.
5. Press
EXIT
to return to TV viewing.
b. Highlight
List to display the Record List.
8. Press
MENU
to return to the top row of icons or press
EXIT
to return to TV viewing.