82 Chapter 7. Using IEEE 1394 Devices
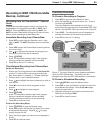
Recording to IEEE 1394 Recordable
Devices
YoucanusetheTVtocontrolrecordingtoIEEE1394
devices.Whilerecording,youcanviewaprogramona
differentinputorpowerofftheTV.Thefollowingtable
letsyouseewhatsignalscanberecordedtoanIEEE1394
digitalVCRorA/Vdisc.
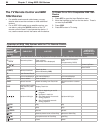
Recording
Availability
Signal Type TV Input
Canbe
recorded
Digitalchannels,
includinghigh-defini-
tionchannels
ANT 1, ANT 2
Digitalsignals,includ-
inghigh-definition
signals
IEEE1394devices
Cannotbe
recorded
Analogchannels
ANT 1, ANT 2
Analogsignals
INPUT 1
-
3
,
COMPONENT 1
and
2
Digitalsignals
HDMI 1
and
2
,
PC-DVI
Summary of signal inputs and recording to an IEEE 1394
digital VCR or A/V disc.
TherearetwowaystorecorddigitalcontenttoanIEEE
1394recordableA/VdiscorDVCR:
• FromtheTV’sRecordingSetupmenu
• FromtheTV’sChannelView™channelguide
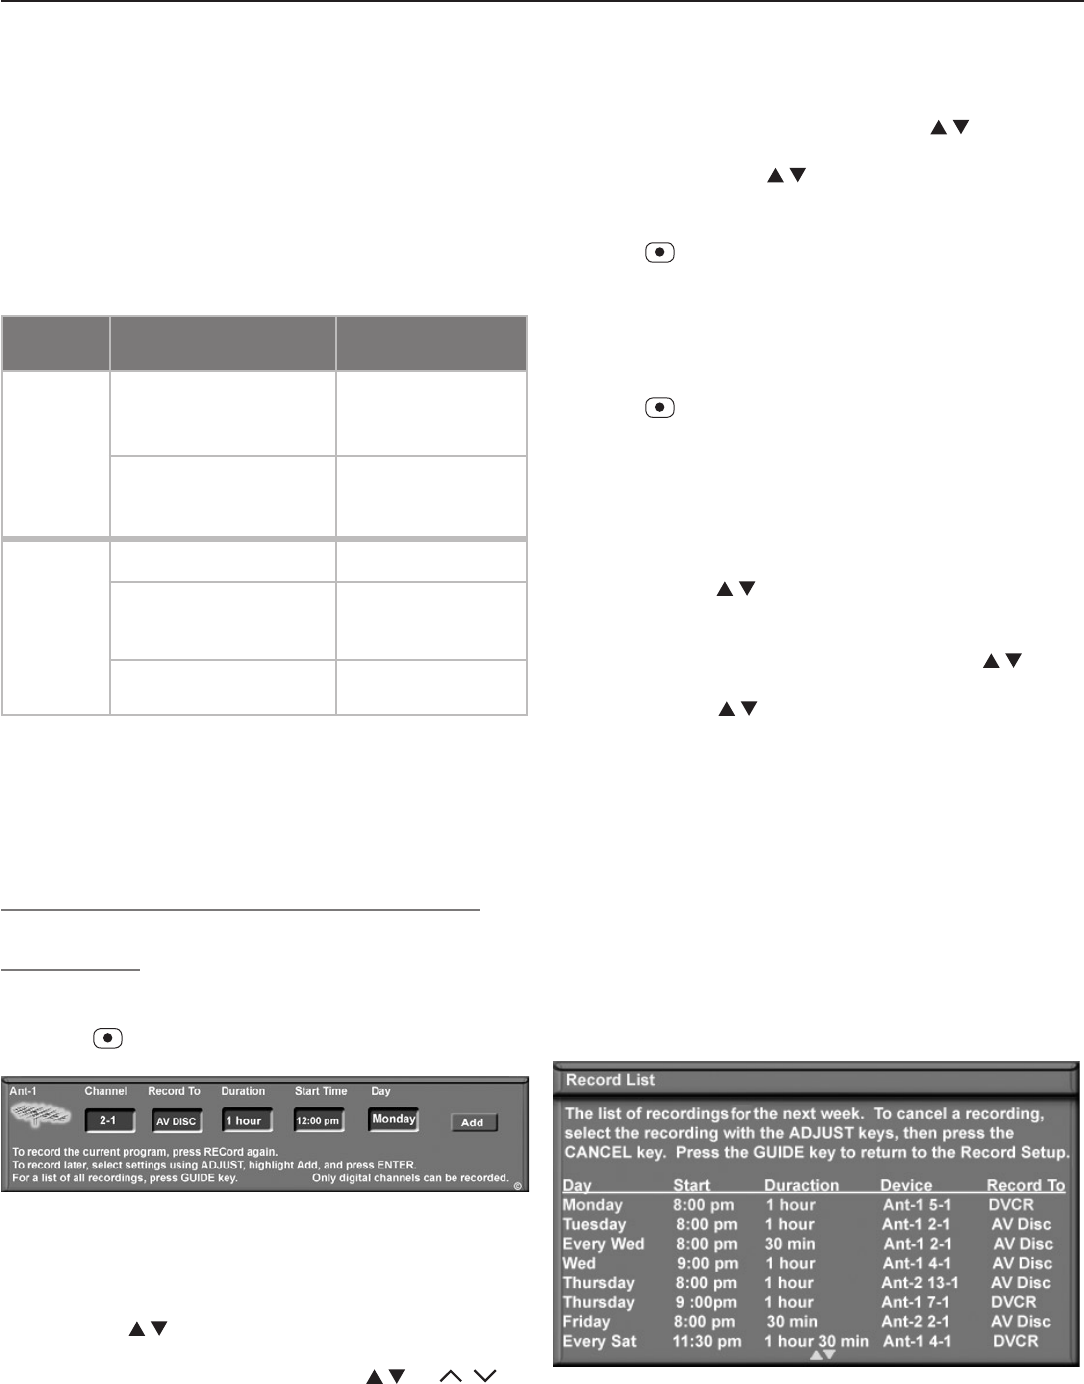
Immediate Recording from the Recording
Setup Menu
Recording Now from the Menu
1. Press (
RECORD
)toopentheRecordingSetupmenu.
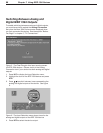
Figure 1. The Recording Setup menu
2. Reviewtherecordingsetupinformation.Movethe
highlighttoeachboxyouneedtochange.
• Withtheleftmosticonhighlighted(thesource),
press
tochangethesourceinputifneeded.
• Channel.
Ifthesourceisanantenna,selecta
memorizeddigitalchannelusing
,
CH
/ ,or
enterthechannelnumberfromtheremotecontrol.
• Record To.Ifyouhavemorethanonerecordable
IEEE1394deviceconnected,use
toselectit
fromthelistintheRecord Tobox.
• Duration.Use toselectarecordingdura-
tionoffrom30minutestosixhoursin30-minute
increments.Thedefaultisonehour.
3. Press
asecondtimetostartrecording.
Time-Delayed Recording from the Menu
1. EnsurethatTVEnergyModeissettoFast Power On
andtheTVclockissettothecorrecttimeandday.
See“SetupMenu”tomakechanges.
2. Press
(
RECORD
)toopentheRecordingSetupmenu.
3. Reviewtherecordingsetupinformation.Tochange
thesource,recordingdevice,orduration,followthe
stepsdescribedaboveunder“RecordingNow.”
4. Specifywhentostarttherecording.
• Start Time
a. Withthehourhighlightedingoldcharacters,
press toselectthehour,includingAMor
PM.Press
ENTER
tomovethehighlighttothe
minutes.
b. Withtheminuteshighlighted,press to
selecttheminutes.
• Day.Use toselectadayoftheweek.
5. SelectAddandpress
ENTER
toaddtherecordingto
theRecordList.Aconfirmationmessagewillbe
displayedifyourselectionissuccessful.Ifyoupick
overlappingtimes,day(s),ordestinationdevices,you
willseeamessagestatingthereisaconflict.
6. WhiletheRecordingSetupmenuisdisplayed,press
GUIDE
toviewalistofscheduledrecordingsandverify
theadditionoftherecordingtotheRecordList,figure
2.
7. FromtheRecordListyoucan:
• Press
GUIDE
toreturntotheRecordingSetupmenu.
• Press
EXIT
toreturntoTVviewing,
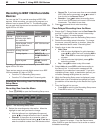
Figure 2. Record List screen. From the Record menu,
press GUIDE to open the Record List to review or cancel
scheduled recordings.


