28
EN
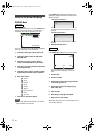
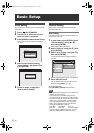
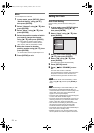
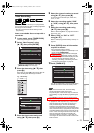
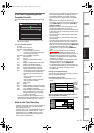
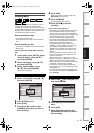
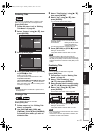
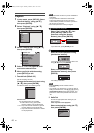
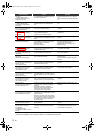
Make Recording Compatible
Use this feature to make the unfinalised +VR mode
discs recorded on other unit recordable on this unit.
When you make an additional recording on this unit
with “Make Recording Compatible” set to “ON”, the
title list is automatically converted to this unit’s style.
1 In stop mode, press [SETUP]. Select
“General Setting” using [U / D],
then press [ENTER].
2 Select “Recording” using [U / D],
then press [ENTER].
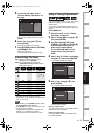
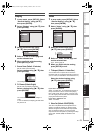
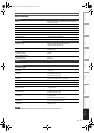
3 Select “Make Recording Compatible”
using [U / D], then press [ENTER].
4 Select “ON” or “OFF” using [U / D],
then press [ENTER].
ON: Title list will be replaced when you make
additional recordings to the discs recorded by
other units.
OFF: Prohibiting additional record to the disc that has
a title list created by other units.
5 Press [SETUP] to exit.
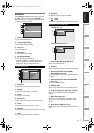
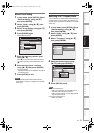
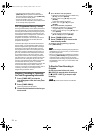
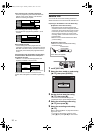
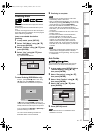
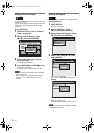
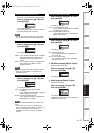
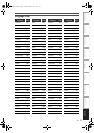
Setting Aspect Ratio for Video Mode
Recording
You can set aspect ratio for video mode recording.
1 In stop mode, press [SETUP]. Select
“General Setting” using [U / D],
then press [ENTER].
2 Select “Recording” using [U / D],
then press [ENTER].
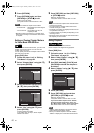
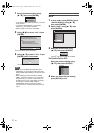
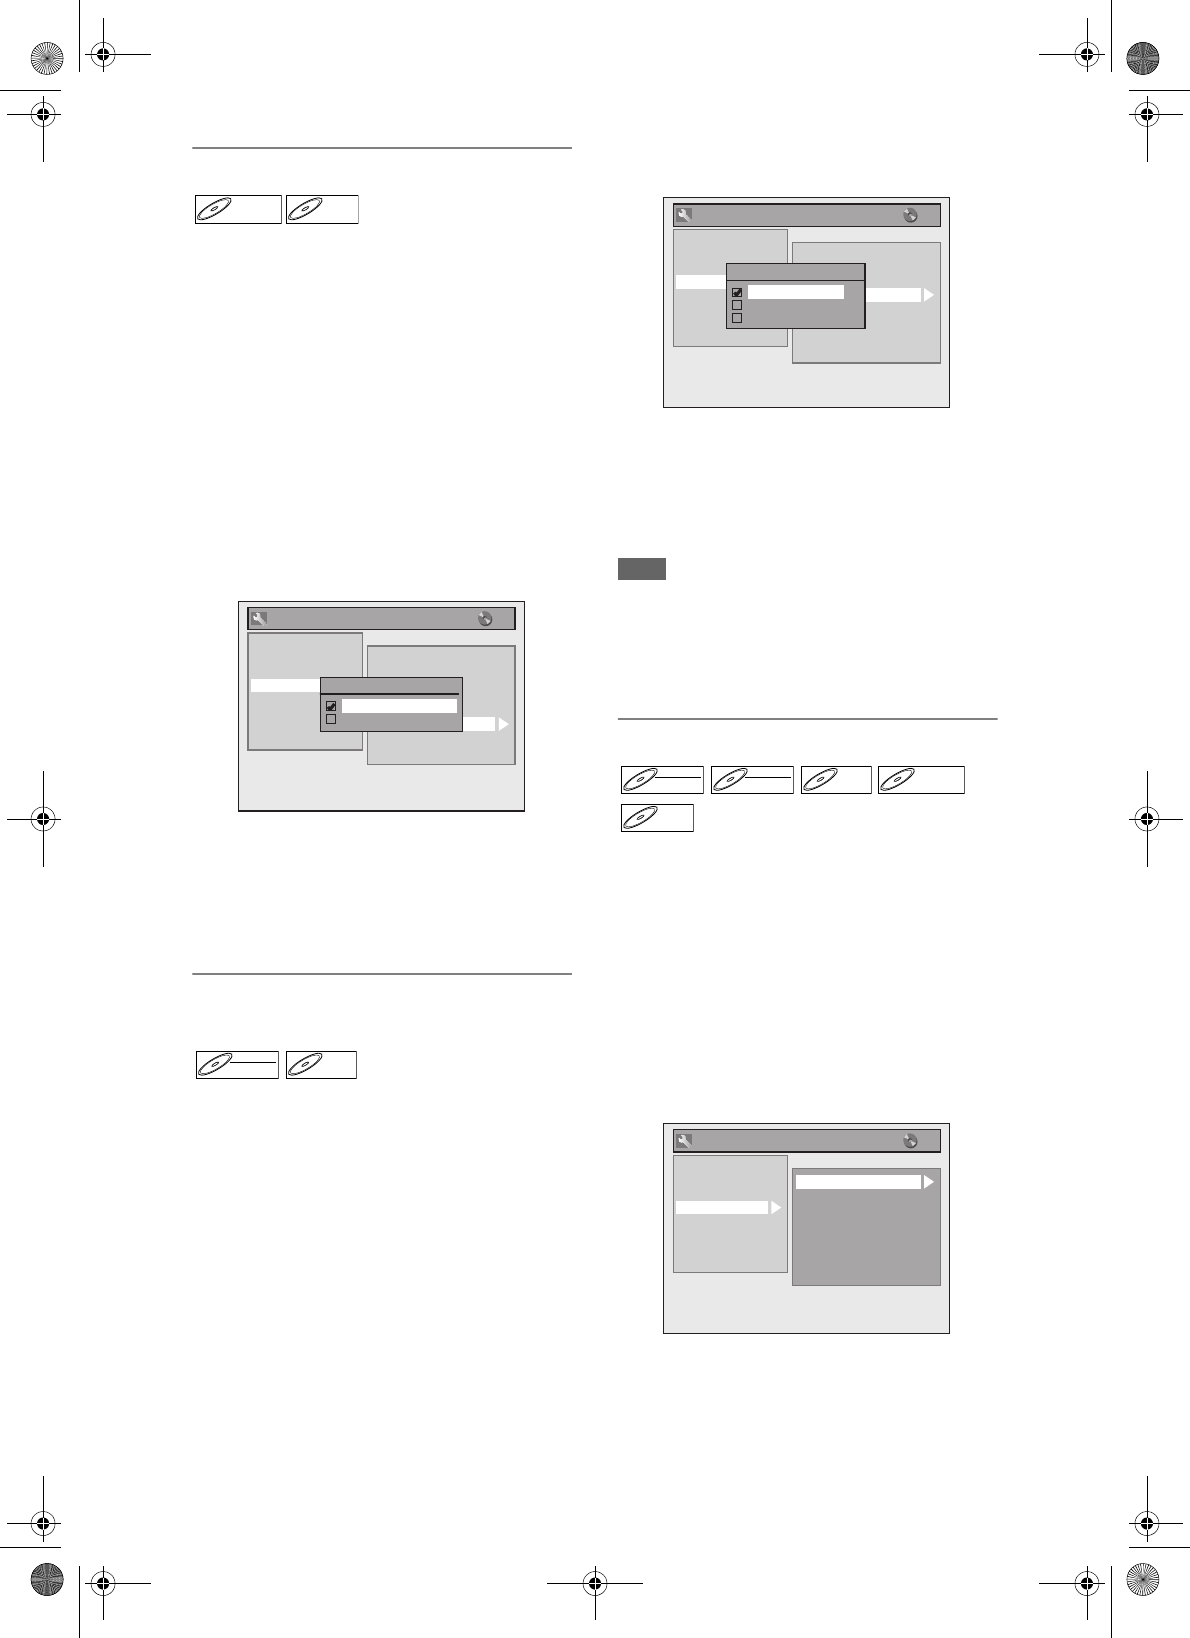
3 Select “Aspect Ratio (Video mode)”
using [U / D], then press [ENTER].
4 Select your desired setting using
[U / D], then press [ENTER].
Auto (default): It will be recorded with whichever the
ratio that the programme you started
to record is broadcasted with.
4:3 : Recorded in the aspect ratio of 4:3.
16:9 : Recorded in the aspect ratio of 16:9.
5 Press [SETUP] to exit.
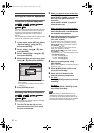
Note
• For VR mode DVD-RW disc, the image will be
recorded in whichever the ratio that the programme
you record is broadcasted with, regardless of the
“Aspect Ratio (Video mode)” setting.
• For DVD+RW/+R disc, the image will always be
recorded in aspect ratio of 4:3.
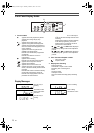
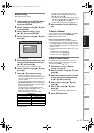
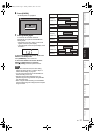
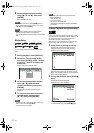
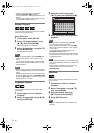
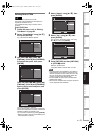
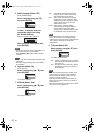
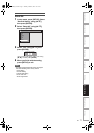
Setting Auto Chapter
The unit inserts a chapter mark periodically (every 15
minutes by default) during recording. Using the Auto
Chapter menu, you can set this function off or change
the time period.
1 In stop mode, press [SETUP]. Select
“General Setting” using [U / D],
then press [ENTER].
2 Select “Recording” using [U / D],
then press [ENTER].
3 Select “Auto Chapter” using [U / D],
then press [ENTER].
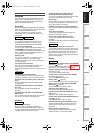
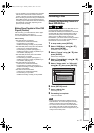
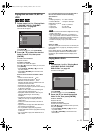
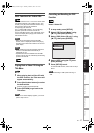
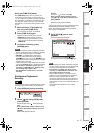
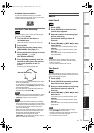
DVD+RWDVD+RW D
VD+R
DVD+R
General Setting
Auto Chapter
Recording Audio Select (XP)
Auto Finalise
Aspect Ratio (Video mode)
Dubbing Mode
Make Recording Compatible
Bilingual Recording Audio
External Input Audio
Playback
Display
Video
Clock
Channel
DivX
Reset All
Recording
Make Recording Compatible
ON
OFF
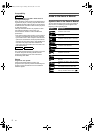
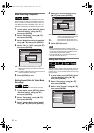
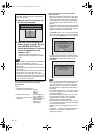
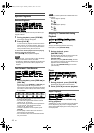
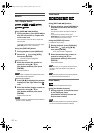
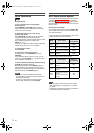
DVD-RWDVD-RW
Video
DVD-RDVD-R
General Setting
Auto Chapter
Recording Audio Select (XP)
Auto Finalise
Aspect Ratio (Video mode)
Dubbing Mode
Make Recording Compatible
Bilingual Recording Audio
External Input Audio
Playback
Display
Video
Clock
Channel
DivX
Reset All
Recording
Aspect Ratio (Video mode)
Auto
4 : 3
16 : 9
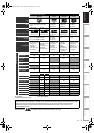
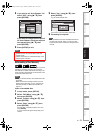
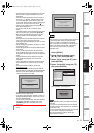
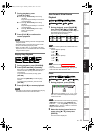
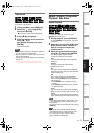
DVD-RWDVD-RW
Video
DVD-RWDVD-RW
VR
DVD-RDVD-R D
VD+R
W
DVD+RW
D
VD+R
DVD+R
General Setting
Auto Chapter
Recording Audio Select (XP)
Auto Finalise
Aspect Ratio (Video mode)
Dubbing Mode
Make Recording Compatible
Bilingual Recording Audio
External Input Audio
Playback
Display
Video
Clock
Channel
DivX
Reset All
Recording
E9GA0BD_EN.book Page 28 Monday, March 26, 2007 10:14 AM