


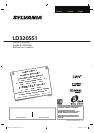
4
4
EN
I
NTRODUCTION
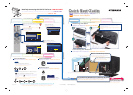
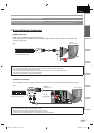
➁
➀
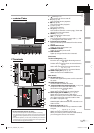
t side
fro
ont
on
t
front side
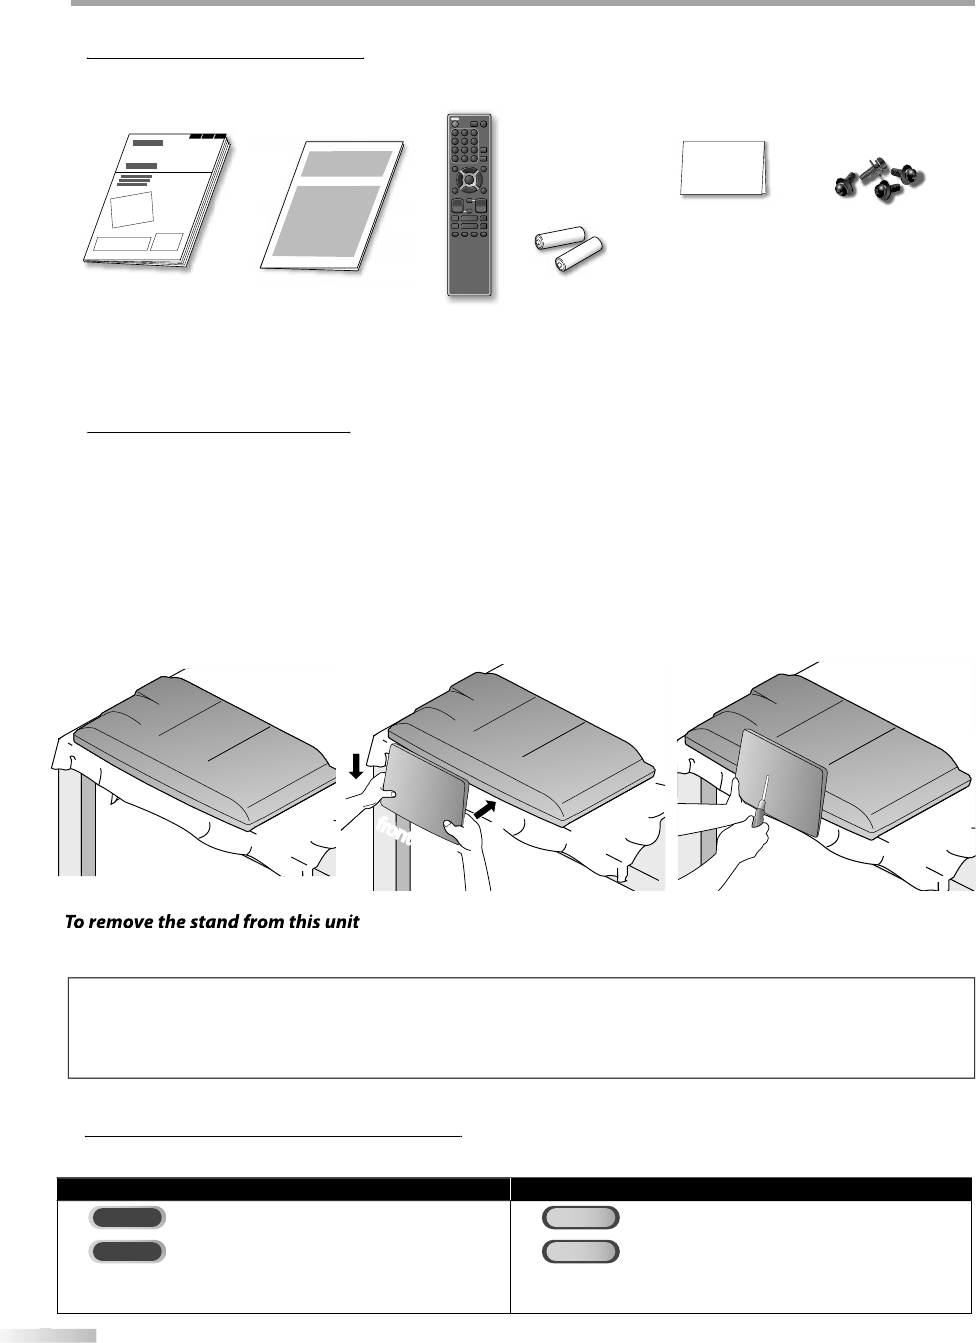
pp
Su
ppl
ie
d
Accessorie
s
pp
Attaching the Stand
g
You must attach the stand to the unit to have it as a table to
p
unit. Be sure the
f
ront and rear o
f
the stand match the
p
ro
p
er direction
.
Note:
• When attaching the stand, ensure that all screws are tightl
y
fastened. If the stand is not properl
y
attached, it could cause the unit to fall,
resu
l
tin
g
in in
j
uries as we
ll
as
d
ama
g
e to t
h
e unit
.
• Make sure to use a table which can support the weight of this unit and is larger than this unit.
• M
a
k
e
su
r
e
t
h
e
tab
l
e
i
s
in
a
stab
l
e
l
ocat
i
o
n
.
•
I
f
you need to replace these accessories, please re
f
er to the part No. with the illustrations and call our toll
f
ree
c
ustomer support line
f
ound on the cover o
f
this manual
.
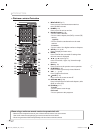
Symbols Used in this Manual
y
The following is the description for the symbols used in this manual. Description refers to
:
TV FUNCTIONS DVD FUNCTIONS
TV
:
Analo
g
TV operatio
n
DVD
:
Playback o
f
DVD-video
DTV
: Digita
l
TV operatio
n
CD
:
Playback o
f
audio CD
• I
f
neither symbol appears under the
f
unction heading,
operation is app
l
ica
bl
e to
b
ot
h.
• I
f
neither symbol appears under the
f
unction heading,
o
peration is app
l
ica
bl
e to
b
ot
h
.
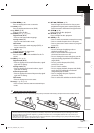
1
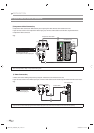
S
p
read a thick and soft cloth over a
tab
l
e
as
s
h
o
wn
be
l
o
w
.
Pl
ace
t
h
e
m
a
in
u
ni
t
f
ace
do
wn
o
n
to
i
t.
M
ake sure not to dama
g
e the screen.
A
t least 2
p
eo
p
le are re
q
uired at this
ste
p
.
2
Ali
g
n the 2 stand hooks with the two
hoo
k
s
u
n
de
r
t
h
e
botto
m
o
f
t
h
e
m
a
in
u
nit (shown b
y
arrow
➀
),
then slide
t
h
e
sta
n
d
in
t
h
e
d
ir
ect
i
o
n
as
s
h
o
wn
by
arrow
➁
until it sto
p
s and the
m
ountin
g
holes are ali
g
ned.
M
ake sure not to
p
ut the AC
p
ower
co
r
d
bet
w
ee
n
t
h
e
sta
n
d
a
n
d
t
h
e
u
ni
t.
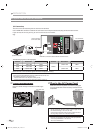
3
Drive Philli
p
s
p
an screws in
t
hr
eaded
h
o
l
es
at
t
h
e
botto
m
o
f
t
h
e
stand until the
y
are tight.
AA
AA
Unscrew t
h
e P
h
i
ll
ips pan screws on step 3
.
A
f
ter the screws are removed pull the stand up toward the rear o
f
the unit. Be care
f
ul not to drop the stand when you remove it.
o
wn
e
r’
s
m
a
n
ual
(
1EMN25921
)
q
uic
k
start
g
ui
d
e
(
1EM
N
25922
)
r
e
m
ote
co
n
t
r
ol
(
NF033UD
)
batte
ri
es
b
AA, 1.5V x 2)
(A
AA,
1
.
5V
x
2)
re
g
istration car
d
(
1EMN24700
)
sc
r
e
w ki
t
fo
r
a
ttac
h
ing t
h
e stan
d
(
1ESA19508
)