


Various settings
02
18
En
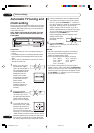
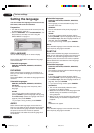
Automatic TV tuning and
clock setting
Plug in your unit into the mains supply and it will start
to automatically tune itself in and set the correct date
and time. After setting itself up, you must set the TV
to the video channel.
ONLY WHEN YOU PLUG IN THIS UNIT FOR THE
FIRST TIME, THE AUTOMATIC SETUP WILL BE
AVAILABLE.
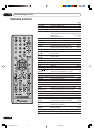
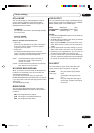
STANDBY/ON
CHANNEL + / –
AV3
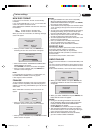
4
If there is interference from an adjacent broad-
cast channel in the picture (wavy lines, picture
roll, etc.), press the CHANNEL + / – buttons on
your unit to select any other RF channel between
23 and 69, retuning your TV until the word
“TEST” flashes on the TV screen. If you con-
nected a satellite receiver as explained on page
16, you must switch off the VCR’s transmitter.
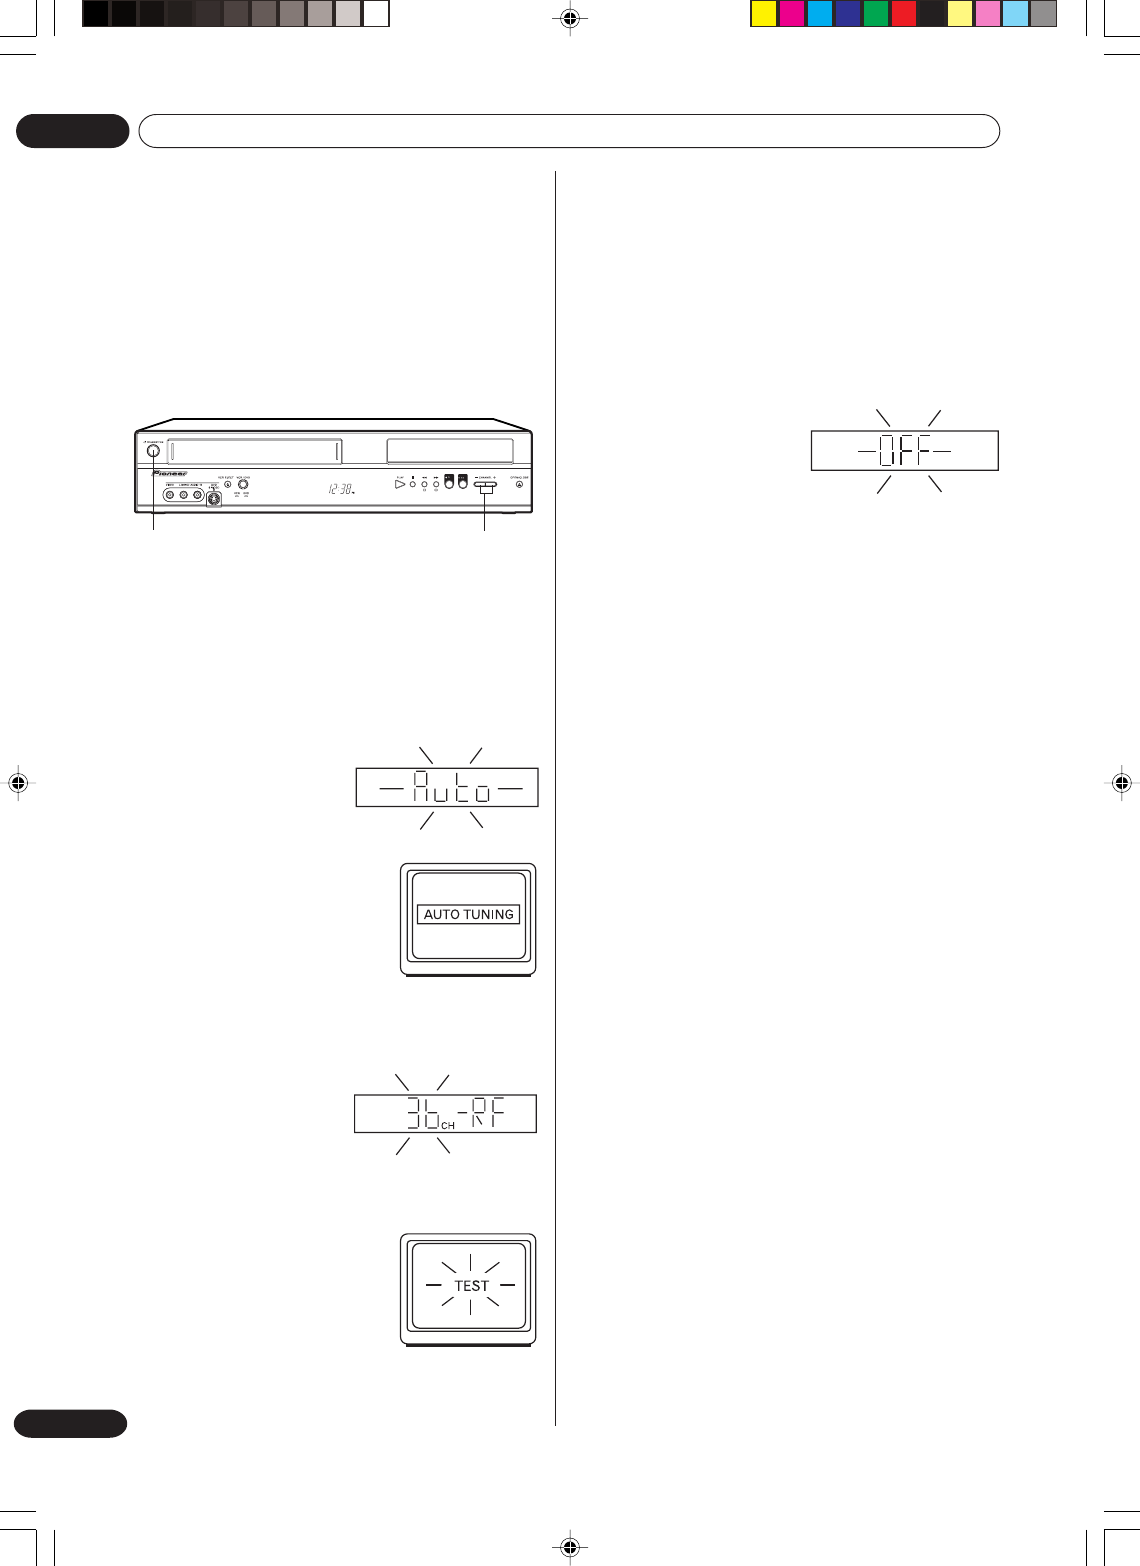
Press the unit’s CHANNEL + / –
buttons repeatedly until OFF appears in the
display window (OFF
will appear after 69 or
before 23).
5
Press the STANDBY/
ON button to turn OFF the unit. Now the TV is
tuned to your unit.
NOTES:
•
The unit automatically corrects the clock setting
every hour and automatically adjusts the clock
setting for Daylight Saving Time.
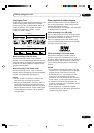
• Your unit will tune the TV stations as follows.
CH 1 BBC 1 CH 5 Channel 5
CH 2 BBC 2 CH 6 Satellite
CH 3 ITV CH 7 etc.
CH 4 Channel 4
• If you want to change the RF output channel or
switch to “OFF”, press and hold the STANDBY/ON
button on the front of your unit in the Standby mode
until the current RF output channel appears. Press
the CHANNEL + / – buttons on your unit to select
the RF channel you desire.
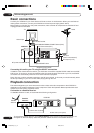
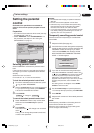
Preparation:
• Make sure that your unit is connected properly to
the TV.
• If a satellite receiver is connected with the coaxial
lead, make sure it’s switched ON and set to SKY
ONE.
• Turn on the TV and select the channel you wish to
allocate for video use.
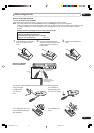
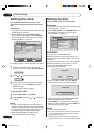
1
Plug in your unit's plug
into the mains supply.
“Auto” will start to flash in
the unit display. And also
“AUTO TUNING” will be
displayed on the TV
screen. Your unit will
automatically tune itself
in and set the correct
time and date
(Depending on the
reception condition, it
may take approx. 10
minutes.)
2
Press and hold the
STANDBY/ON button on
the front of your unit in
the Standby mode until RF
output channel “36” will
appear in the unit display.
3
If you have used a 21 pin
scart lead you now, simply
select the AV channel on
your TV and go to step 5.
Tune the TV in the same way
as tuning in a TV broadcast station until the word
“TEST” flashes on the TV screen. Refer to the TV
operating instructions for tuning. Now the output
from the unit is tuned to this channel. Whenever
you want to play back a tape, select this channel.
2H30301B_En_18_29 8/4/05, 19:2018