


67
En
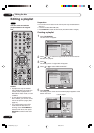
Editing the disc
06
NOTES:
• It is no problem to omit the
procedures for confirming the
scene or adjusting start and end
points.
• It is not possible to make any
adjustments for 2 seconds after a
title starts or 2 seconds before it
ends.
•To set a start point at the beginning
of a title, set it during countdown.
• The points during editing may be
different from the preview.
• Start and end points are adjusted
in units of 1 second.
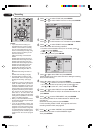
5
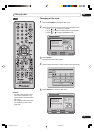
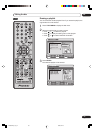
Press or to select “SET START” at the start point of the
scene that you want to erase and press ENTER. (To set the start
point easily, search the start point while “SET START” is selected)
The still image at the start point appears at the left small screen.
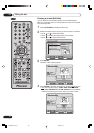
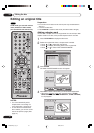
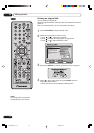
6
Press or to select “SET END” at the end point of the
scene you want to erase and press ENTER.
The still image at the end point appears at the right small
screen.
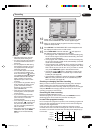
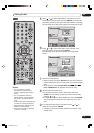
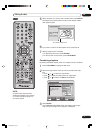
7
Check the erased scenes.
• Select “Preview” and press ENTER. Then the video where the
scenes between the start and end points are erased is played
back.
• Each operation button (F.FWD, REW, SKIP
66
66
6, SKIP
77
77
7,
PLAY, PAUSE/STILL) for playback also can be used.
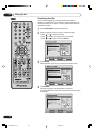
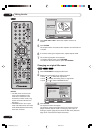
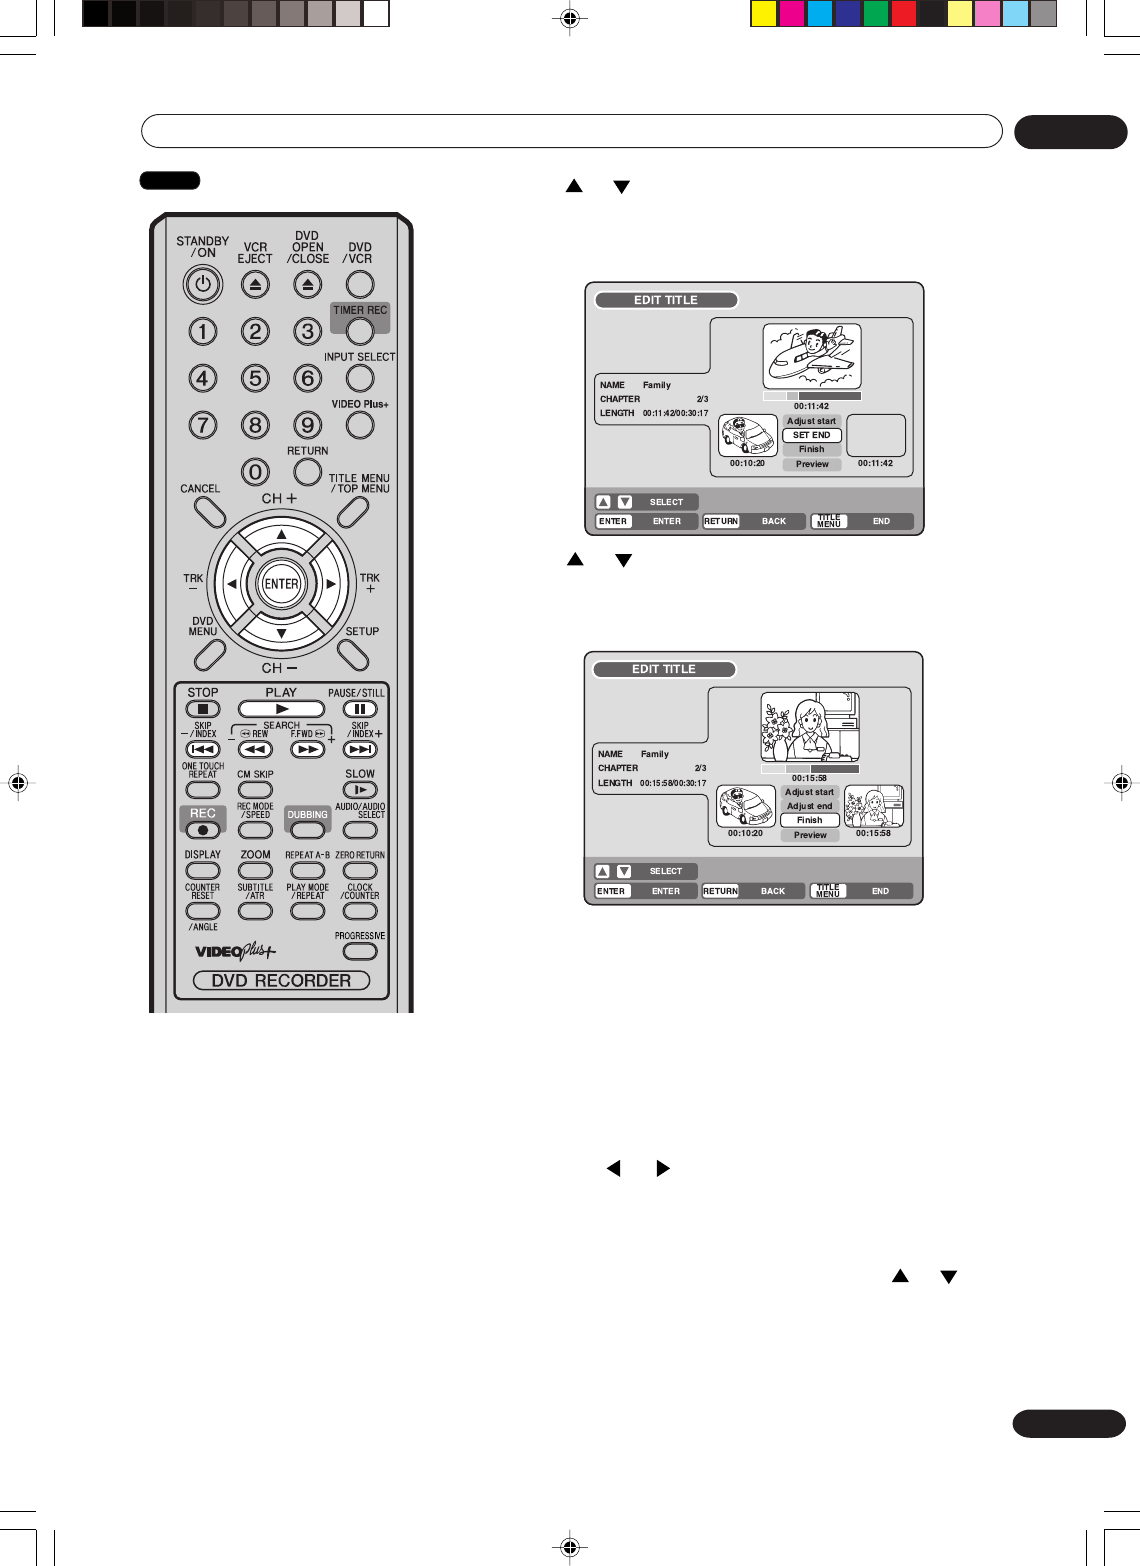
8
Adjust the start and end points.
• To adjust the start point, select “Adjust start” and press
ENTER. You can change the start point every one frame by
pressing
or .
• To adjust the end point, select “Adjust end” and press ENTER.
You can change the end point in the same way as the start
point.
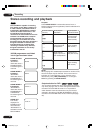
9
If you determine the scene to be erased, press or to
select “Finish” and press ENTER.
•A chapter mark is automatically added at the location of the
erased scene.
VR mode
2H30301B_En_64_71 8/4/05, 19:2567