


78
En
Dubbing
07
NOTE:
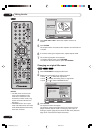
Confirm that the VCR indicator lights.
4
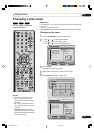
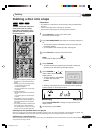
Press DUBBING.
• The unit is changed to DVD mode automatically.
• The VCR is waiting for playback and the DVD is waiting for
recording. Then the following message will appear.
5
Press DUBBING, or or to
select “YES” and press ENTER.
Dubbing starts.
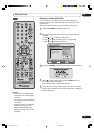
•To cancel dubbing, press
STOP, or select “NO” and
press ENTER.
In dubbing, VCR playback, DVD recording and “dub” (dubbing)
indicator appear on the display window.
Press CLOCK/COUNTER to display the elapsed dubbing time in
the display window.
6
To stop dubbing, press STOP.
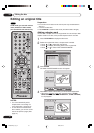
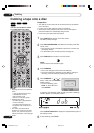
Dubbing a tape onto a disc
You can record video or audio
on a video tape onto a disc.
Preparation:
•Turn ON the TV and select its AV channel (this may be labelled
EXT / AUX etc.).
• Load a source video tape and a disc for recording.
• Remove the erase protection tab of the source video tape to
prevent the data from accidentally being erased.
• Confirm the disc space before operation.
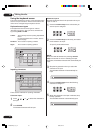
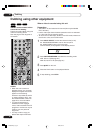
1
Press DVD/VCR to set this unit to DVD mode.
The DVD indicator will light.
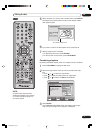
2
Press REC MODE/SPEED and select the recording mode SP,
LP, EP or XP.
• The recording mode is indicated on both the TV screen and
the display window.
•For the details of the recording mode, see page 50.
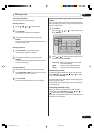
3
Press DVD/VCR and set the unit to VCR mode.
STOPENTERENTER NO
YES
SELECT
DUBBING
CONFIRM DUBBING FROM VCR TO DVD
YES NO
NOTES:
• Dubbing cannot be accomplished
when
- a copy protected tape is used.
- a finalised disc is used.
- disc protection is set.
- disc has no recording space.
• Dubbing stops when
- the video tape is played back to
the end and stops.
- recording space becomes full.
- the picture noise continues for 1
minute.
• The videos recorded from TV
programs or movies can be used
only for your personal enjoyment
without permission of the copyright
holder.
VR mode
Video mode
DVD-R
VCR
2H30301B_En_78_81 8/4/05, 19:2678