


Using the “Conference Manager” software
78
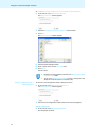
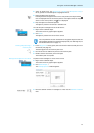
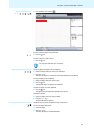
To define the line color:
̈ Select the object.
̈ Click the “Color” button.
̈ Select a standard color.
Or:
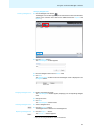
̈ Click the .
The “Select color” window appears.
̈ Select a color.
̈ Click “OK”.
The line or border color is assigned to the selected object or t
o
all newly created
objects (see “Defining fill, line and border attributes” on page 77).
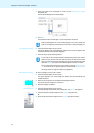
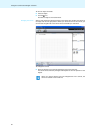
Placing text on the canvas ̈ Select the “Text” Text Object tool in the “Equipment” library panel and drag it
onto the canvas.
The text object is placed on the canvas.
̈ Double-click
the text object.
̈ Enter the desired text.
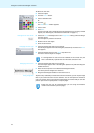
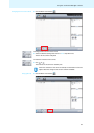
Changing the font type ̈ Select the desired text object on the canvas.
The text object appears with a bounding box (d
otted
line) around it. The “Font”
box appears.
̈ Select the desired font from the “Font” drop-down list.
The font of the text object is changed.
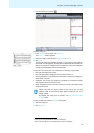
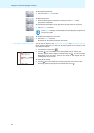
Changing the font size ̈ Select the desired text object on the canvas.
The text object appears with a bounding box (d
ott
ed line) and bounding box
handles around it.
̈ Place the mouse pointer on the desired bounding box handle.
The mouse pointer changes to a hand icon.
̈ Drag the bounding box handle to resize the font size.
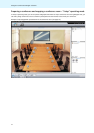
Using image files To particularly realistically simulate the conference situation, you can import image
files of you conference room into the software. You can then position conference
unit icons exactly where the conference participants are seated and you can also
position pictures of the participants or company logos.
If a configuration file uses a font not installed on the central unit, this
font is automatically replaced with the “Microsoft Sans Serif” font.
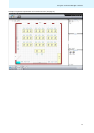
Image files can only be imported when you are using the Windows
version of the software (see next page).