


79
Using the “Conference Manager” software
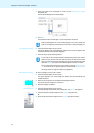
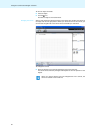
̈ Click the “Room View” button .
To add an image file
*
:
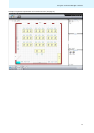
̈ In the “Images” library panel, click “Import...“.
The “Import...” window appears.
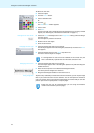
̈ Select an image file (file extension: “jpg”, “png” or “bmp”).
̈ Click “OK”.
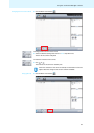
The selected image file is added to the library. If y
o
u save the configuration on
the central unit (see page 69), all image files are copied and
are then also avail-
able on the central unit. Image files with a resolution of more than 2048 pixels
in width are automatically reduced to 2048 pixels.
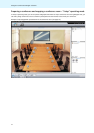
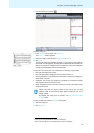
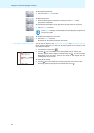
The picture of the conference room should meet the following requirements:
• Each seat should be clearly visible.
• Each seat should have enough space for a conference unit icon.
• Use the perspective on the conference room that
the conference manager, e.g.
t
he chairman, will have.
• If possible, use a bird’s-eye perspective, providing the conference manager
with a good view of the conference room.
• Avoid using dark pictures so that the conference unit
icons are always clearly
visible on the screen.
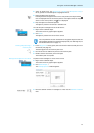
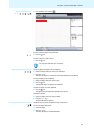
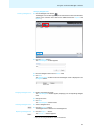
To remove image files from the “Images” library panel
**
:
̈ Select an image file.
̈ Click “Remove”.
* only if you are using the Windows version of the software
Please note that the memory space on the central unit is limited
(approx. 2 GB). To save memory space, delete image files that are no
longer needed.
By default, the image files are saved in the “My Documents/ADN/
Images” folder.
**only if the library of the current configuration contains image files