


23
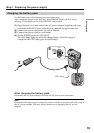
Getting started
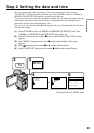
Step 2 Setting the date and time
Be sure to set the date and time when you use your camcorder for the first time.
“CLOCK SET” will be displayed each time you set the POWER switch to CAMERA or
MEMORY (DCR-IP7BT only) unless you set the date and time.
If you do not use your camcorder for about 3 months, the date and time settings may be
erased (bars may appear) because the built-in rechargeable battery installed in your
camcorder will have been discharged (p. 181).
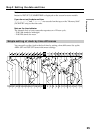
First, set your area, then the daylight saving time, the year, the month, the day, the hour
and then the minute.
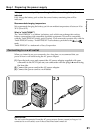
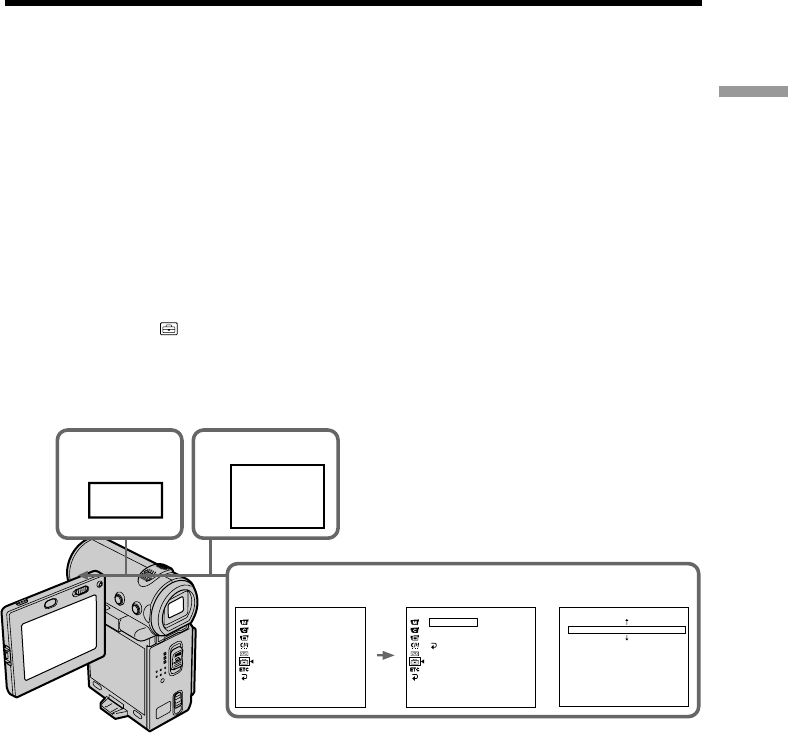
(1) Set the POWER switch to CAMERA or MEMORY (DCR-IP7BT only). The
CAMERA or MEMORY lamp (DCR-IP7BT only) lights up.
(2) Select FN, then press the center z on the control button. The PAGE1 screen
appears.
(3) Select MENU, then press the center z on the control button. The menu
appears.
(4) Select
, then press the center z or B on the control button.
(5) Select CLOCK SET, then press the center z or B on the control button.
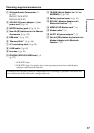
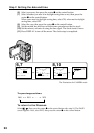
4
SETUP MENU
CLOCK SET
LTR SIZE
DEMO MODE
23
SETUP MENU
CLOCK SET
LTR SIZE
DEMO MODE
RETURN
FN
––:––:––
5
CLOCK SET
AREA 1
DST OFF
Lisbon, London
DATE
[EXEC] : NEXT ITEM
Y M D
–––– ––– –– –– : ––
GMT +0.0
MENU
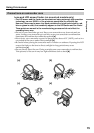
The illustration: In CAMERA mode