


EN-37
5. Input menu 6. Setup menu
• When the lamp mode is switched, the projected image may icker. This is not a product malfunction.
• Do not change the setting of Lamp Mode frequently.
• It may take a little while to carry out Reset All in the Setup menu.
Menu operation (continued)
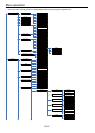
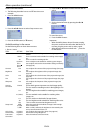
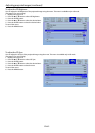
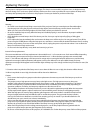
5. Input menu
ITEM SETTING FUNCTION
Input 6 Options Select Input port for input single.
HDMI Color
Space
4 Options Select AUTO to detect the color space of HDMI input automatically or select the
specic color space from HDMI Color Space.
HDMI Input 4 Options Select AUTO to detect the input format automatically or select the specic input
format from HDMI Input.
2D/3D 5 Options Select whether the received signal source is 3D or 2D.
3D Brightness 8 Options Use to adjust the brightness of image watching with the 3D Glasses.
3D Sync 2 Options Switchesthesynchronismbetweenleft/rightofswitchingofthe3DGlasses(Liquid
Crystal Shutter) and 3D image.
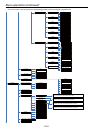
Clock (Depend on PC
Timing)
Use to eliminate ickering or blur, if it appears, while viewing the projected image.
Phase
(Depend on PC
Timing)
Use to eliminate vertical wide stripes, if it appears, while viewing the projected
image.
Auto Position
Yes/No
Auto adjust Clock and Phase when input is PC signal.
Iris
6 Options
Use to adjust the Iris mode for User.
iris USER
1 ~ 19
Iris User step detail set (Iris User is enable when the Iris is setting User).
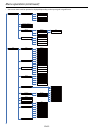
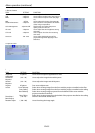
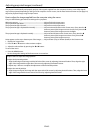
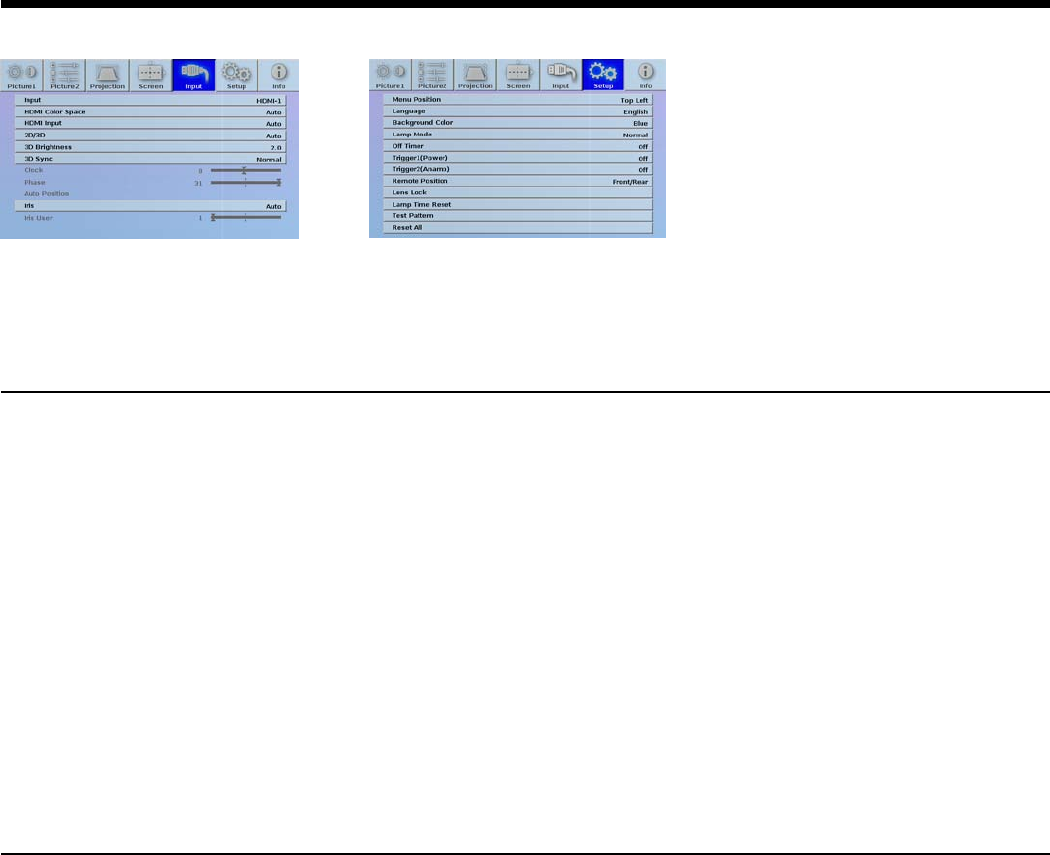
6. Setup menu
ITEM SETTING FUNCTION
Menu Position
5 Options Use to change the position of the menu.
Language 12 languages Use to select the language used in the menus.
Background
Color
Black/Blue Use to change the color of the screen that appears when no signal is supplied.
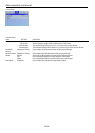
Lamp Mode High Select this option when you want to view images in a well-lit room.
Normal Select this option when the backlight is too slight.
O Timer 1~4hours/O Use to set the time elapsed before the projector enters the stand-by mode when
there is no signal input from the source.
Trigger1 (Power) O/On The trigger output signal (12 V) is output from the TRIGGER terminal when the lamp
illuminates.
Trigger2
(Anamo)
O/On The trigger output signal (12 V) is output from the TRIGGER terminal when the aspect
ratio is set to Anamorphic1 or Anamorphic2.
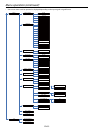
Remote Position 3 Options Set the position of remote Infrared receiver for front or rear.
Lens Lock LensFocus/Zoom/
Shift Lock
UsetoenableordisabletheFocus/Zoom/ShiftLock.
Lens Focus Use to adjust the Image Focus for Far or Near.
LensZoom UsetoadjusttheImageZoomforWideorTele.
Lens Shift Use to adjust the shift Image include 4 direction for Up, Down, Left, Right.
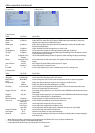
Lamp Time Reset Yes/No Use to reset lamp operation time back to 0.
Test Pattern N/A Show the test pattern on the projected image.
Reset All Yes/No Use to reset the settings of the menu to the factory setting values except Language
and Lamp Time.