


EN-39
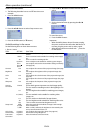
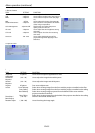
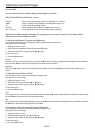
Picture Mode
You can select the most suitable setting to the images you watch.
Select Picture Mode in the Picture 1 menu.
Cinema This is a mode for watching movies in dim lighting as in a theater.
VIDEO This is a standard mode suitable for watching video images, etc.
3D This is a mode for watching 3D Film.
Dynamic This is a bright mode suitable for watching sports images.
User 1 to User 3 Use to adjust and save the Picture Mode settings voluntarily.
When Picture Mode setting is changed, the settings such as Gamma Correction, Color Temp will be
adjusted to suit to the images to watch.
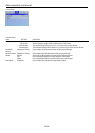
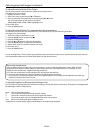
To adjust the brightness (Contrast and Brightness):
You can make adjustments for the brightness of the projected image using the menu.
(See page 34 for menu setting.)
1. Display the Picture 1 menu.
2. Select Contrast or Brightness by pressing the p or q button.
3. Adjust the selected item by pressing the t or u button.
To cancel the menu:
4. Press the MENU button.
Contrast
Select to adjust the contrast of the image. Every time the u button is pressed, the image becomes brighter and more dened.
Every time the t button is pressed, the image becomes darker and less dened.
Brightness
Every time the u button is pressed, the image becomes brighter. Every time the t button is pressed, the image becomes
darker.
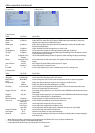
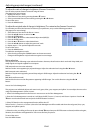
To adjust the color (Color and Tint):
You can adjust the color of the projected image using the menu.
(See page 34 for menu setting.)
1. Display the Picture 1 menu.
2. Select Color or Tint by pressing the p or q button.
3. Adjust the selected item by pressing the t or u button.
To cancel the menu:
4. Press the MENU button.
Color
Use to adjust the color intensity of the projected image. Every time the u button is pressed, the color intensity increases. Every
time the t button is pressed, the color intensity decreases.
Tint
Use to adjust the tint of the projected image. Every time the u button is pressed, the image appears more greenish. Every time
the t button is pressed, the image appears more reddish.
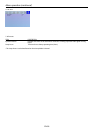
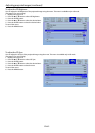
To sharpen or soften the projected image (Sharpness):
You can adjust the sharpness of the projected image using the menu.
(See page 34 for menu setting.)
1. Display the Picture 1 menu.
2. Select Sharpness by pressing the p or q button.
3. Adjust the selected item by pressing the t or u button.
To cancel the menu:
4. Press the MENU button.
Adjusting projected images