


2-4
Selection of adjustment Functions and
Adjustment Items
To select an adjustment item in the circuit
adjustment mode, first select the adjustment
function that includes the specific adjust-
ment item to be selected. Then select the
adjustment item. Refer to the following
pages for the listing of adjustment functions
and adjustment items.
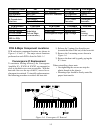
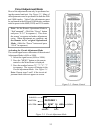
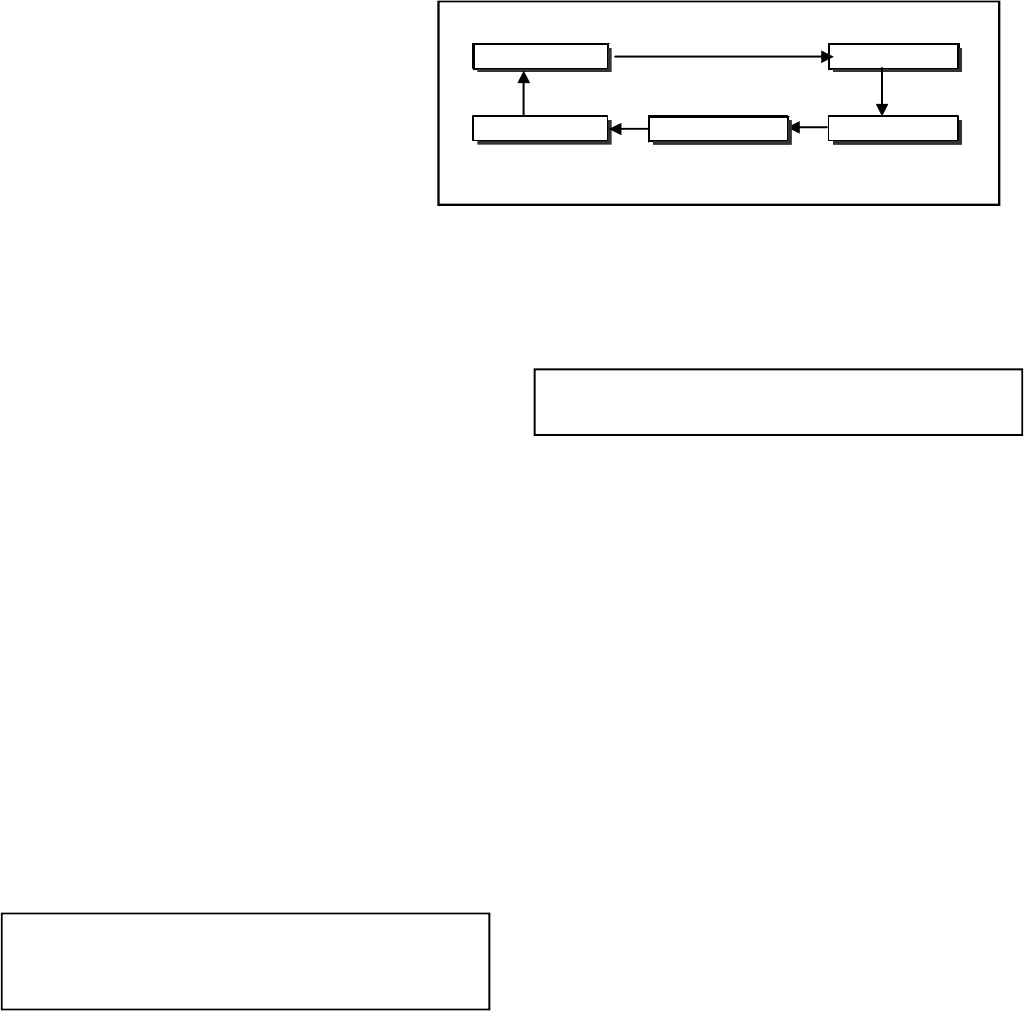
1) Press the "AUDIO" button on the remote
hand unit to select an adjustment function.
Each time the button is pressed, the Func-
tion changes in the sequence shown in
Figure 2-4.
2) Press the “VIDEO” button to select a spe-
cific Adjustment Item. The Item number
increases each time the “VIDEO” button is
pressed.
Changing Data
After selecting an adjustment Item, use the “AD-
JUST UP/DOWN” buttons to change data.
• Press “ADJUST DOWN” to decrease the
data value.
• Press “ADJUST UP” to increase the data
value.
Saving Adjustment Data
Press “ENTER” to save adjustment data in memory.
The character display turns red for approximately
one second in this step.
Note: If the circuit adjustment mode is ter-
minated without pressing “ENTER”, changes
in adjustment data are not saved.
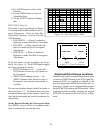
CRT-VC
CRT-JNGL
DECODER 2
DECODER 1
DOUBLER
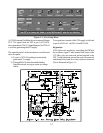
Adjustment Functions
Figure 2-4: Adjustment Functions
Terminating the Circuit Adjustment Mode
Press the “MENU” button on the remote hand unit
twice to terminate the adjustment mode.
Note: The circuit adjustment mode can also
be terminated by turning the power OFF.
Toggle Between Reception Modes
Pressing “3” when in the Adjustment Mode, CRT-
VC Function toggles between 480i, 480p, 1080i and
VGA. However, data changes are not automatically
saved. Press “ENTER” to save data before press-
ing “3”.
NEW FEATURE… Service Mode Reset
To reset items in the Service Mode to their original
factory adjusted values:
1) Press MENU-0-3-5-7 to enter the Service
Mode.
2) Press “0-1-2-3,” in sequence to Reset to the
Factory settings.
On Screen Display Position Adjustment Mode
Activation
1) Select 480i or 1080i source.
2) Press MENU-0-3-8-8