122 C2630M-B (4/08)
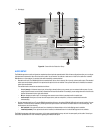
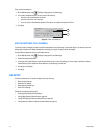
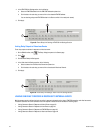
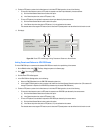
4. In the ATM/POS Link Settings section, do the following:
a. Select an ATM/POS address from the ATM/POS Address drop-down box.
b. Click the button for each relay you want to link to the selected ATM/POS address.
You can also drag relays onto ATM/POS devices in the Site tree while in Live mode (main screen).
5. Click Apply.
Figure 98. Event-Relay Link Settings: ATM/POS Link Settings Section
Linking Relay Outputs to Video Loss Events
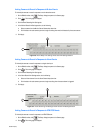
To set relay outputs to activate in response to a video loss event:
1. On the DX8100 toolbar, click . The Setup dialog box opens to the Camera page.
2. Click .
3. Click the Event-Relay Link Settings tab.
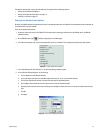
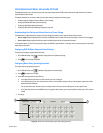
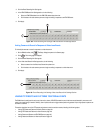
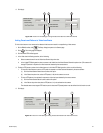
4. In the Video-Loss Link Settings section, do the following:
a. Select a camera from the Video-Loss Channel drop-down box.
b. Click the button for each relay you want to link to the selected Video-Loss Channel.
5. Click Apply.
Figure 99. Event-Relay Link Settings: Video-Loss Link Settings Section
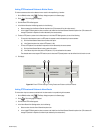
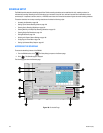
LINKING CAMERAS TO RECORD IN RESPONSE TO EXTERNAL EVENTS
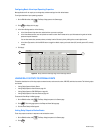
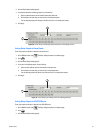
Multiple cameras can be configured to begin recording in response to detected motion, alarm, ATM/POS transaction, and video loss events.
This section describes how to link cameras to record in response to these events and includes the following topics:
• Linking Cameras to Record in Response to Motion Events on page 123
• Linking Cameras to Record in Response to Alarm Events on page 123
• Linking Cameras to Record in Response to ATM/POS Events on page 123
• Linking Cameras to Record in Response to Video Loss Events on page 124
4
b
4a
4a
4
4
b
4a
4a


