44
Timer Recording
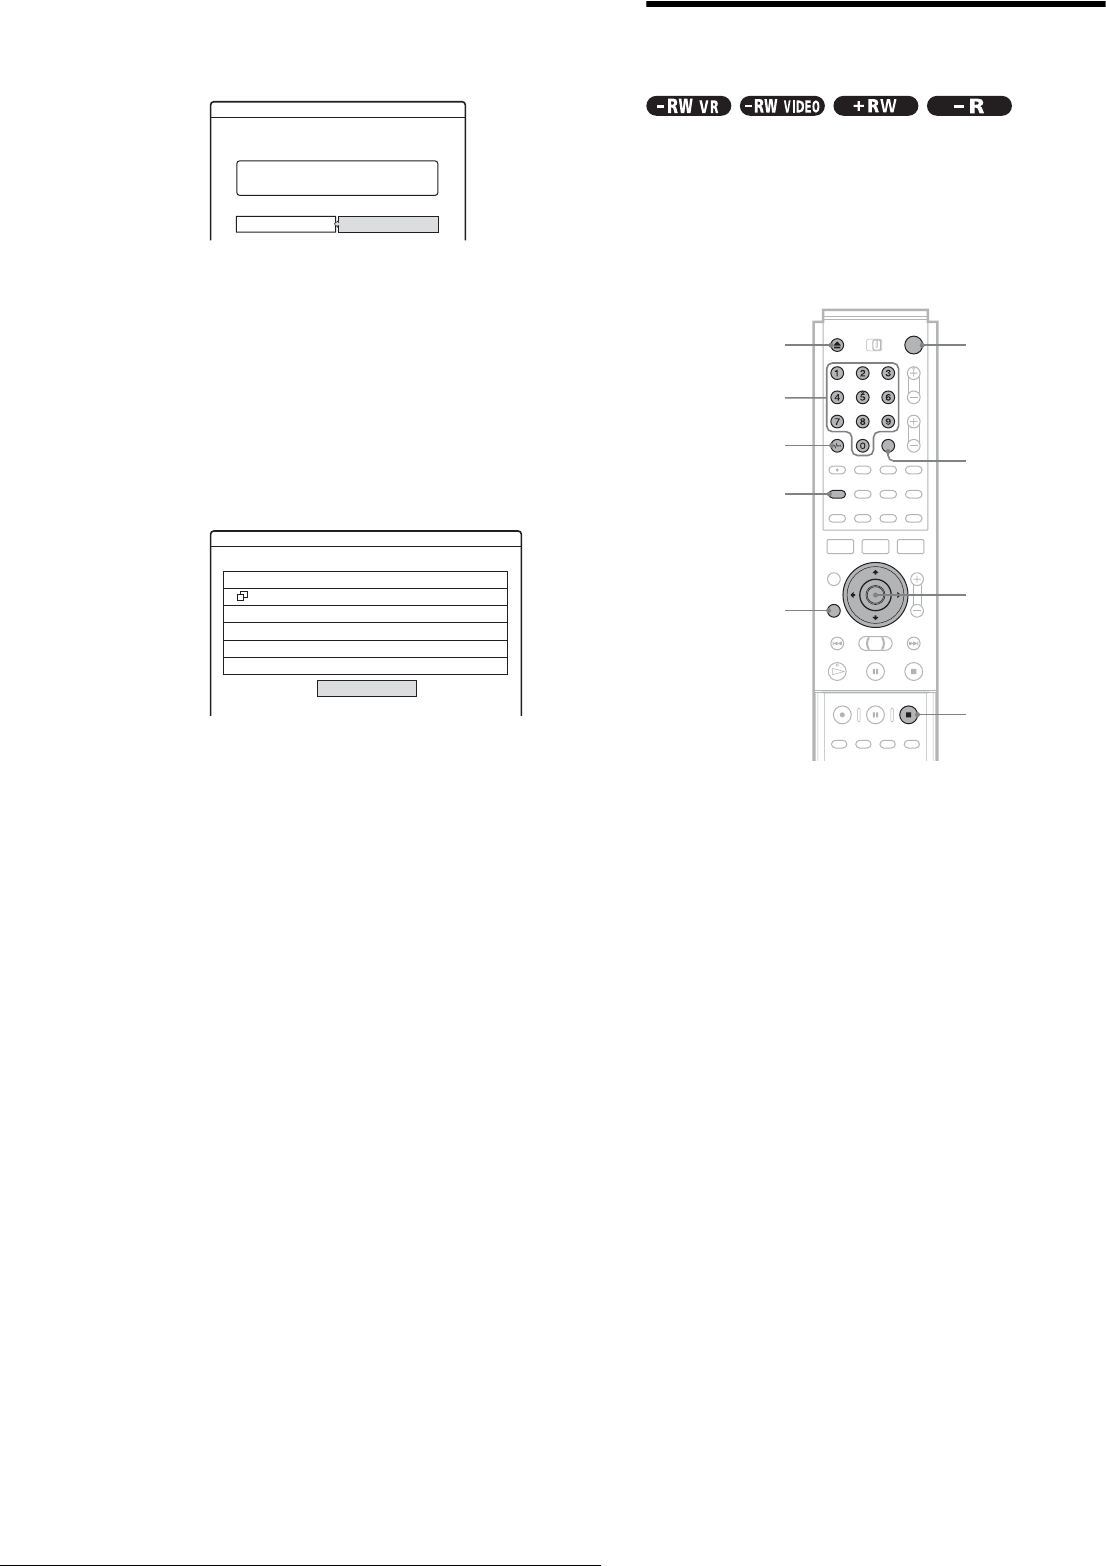
◆ To erase the setting
A Select “Erase,” then press ENTER.
The display asks for confirmation.
If you do not want to erase the setting, select
“Cancel,” then press ENTER or RETURN.
B Press </, to select “OK,” then press
ENTER.
◆ To check for overlapped settings
A Select “Check Overlap,” then press ENTER.
The display for confirming overlapped settings
appears.
B Select “Close.”
To change or cancel the setting, press RETURN
to return to the Timer List menu, and repeat steps
3 and d above.
e Press RETURN to turn off the Timer List.
z Hint
While recording, you cannot modify the timer setting for the current
recording, but you can extend the duration of the recording time
(page 43).
Recording TV programmes using the
VIDEO Plus+ system
The VIDEO Plus+ system is a feature that simplifies setting
timer recordings. Just enter the PlusCode number listed in the
TV programme guide. The date, time, and programme position
of that programme are set automatically.
Check that the channel is correctly set in “Channel Setting” in
“Settings” (page 78).
a Press }/1.
b Turn on the TV, and switch the input selector
on your TV so that the signal from the
recorder appears on the TV screen.
◆ When using an amplifier (receiver)
Turn on the amplifier (receiver) and select the
appropriate channel so that you can hear sound from
the recorder.
c Press Z, and place a recordable disc on the
disc tray.
d Press Z to close the disc tray.
Wait until “LOAD” disappears from the front panel
display.
If you use an unused DVD, formatting starts
automatically.
When using an unused DVD-RW, select the
recording format, VR or Video.
e Press [TIMER].
The Timer programming (VIDEO Plus+) menu
appears.
Erase
Are you sure you want to erase
this timer setting?
Mon-Sat 22:00-22:15 AAB SP
OK Cancel
Wed 29.10 21:00-22:00 AAB
Wed 29.10 21:30-22:30 DEF
Check Overlap
These timer settings overlap.
Close
</M/m/,,
ENTER
"/1Z
[TIMER]
Number
buttons
x REC STOP
CLEAR
SET
RETURN


