


51
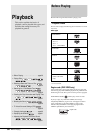
Playing Discs
Playback
Discs that cannot be played on this recorder
The recorder cannot play the following discs:
• All CD-ROMs (including PHOTO CDs)
• CD-Rs/CD-RWs, other than those recorded in the music CD
format
• Data part of CD-Extras
•VIDEO CDs
• Super VCDs
• DVD-ROMs
• DVD Audio discs
• DVD-RAMs
• HD layer on Super Audio CDs
• DVD VIDEOs with a different region code (page 50)
Notes on playing DTS sound tracks on a CD
• When playing DTS-encoded CDs, excessive noise will be
heard from the analogue stereo jacks. To avoid possible
damage to the audio system, the consumer should take proper
precautions when the analogue stereo jacks of the recorder are
connected to an amplification system. To enjoy DTS Digital
Surround™ playback, an external 5.1-channel decoder system
must be connected to the digital jack of the recorder.
• Set the sound to “Stereo” using the (audio) button when
you play DTS sound tracks on a CD (page 58).
• Do not play DTS sound tracks without first connecting the
recorder to an audio component having a built-in DTS decoder.
The recorder outputs the DTS signal via the DIGITAL OUT
(COAXIAL) jack even if “DTS” is set to “Off” in the Audio
Setup (page 84), and may affect your ears or cause your
speakers to be damaged.
Notes on playing DVDs with a DTS sound track
• DTS audio signals are output only through the DIGITAL OUT
(COAXIAL) jack.
• When you play a DVD with DTS sound tracks, set “DTS” to
“On” in the Audio Setup (page 84).
• If you connect the recorder to audio equipment without a built-
in DTS decoder, do not set “DTS” to “On” in the Audio setup
(page 84). A loud noise may come out from the speakers,
affecting your ears or causing the speakers to be damaged.
Notes
• The following type of high-speed discs can be played back on this
recorder: up to 2×-speed DVD-RWs (Revision 1.0), up to 4×-speed
DVD-Rs (Revision 1.0), or up to 4×-speed DVD+RWs/DVD+Rs.
• DVD-RW/-Rs, DVD+RWs/+Rs, or CD-RW/-Rs recorded on another
recording device cannot be played on this recorder if they have not
been correctly finalized. Some discs cannot be played due to the
recording quality or physical condition of the disc, or the
characteristics of the recording device and authoring software.
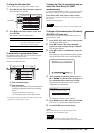
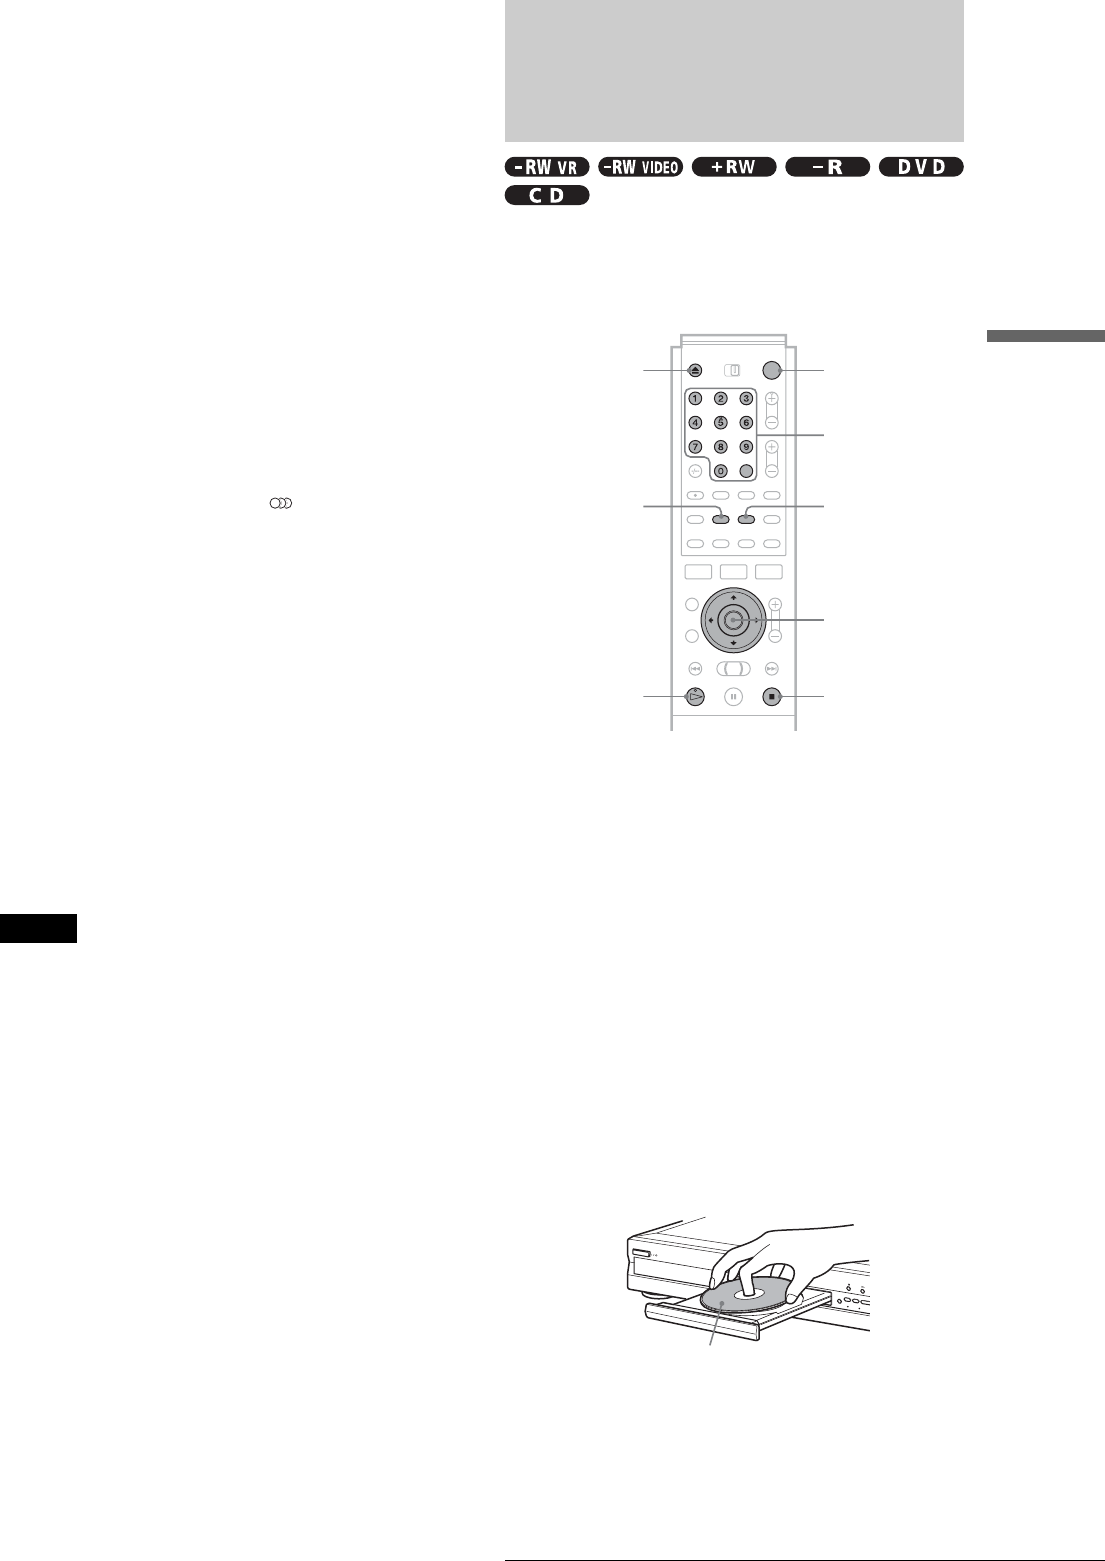
Playing Discs
Depending on the disc, some operations may differ, or certain
restrictions may apply. Refer to the operating instructions
supplied with your disc.
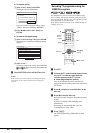
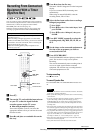
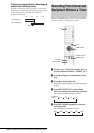
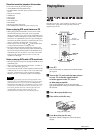
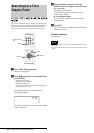
a Press }/1.
The recorder turns on and the power indicator lights
up in green.
b Turn on the TV, and switch the input selector
on your TV so that the signal from the
recorder appears on the TV screen.
◆ When using an amplifier
Turn on the amplifier (receiver) and select the
appropriate channel so that you can hear sound from
the recorder.
c Press Z to open the disc tray.
d Place a disc on the disc tray.
e Press Z to close the disc tray.
Wait until “LOAD” disappears in the front panel
display.
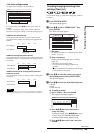
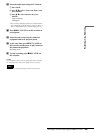
Number
buttons, SET
</M/m/,,
ENTER
MENU
"/1Z
TOP MENU
H
x
Playing side facing down
,continued