114
Menu Mode
11) Auto Function Mode Setting
With the Auto Function mode it is possible to automatically change the input when a signal is detected.
Factory setting: OFF
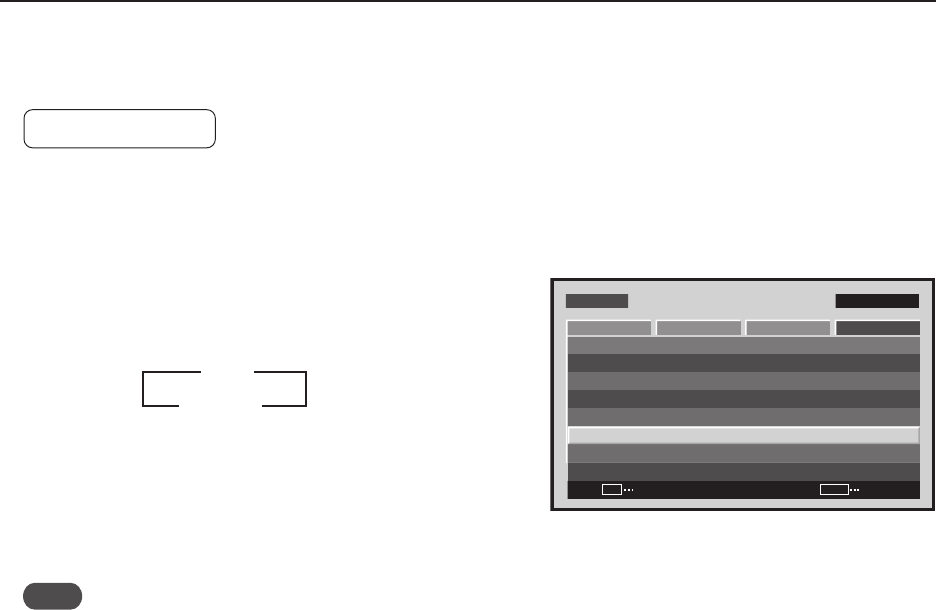
1 Select ‘OPTION’.
2 Place the cursor over ‘AUTO FUNCTION’ then press the
[SET] button to change the setting.
Each time the [SET] button is pressed, the setting changes
as shown below.
• When INPUT1 is selected, this function automatically
switches to that input when the signal is detected. Also,
in the Auto Function mode, after the input switches and
the signal input stops, the Auto Function returns to the
input that was used before the switch.
Note
• The Auto Function mode is unavailable when ‘OFF’ is selected.
• When SYNC ON G or a component signal is input to INPUT1, the Auto Function is unavailable does not function.
• After the input has been switched in the Auto Function mode, press the [INPUT] button and select a different
input. The Auto Function mode activates when it detects a change in the selected input signal (from a no-input
state to an input state).
• When the power is turned OFF/ON, the Auto Function mode activates when the signal is input to the selected
input.
• The Auto Function mode is unavailable when the Menu displays, during POINT ZOOM, or during multi-screen
display.
• When the Auto Function mode is set to ‘INPUT1’ or ‘INPUT4’, ‘AUTO’ appears under the option that displays the
selected input (INPUT1 to INPUT5).
Screen 2
MENU INPUT1
CHANGE
SET
EXIT
MENU
SCREEN SETUP OPTION
LANGUAGE
ENERGY SAVE
TIMER SETTING
SCREEN MGT.
SPLIT FREEZE
AUTO SETUP MODE
AUTO FUNCTION
PIP DETECT
PICTURE
:STANDARD
:INACTIVE
:OFF
:ACTIVE
:ENGLISH
:OFF
3 OFF
INPUT1 2


