


137
Menu Mode[Applicable only when a PDA-5003/PDA-5004 is installed]
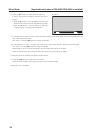
18) Screen Position, Clock Frequency and Clock Phase Adjustment
In AUTO SET UP, the position and clock are optimally set. However, depending on the type of signal, adjustment
may be off. In this situation, manually adjust the setting.
Example) When a PC signal is input to INPUT1 (1024 x 768)
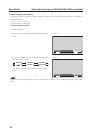
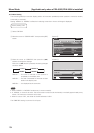
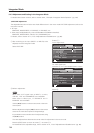
1 Set the screen size to ‘DOT BY DOT’.
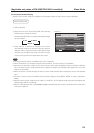
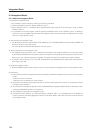
2 Select ‘SCREEN’.
3 Place the cursor on ‘POSITION’ then press the [SET]
button.
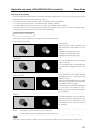
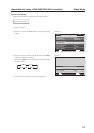
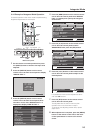
4 Use the [5/∞] and [2/3] buttons to adjust the screen
position.
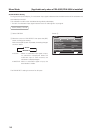
Here, the top and left side of the video display are properly
set.
1. With the [∞] button, lower the display until the mask
(black portion) protrudes into the top of the image.
2. With the [5] button, move the display to the point
where the mask at the top disappears.
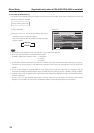
3. With the [3] button, move the display until the mask
(black portion) protrudes into the left side of the image.
4. With the [2] button, move the display to the point
where the mask on the left side disappears.
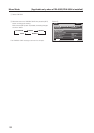
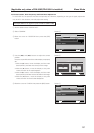
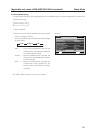
5 Place the cursor on ‘CLOCK’ then press the [SET] button.
MENU INPUT1
ENTER
SET
EXIT
MENU
SCREEN SETUP OPTION
:
0
:
0
POSITION
:
0/ 0
CLOCK
PHASE
SCREEN RESET
PICTURE
Screen 2
Screen 4
SET
SET
EXIT
MENU
POSITION
HV
+88+88
Screen 5
MENU INPUT1
ENTER
SET
EXIT
MENU
SCREEN SETUP OPTION
:
:
0
POSITION
:
0/ 0
CLOCK
PHASE
SCREEN RESET
PICTURE
0