


154
Integrator Mode
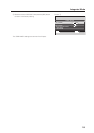
10) SIDE MASK Setting
This mode is for adjusting the brightness of the no-image section around the screen when the screen size is ‘4:3’ etc.
When performing adjustments, pay attention to the brightness balance between the displayed signal and that of the
adjacent sets.
Factory setting: R. LEVEL, G. LEVEL, B. LEVEL ...... 80
AUTO SIDE MASK ......................... OFF
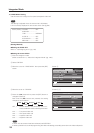
1 Enter the integrator mode.
(Refer to section 5.4.1, “About the Integrator Mode” (pg. 142).)
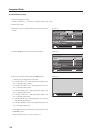
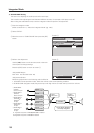
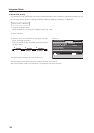
2 Select ‘OPTION’.
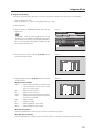
3 Place the cursor on ‘SIDE MASK’ then press the [SET]
button.
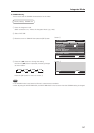
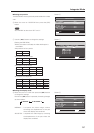
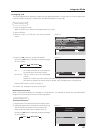
4 Place the cursor on a level (R. LEVEL, G. LEVEL, B. LEVEL)
then adjust the setting using the [2/3] buttons.
<Adjustable Range>
Each item: 0 to 255 (initial value: 80)
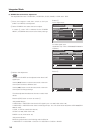
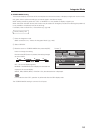
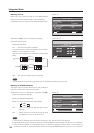
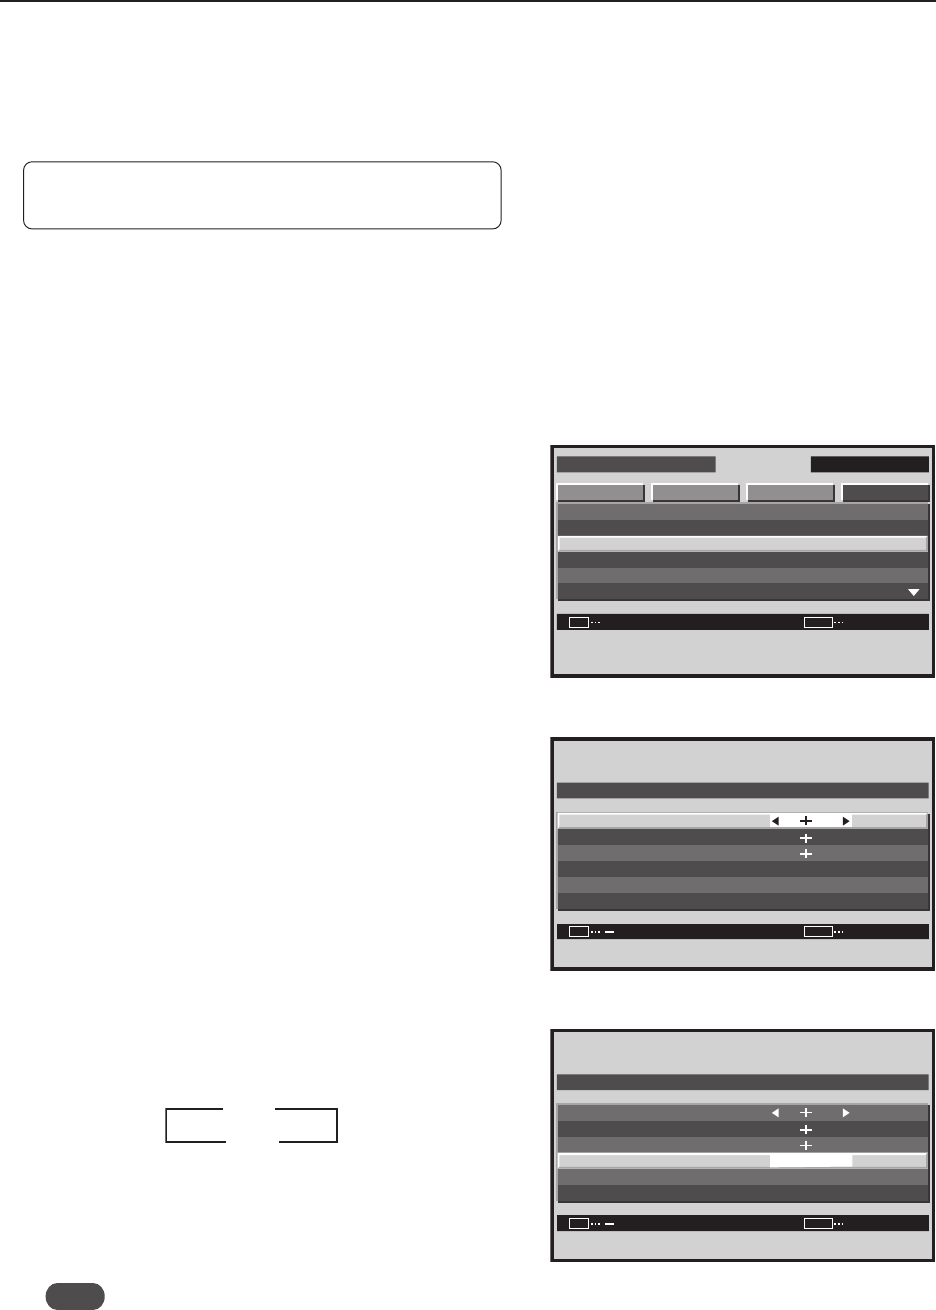
5 Change the setting by pressing the 2/3 buttons to move
the cursor to the ‘AUTO SIDE MASK’.
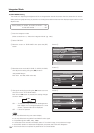
Each time a 2/3 button is pressed, the setting changes
as shown below.
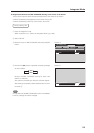
ON ....... To reduce burning when a black band appears at
both edges of a 4:3 image displayed on a 16:9
screen, a preset side mask is displayed.
OFF ..... It does not operate.
Note
• It is only effective during one screen display.
• It is only effective during INPUT2 and INPUT5 color signal.
• Compatible signals: 1080i, 720p, 1080p
• It takes about five seconds until display starts. If it is a dark image, it may take even longer.
• As the black band on a 16/9 screen disappears, the preset side mask also disappears.
• This function does not operate for patterned or for colored bands.
INTEGRATOR INPUT1
ENTER
SCREEN SETUP OPTIONPICTURE
SET
EXIT
MENU
PROGRAM T I MER
SCREEN MASK
S I DE MASK
V I DEO WALL
BAUD RATE
I D NO. SET
:
:
:
GREEN
01H
38400BPS
Screen 3
SIDE MASK
80
80
80
R. LEVEL
G. LEVEL
B. LEVEL
DEFAULT
RETURN
:
:
:
AUTO SIDE MASK OFF
:
SET
EXIT
MENU
Screen 4
Screen 5
SIDE MASK
80
80
80
R. LEVEL
G. LEVEL
B. LEVEL
DEFAULT
RETURN
:
:
:
AUTO SIDE MASK OFF
:
SET
EXIT
MENU
3 ON
OFF 2