95
Integrator Mode
1 Enter the Integrator mode (refer to “5.4.1 About Integrator
Mode”).
The ID number of the set of adjustment items will be
indicated in the upper right corner of the screen, where “–
–” is displayed in the illustration.
Select ADDITIONAL SET UP.
2 Select SIDE MASK ADJ.
The screen size switches to ORIGINAL or 4:3 NORMAL.
Select EXIT in screen 2 to return to screen 1.
3 Select the desired option.
Select EXIT in screen 3 to return to screen 2.
4 Make the necessary adjustments.
Adjustments can be made using the “2“ and “3” buttons
on the remote or the “–” and “+” buttons on the operating
panel of the main unit.
Each item may be set to a value from 0 through 255.
Press the SET button to return to screen 2.
SIDE MASK ADJ. applies to each input (INPUTs 1-4) without
exception. All inputs after the SIDE MASK adjustments are
made in step 3 are automatically switched to the set value.
8) Adjusting the Side Mask
The side mask adjusts the brightness of no-image areas appearing on the fringe of the screen when the screen size
is set to 4:3 NORMAL or to ORIGINAL, for example. The brightness of each colour of RGB can be adjusted separately.
(Adjusting the side mask momentarily causes the screen size to be switched over.) In adjusting the side mask, think
of how video signals develop with time and also of a balance in the brightness between the adjacent display sets.
NOTE: SIDA MARK adjustment is unavailable for (4.5kHz x 60Hz or 33.75kHz x 60Hz) signal inputs.
Screen 1
]
MENU – –
WHITE BALANCE
SCREEN
3ADDITIONAL SET UP
TOTAL INITIALIZE
PICTURE
Screen 2
]
ADDITIONAL SET UP – –
COLOUR MODE : 1
BAUD RATE : 4800BPS
HOUR METER : 00123
MIRROR MODE : OFF
EXIT
STD-RGB : OFF
3SIDE MASK ADJ.
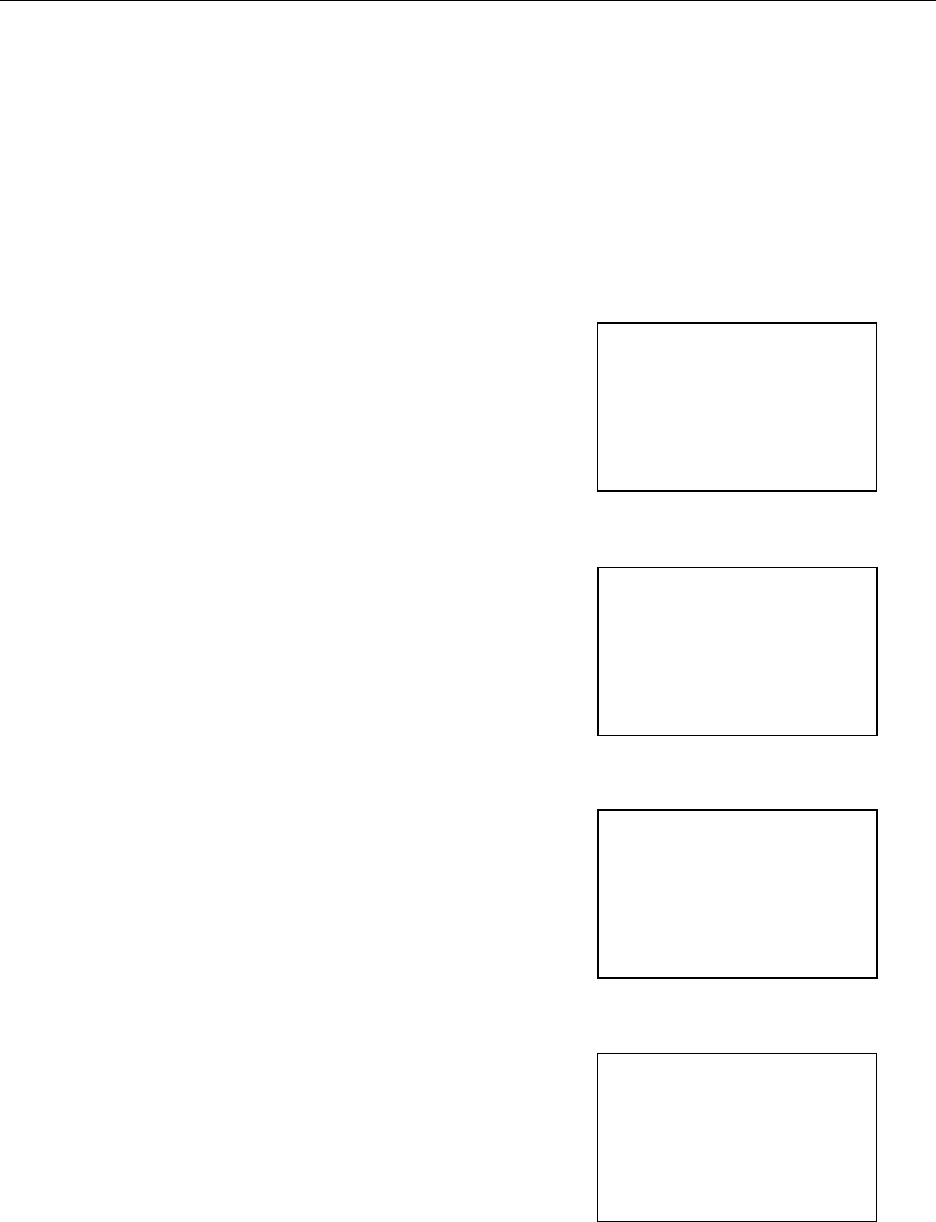
Screen 3
]
ADDITIONAL SET UP – –
SIDE MASK ADJ.
3R LEVEL 128
G LEVEL 128
B LEVEL 128
EXIT
Screen 4
]
ADDITIONAL SET UP – –
SIDE MASK ADJ.
R LEVEL 128


