24
Recording TV programmes
Note that the Teletext information will not appear on your TV
screen. To view the Teletext information on your TV screen,
press TV/DVD on the remote to switch the input source to your
TV.
* not available in some areas
z Hints
• You can also start and stop recording using the Tool menu. Press
TOOL and select “Record” or “Rec Stop,” then press ENTER.
• You can stop recording from the Title List menu as well. Select the title
you are currently recording and press ENTER. Then select “Rec Stop”
from the sub-menu.
• If you do not want to watch TV while recording, you can turn off the
TV. When using a decoder, make sure to leave it on.
• To select a programme position, you can also use the number buttons
in step 5 above.
• If you record from equipment connected to the recorder’s input jack,
you can also use the INPUT SELECT button to select “L1,” “L2,”
“L3,” “L4,” or “DV” in step 5. For details, see “Recording from
connected equipment” (page 72).
• You can also select the recording mode using the Tool menu (page 30).
Notes
• After pressing z REC, it may take a short while to start recording.
• While recording or during recording pause, you cannot change the
recording mode.
• If there is a power failure, the programme you are recording may be
erased.
• You cannot watch a PAY-TV/Canal Plus programme while recording
another PAY-TV/Canal Plus programme.
To record what you are watching on your TV (TV
Direct Rec) (for SCART connections only)
If you use the SMARTLINK connection, you can easily record
what you are watching on the TV.
Press z REC while a disc is in the recorder.
The recorder automatically turns on and starts recording
what you are watching on the TV. “TV” appears in the
front panel display.
To turn off this function, set “TV Direct Rec” to “Off” in
Features Setup (page 79).
Notes
• You cannot record what you are watching using this method when the
recorder is in the following modes: pause, tuner preset, Easy Setup,
playback, and recording. You also cannot record on a protected disc.
• Do not turn off the TV or change the TV programme position during
TV Direct Rec.
Using the Quick Timer function
You can set the recorder to record in 30 minute increments by
pressing just the z REC button.
Press z REC repeatedly to set the duration time.
Each press advances the time in 30 minute increments. The
maximum duration is six hours.
The time counter decreases minute by minute to 0:00, then the
recorder stops recording (power does not turn off). Even if you
turn off the recorder during recording, the recorder continues to
record until the time counter runs out.
To cancel the Quick Timer
Press z REC repeatedly until the counter appears in the front
panel display. The recorder returns to normal recording mode.
Recording stereo and bilingual
programmes
The recorder automatically receives and records stereo and
bilingual programmes based on the ZWEITON system or the
NICAM system.
A DVD-RW (VR mode) can record both main and sub sounds.
You can switch between main and sub when playing the disc.
A DVD+RW, DVD-R, or DVD-RW (Video mode) can record
only one sound track (main or sub) at a time. Select the sound
track using the Setup Display before recording starts. Set
“Bilingual Recording” to “Main” (default) or “Sub” in Options
Setup (page 82).
◆ZWEITON (German stereo) system
When a stereo or bilingual ZWEITON based programme is
received, “STEREO” or “BILINGUAL” appears on the front
panel display.
◆NICAM system
When a stereo or bilingual NICAM based programme is
received, “NICAM” appears on the front panel display.
To record a NICAM programme, be sure to set “Audio” of
“Channel Setting” in “Settings” to “NICAM” (default). If the
sound is not clear when listening to NICAM broadcasts, set
“Audio” to “Standard” (see “Presetting channels manually” in
the separate booklet, “Hookups and Settings”).
z Hint
You can select the audio (main or sub) while recording bilingual
programmes using the (audio) button. This does not affect the
recorded sound.
Checking the disc status while
recording
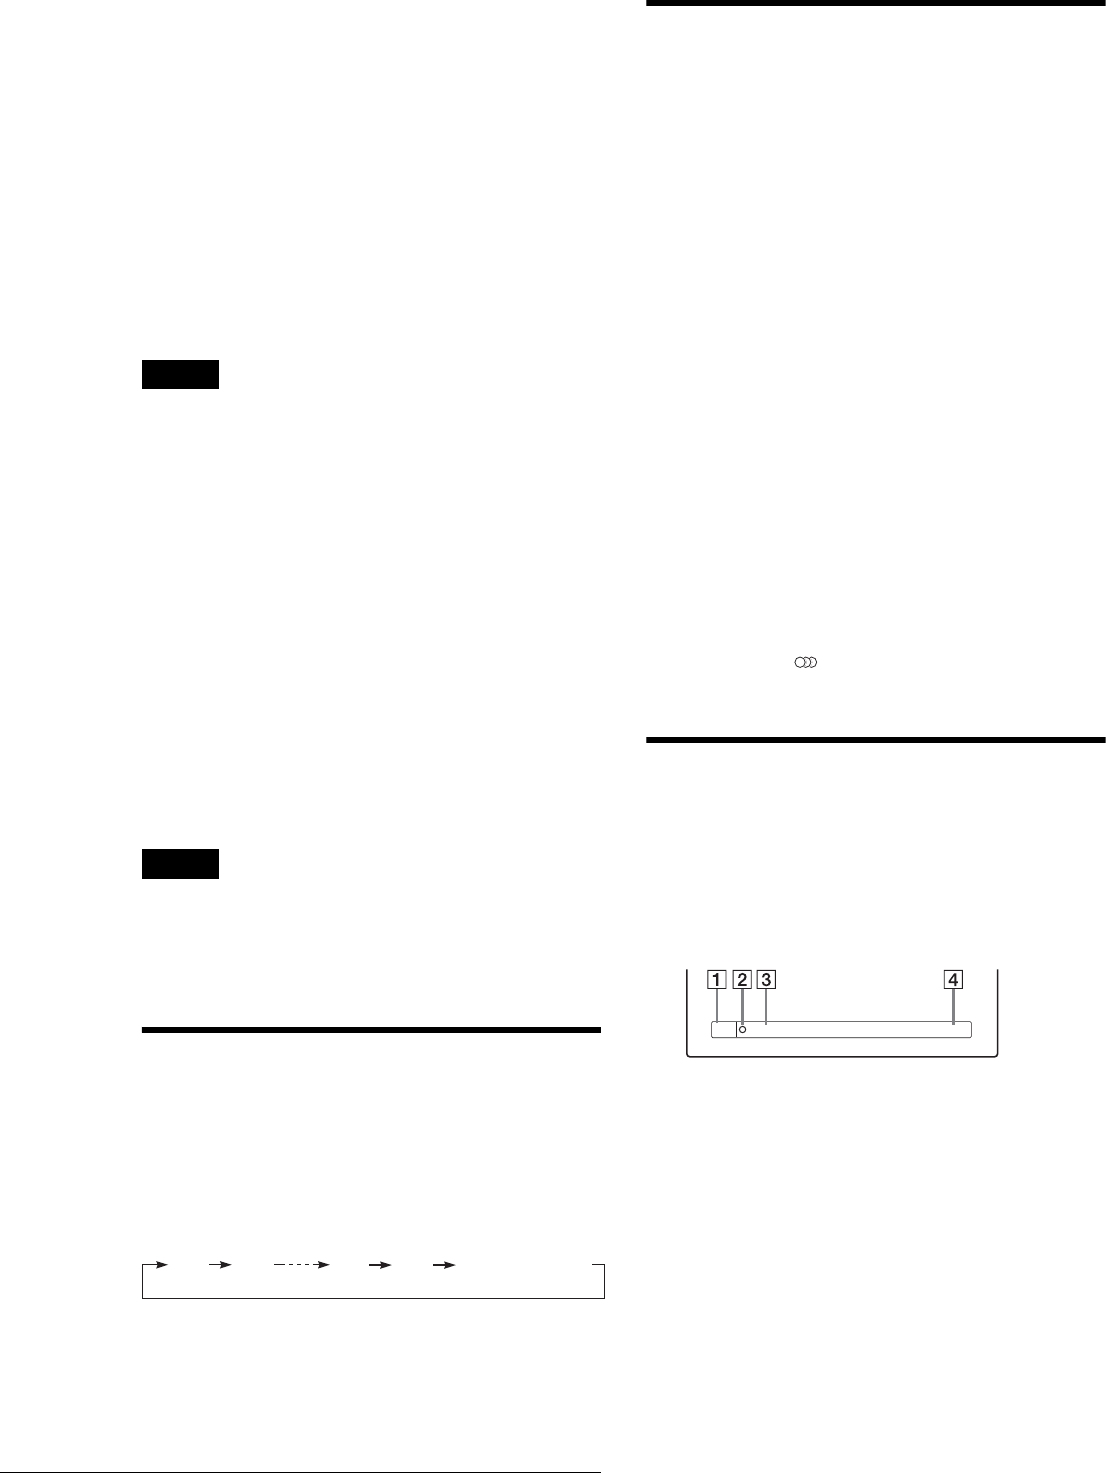
You can check the recording information such as recording time
or disc type.
a Press DISPLAY twice during recording.
The recording information appears.
1 Disc type/format
2 Recording status
3 Recording mode
4 Recording time
b Press DISPLAY to turn off the display.
0:30 1:00
5:30
6:00
(normal recording)
1:23:45SP
DVD-RW
VIDEO


