31
Recording from External Equipment with a Timer (Synchro Rec)
Recording/Timer Recording
◆ Rec Mode
Selects the recording mode for the desired recording
time and picture quality. For more information, see
“Recording mode” (page 21).
•HQ
•HSP
• SP (default)
•LP
•EP
•SLP
◆ Rec Screen Size
Sets the picture size of the programme to be recorded
• 4:3 (default): Sets the picture size to 4:3.
• 16:9: Sets the picture size to 16:9 (wide mode).
This function works with DVD-Rs and DVD-RWs
(Video mode) when the recording mode is set to HQ,
HSP, or SP. For all other recording modes, the screen
size is fixed at “4:3.”
For DVD-RWs (VR mode), the actual picture size is
recorded regardless of the setting. For instance, if a
16:9 size picture is received, the disc records the
picture as 16:9 even if “Rec Screen Size” is set to
“4:3.”
For DVD+RWs, the screen size is fixed at “4:3.”
◆ Rec NR (noise reduction)
Reduces noise contained in the video signal.
◆ Rec Video Equalizer
Adjusts the picture in greater detail.
Press M/m to select the item you want to adjust, then
press ENTER.
• Contrast: Changes the contrast.
• Brightness: Changes the overall brightness.
• Color: Makes the colours deeper or lighter.
d Adjust the setting using </M/m/,, then
press ENTER.
The larger the number, the greater the effect. The
default setting is underlined.
e Repeat steps 3 and 4 to adjust any other
items.
f Press RETURN to turn off the display.
Note
The adjustments made here are for the recorder and cannot be saved for
individual titles.
Recording from External
Equipment with a Timer
(Synchro Rec)
You can set the recorder to automatically record programmes
from connected equipment that has a timer function (such as a
satellite tuner). Connect the equipment to the LINE 3/
DECODER jack of the recorder (see the separate booklet,
“Hookups and Settings”).
When the connected equipment turns on, the recorder starts
recording a programme from the LINE 3/DECODER jack.
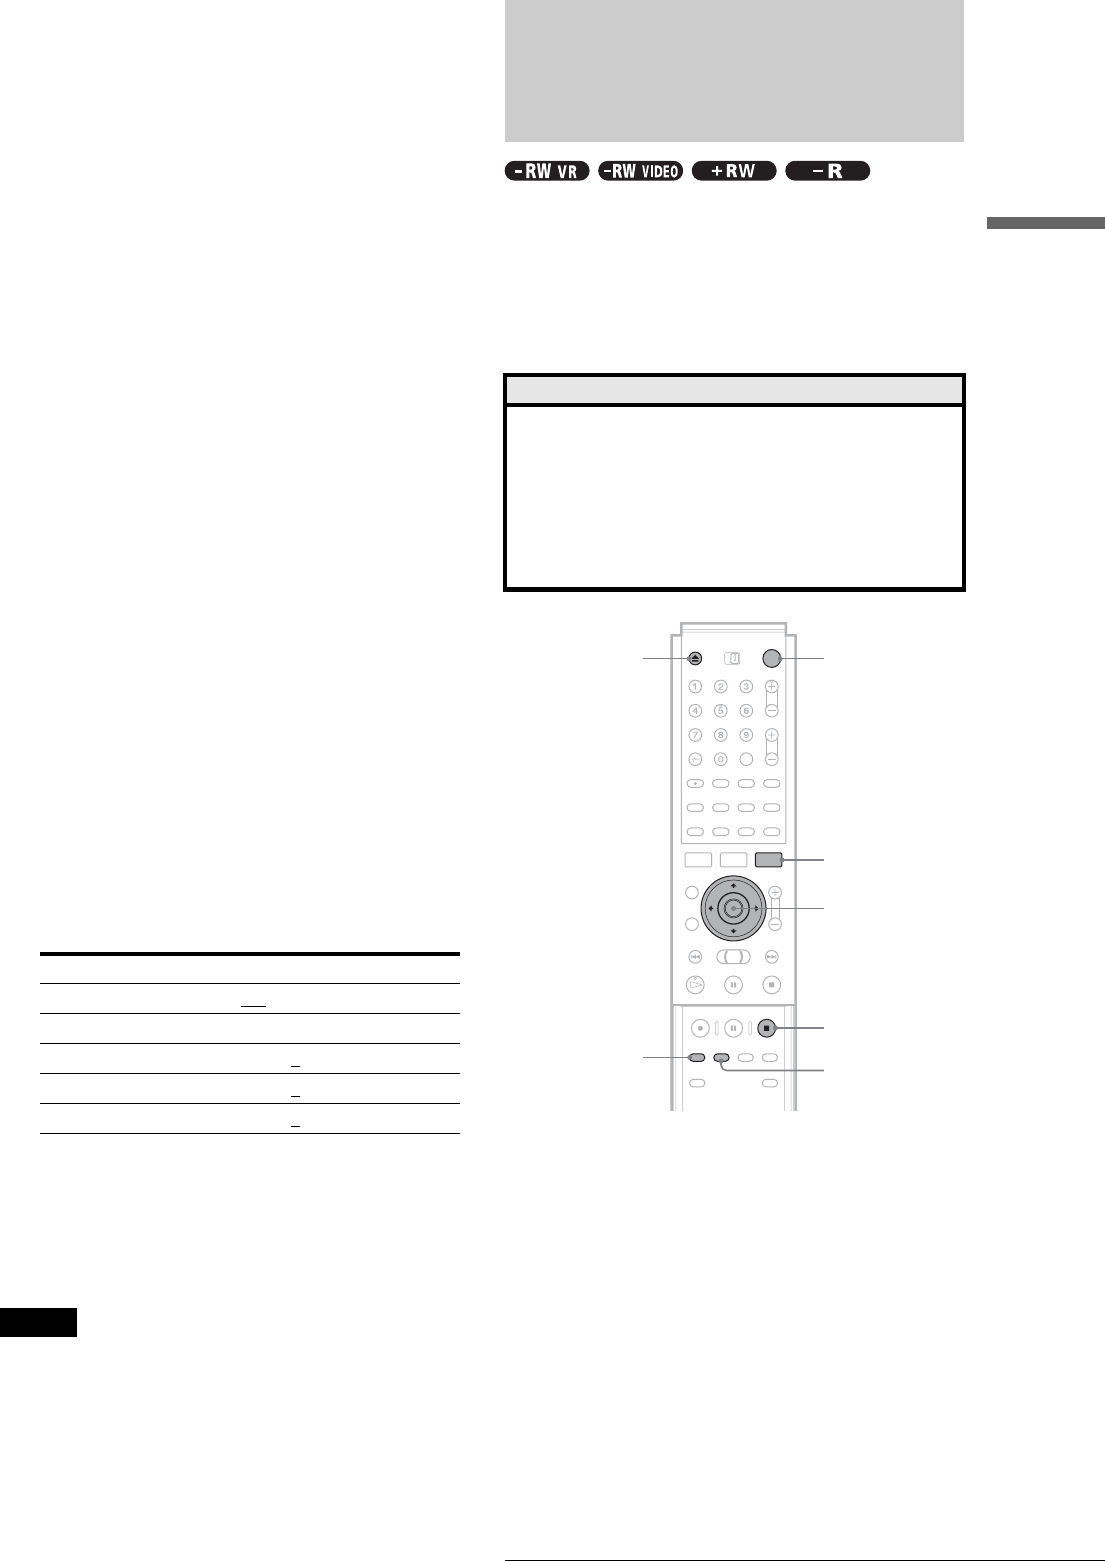
a Press }/1.
b Turn on the TV, and switch the input selector
on your TV so that the signal from the
recorder appears on the TV screen.
◆ When using an amplifier (receiver)
Turn on the amplifier (receiver) and select the
appropriate channel so that you can hear the sound
from the recorder.
c Press Z, and place a recordable disc on the
disc tray.
Items Settings
Rec NR Off
1 ~ 3
Rec Video Equalizer
Contrast –3 ~ 0
~ 3
Brightness –3 ~ 0
~ 3
Color –3 ~ 0
~ 3
Before you start…
• Check that the disc has enough available space for the
recording (page 21).
• When recording a bilingual programme on a DVD+RW,
DVD-R, or DVD-RW (Video mode), you cannot record both
sound tracks. Select the sound track, main or sub using the
Options Setup Display (page 82).
• Adjust the recording picture quality and picture size if
necessary (page 30).
REC MODE
</M/m/,,
ENTER
"/1
Z
x REC STOP
SYNCHRO REC
TOOL
,continued


