63
Program Edit
Connecting a Digital Video Camera or Other Equipment
f While watching the playback picture, search
for the IN point by pressing m or M, then
press ENTER.
The display for setting the OUT point (end of the
scene on the tape) appears. The scene starts to play in
the background from the IN point.
g While watching the playback picture, search
for the OUT point by pressing m or M,
then press ENTER.
The display asks whether to add the selected scene to
the Scene List menu.
To preview the scene, select “Preview.”
To reset either the IN or OUT point, select “Change
IN” or “Change OUT.” Repeat from step 5.
h Press </M/m/, to select “OK,” then press
ENTER.
A new Scene List menu appears with the selected
scene.
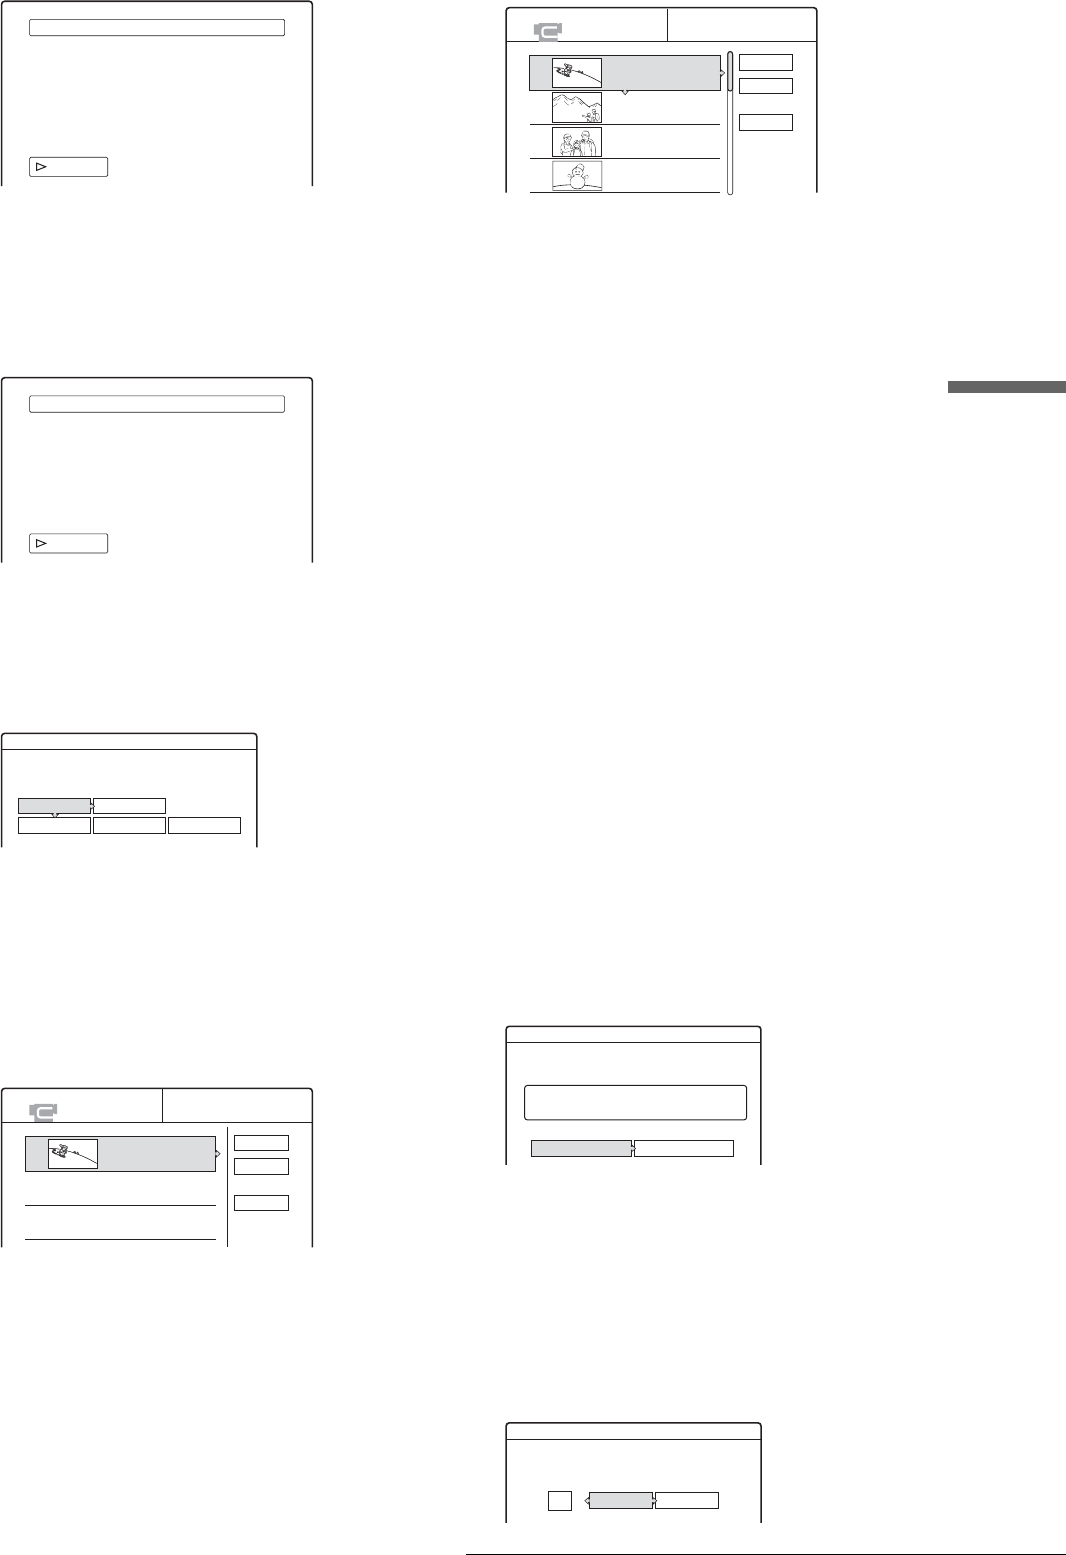
i Press </M/m/, to select “Add” and press
ENTER. Then repeat steps 5 to 9 to select all
the scenes you want to include.
You can add up to 50 scenes to a title.
To edit the Scene List, select a scene by pressing </
M/m/,, and then press ENTER. When the sub-
menu appears, select an edit option you want to apply
to the scene.
◆ To erase the scene
A Press M/m to select “Erase,” then press
ENTER.
B When the display asks for confirmation, press
</, to select “OK,” then press ENTER.
◆ To move the scene
A Press M/m to select “Move,” then press
ENTER.
The display for selecting the scene insertion point
appears.
B Press M/m to select the point, then press
ENTER.
The scene moves to the selected location.
◆ To reset the start or end of the scene
Press M/m to select “Change IN” or “Change OUT,”
then press ENTER.
◆ To preview the scene
Press M/m to select “Preview,” then press ENTER.
To cancel, press </M/m/, to select “Quit,” then
press ENTER.
j When you finish editing the Scene List, press
</M/m/, to select “OK,” then press
ENTER.
The display for entering a title name appears.
To enter a new name, select “Enter,” and follow the
explanations on page 18.
k To use the default name, press </, to select
“OK,” then press ENTER.
The default title name is fixed, and the display asks
whether to start recording. If you want to change the
recording mode, press </, to move the cursor,
then press M/m to select the mode.
Select scene(Set IN point)
IN 0:00:30
OUT : :
– – – – –
Select scene(Set OUT point)
IN 0:00:30
OUT 0:00:52
Scenes Selection
Do you want to capture the scene
between IN 0:00:30 and OUT 0:00:52?
OK Cancel
Preview Change IN Change OUT
SCENE LIST
Total 0:00:22 Scenes 1
OK
Quit
Add
0:00:30-0:00:52
Duration 0:00:22
1
SCENE LIST
Total 1:23:30 Scenes 20
OK
Quit
Add
0:00:30-0:00:52
Duration 0:00:22
1
0:01:40-0:06:23
Duration 0:06:43
2
0:07:07-0:10:51
Duration 0:03:44
3
0:11:40-0:16:19
Duration 0:04:39
4
Title Name
Enter the title name.
DV11.10.2002 13:30 - 12.11.2002 16:46
OK Enter
SP
DV Dubbing
Change the recording mode if necessary.
Select "Start" to start dubbing.
Start Cancel
,continued


