


Setting Up Your VCR (cont'd)
12
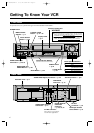
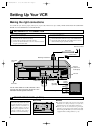
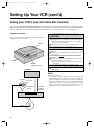
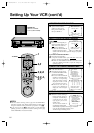
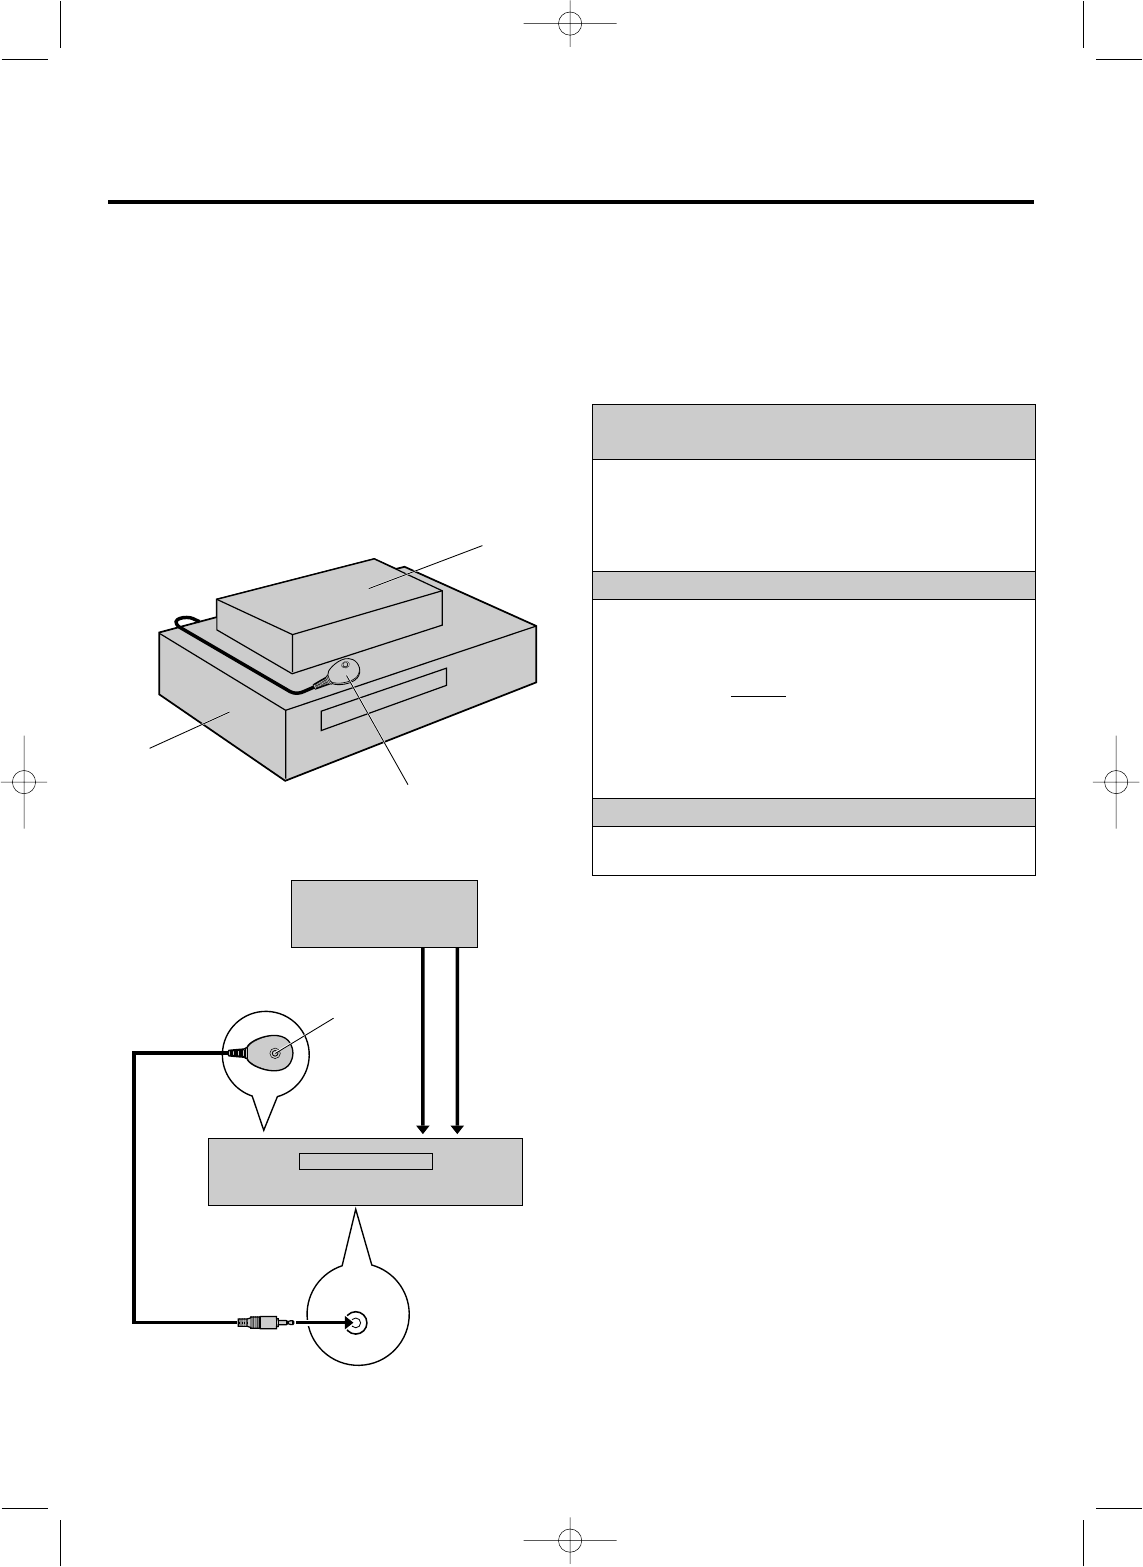
Suggested Locations
Attach to top of VCR with Controller's transmitter pointed towards
Cable Box's remote sensor window.
CABLE
BOX
Cable Box
Controller
(suggested locations)
Your VCR
Cable Box
Connected to
ANT. IN
Controller
Connected
to VIDEO/
AUDIO IN
Your VCR
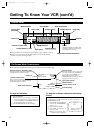
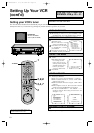
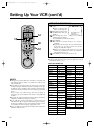
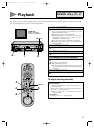
PLACE CONTROLLER IN A GOOD
LOCATION
1
Find a location for the Controller which offers an
unobstructed path to the Cable Box's remote sensor window;
otherwise the Controller's infrared beam will not be able to
reach and control your Cable Box.
2
Attach the Controller using the supplied adhesive strips.
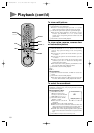
CONNECT CABLE BOX TO VCR
If your Cable Box has VIDEO OUT/AUDIO OUT
connectors...
3
Connect them to the VIDEO IN and AUDIO IN connectors
of your VCR.
If your Cable Box
does not have VIDEO OUT/AUDIO OUT
connectors...
3
Connect the Cable Box's antenna output terminal to the ANT.
IN (Antenna) terminal of your VCR.
Ⅲ Refer to the Cable Box's instruction manual for more
information.
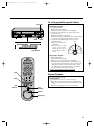
CONNECT CONTROLLER TO VCR
4
Connect the Cable Box Controller to your VCR's CABLE
BOX terminal.
Transmitter
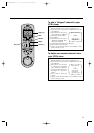
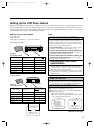
Setting your VCR's tuner and Cable Box Controller
Follow these steps if you use an external Cable Box (descrambler) to receive cable stations. When properly set-up, the Multi-System
Cable Box Controller will automatically switch channels on your Cable Box so you can timer-record two or more cable TV stations. It
works for Cable TV shows that have been programmed using VCR Plus+ (੬ p. 26) or On-Screen (੬ p. 28) programming.
NOTE:
Ⅲ About Your Cable Box:
This VCR has two separate methods to control your Cable Box. The
provided Wireless Remote Control Unit can control your Cable Box.
The VCR's Cable Box Controller can also control your Cable Box.
The former eliminates the need for a separate Cable Box Remote
Control Unit. The latter is to change your Cable Box's channel
number during timer recordings. Each method must be set up
separately. To set up the VCR's Remote Control Unit
੬ p. 31.
HR-IP820U-EN-1 97.5.20 5:25 PM Page 12