


31
Menu settings/Device registration
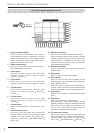
Operating the menus
You can operate the displayed menu by pressing the buttons on the front panel of the recorder or clicking the buttons
displayed on the menu screens.
Notice
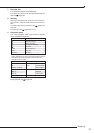
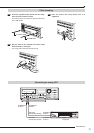
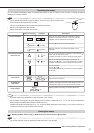
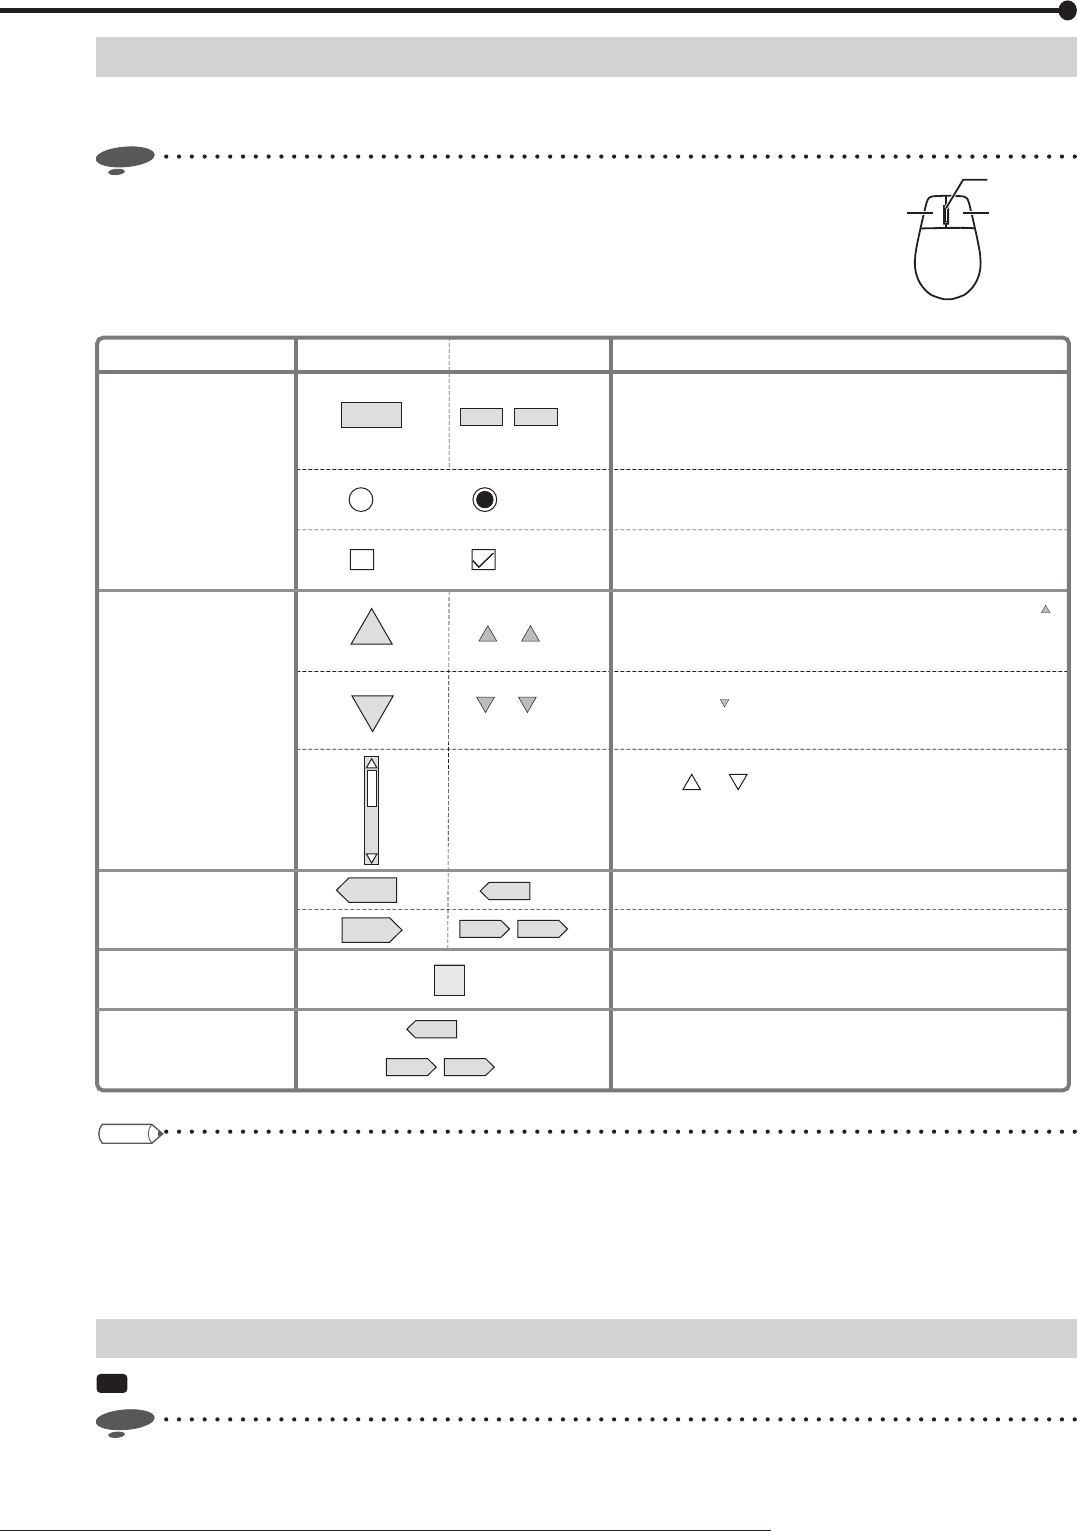
• Use a general USB mouse having two buttons as shown by the fi gure. Certain types
of mouse cannot be used with this recorder.
You are recommended to use a mouse having 800 dpi resolution.
• Mouse is not supplied with the recorder.
• Mouse wheel doesn’t work with this recorder.
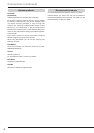
When you click on the button, the parameter or number
displayed on the button changes. Left-click or right-click
repeatedly until the desired item is displayed.
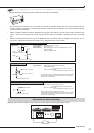
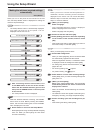
Buttons on the screen
Examples
To set parameters.
To switch the selected
item in the list.
To display
other menus.
To display the
Help menu.
To accept the
menu settings.
Descriptions
(Enabled)(Disabled)
(Enabled)
, etc
, etc
, etc
, etc
, etc
(Disabled)
10
10
10 100
10
100
E:Return
D:Next Setting
, etc
E:Return
D:Next Setting
1 High
?
Click the radio button of the desired parameter.
Select the checkbox of the desired parameter to put a
checkmark.
You can go to the next item. For example, by pressing the [ ]
button, you can skip next 10 items.
In addition, this button is used to change the setting values.
You can go back to the previous item. For example, by
pressing the [ ] button, you can skip back previous 10 items.
In addition, this button is used to change the setting values.
You can scroll lists.
Click on or .
You cannot scroll lists using the buttons on the front panel of
the recorder.
The previous menu is displayed.
The next menu is displayed.
Help menu is displayed, showing information such as
operation procedures. This menu is also displayed when you
press the HELP button on the front panel of the recorder.
When you set a desired item and then display other menu by
[Return] or [Next], the setting you made is determined.
Tips
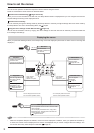
• To set the menus using the buttons on the front panel of the recorder
You can select a setting item using the direction buttons (camera number buttons 11, 14, 15, and 16) and determine the
setting using the ENTER button (camera number button 12).
Instead of the buttons showing letter C, D, or E, such as [D:Next], displayed on the screen, you can use the button C, D,
or E (SPLIT button) on the front panel of the recorder.
Closing the menus
Step
1 Display the Main, Search, Copy, or Bookmark menu and left-click the [Exit] button.
Notice
• You cannot close the menus by pressing the SET UP button on the recorder.
Wheel
Right buttonLeft button
Mouse