38
Registering external HDDs
Step
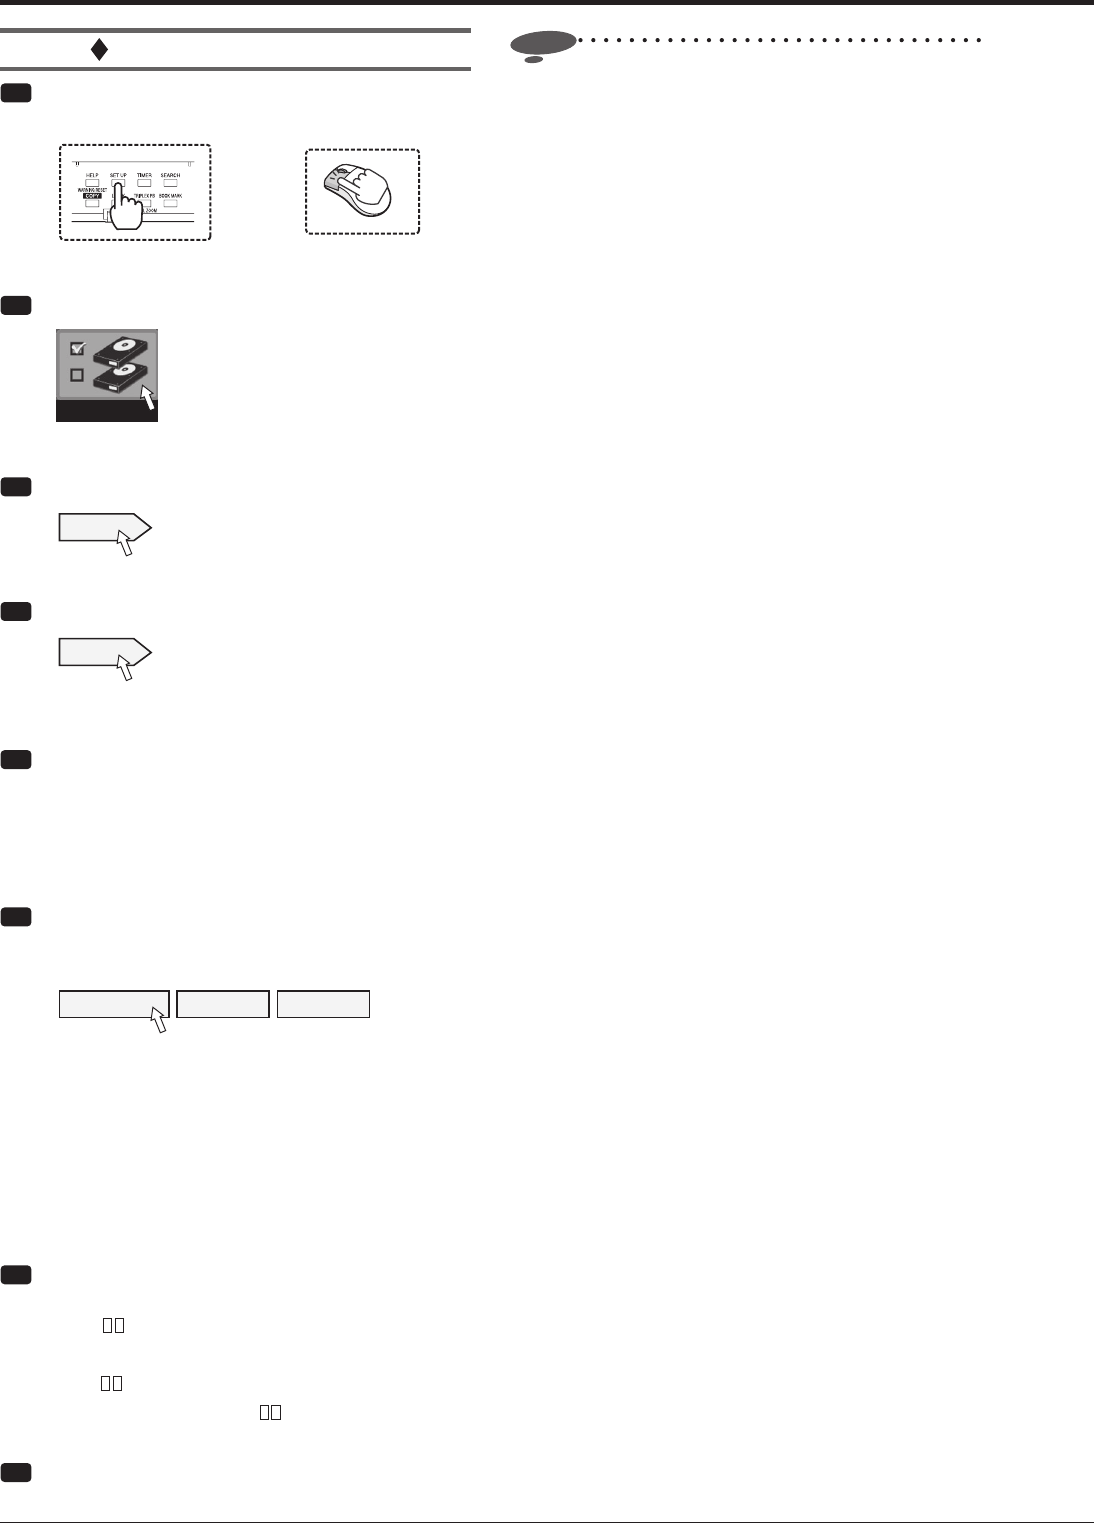
1 Press the SET UP button on the front panel of
the recorder or left-click the mouse.
or
•
<Main menu> is displayed.
Step
2 Select [HDD registration].
HDD registration
•
<HDD registration> screen is displayed.
Step
3 Select [Setting] next to [HDD registration].
Setting
•
<HDD registration> screen is displayed.
Step
4 Select [Setting] next to [Register external HDD].
Setting
•
<HDD registration External HDD> screen is
displayed.
Step
5 Check that the HDDs connected to the SERIAL
BUS port of the recorder are listed on the <HDD
registration External HDD> screen.
•
When you select [Check], the ACCESS indicator of
the selected HDD illuminates and you can check the
selected HDD.
Step
6 Select whether or not to register the HDDs
connected to the SERIAL BUS port as Main,
Copy, or Archive device.
Copy SBC01 Set
[Main]: HDD is registered as Main device.
[Copy]: HDD is registered as Copy device.
[Archive]: HDD is registered as Archive device.
[Not assigned]: HDD is not registered as Main,
Copy or Archive device.
•
Every time you press the button, the button's function
changes among [Main], [Copy], [Archive], and [Not
assigned] in order.
Step
7 Set the order of recording on the registered
HDDs connected to the SERIAL BUS port.
•
[SBM ] .............Represents Main device.
[SBC01] ..............Represents Copy device.
[SBB
] .............Represents Archive device.
Set the number shown in
from 01 to 16. Data are
saved in HDDs in the order of numbers you set.
Step
8 Select [Set] to determine your settings.
Notice
• Data to be archived are transferred in 2 MB units. At
the end of archive, the data of the latest recording
point may not be completely transferred yet. Pay
attention to this matter when you change the archive
source device.
• The registered information may not be displayed
correctly during recording or playback.
Registering the devices (continued)


