


34
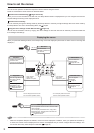
Making the minimum required settings
automatically
<Setup Wizard>
When you turn on the power of the recorder for the first
time, the Setup Wizard screen is displayed for making the
minimum required settings.
Tips
• The Setup Wizard screen is automatically displayed
only when you first turn on the power. It is not
displayed from the next turn-on.
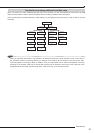
Select whether or not to use the Setup Wizard.
Turn on the power for the first time.
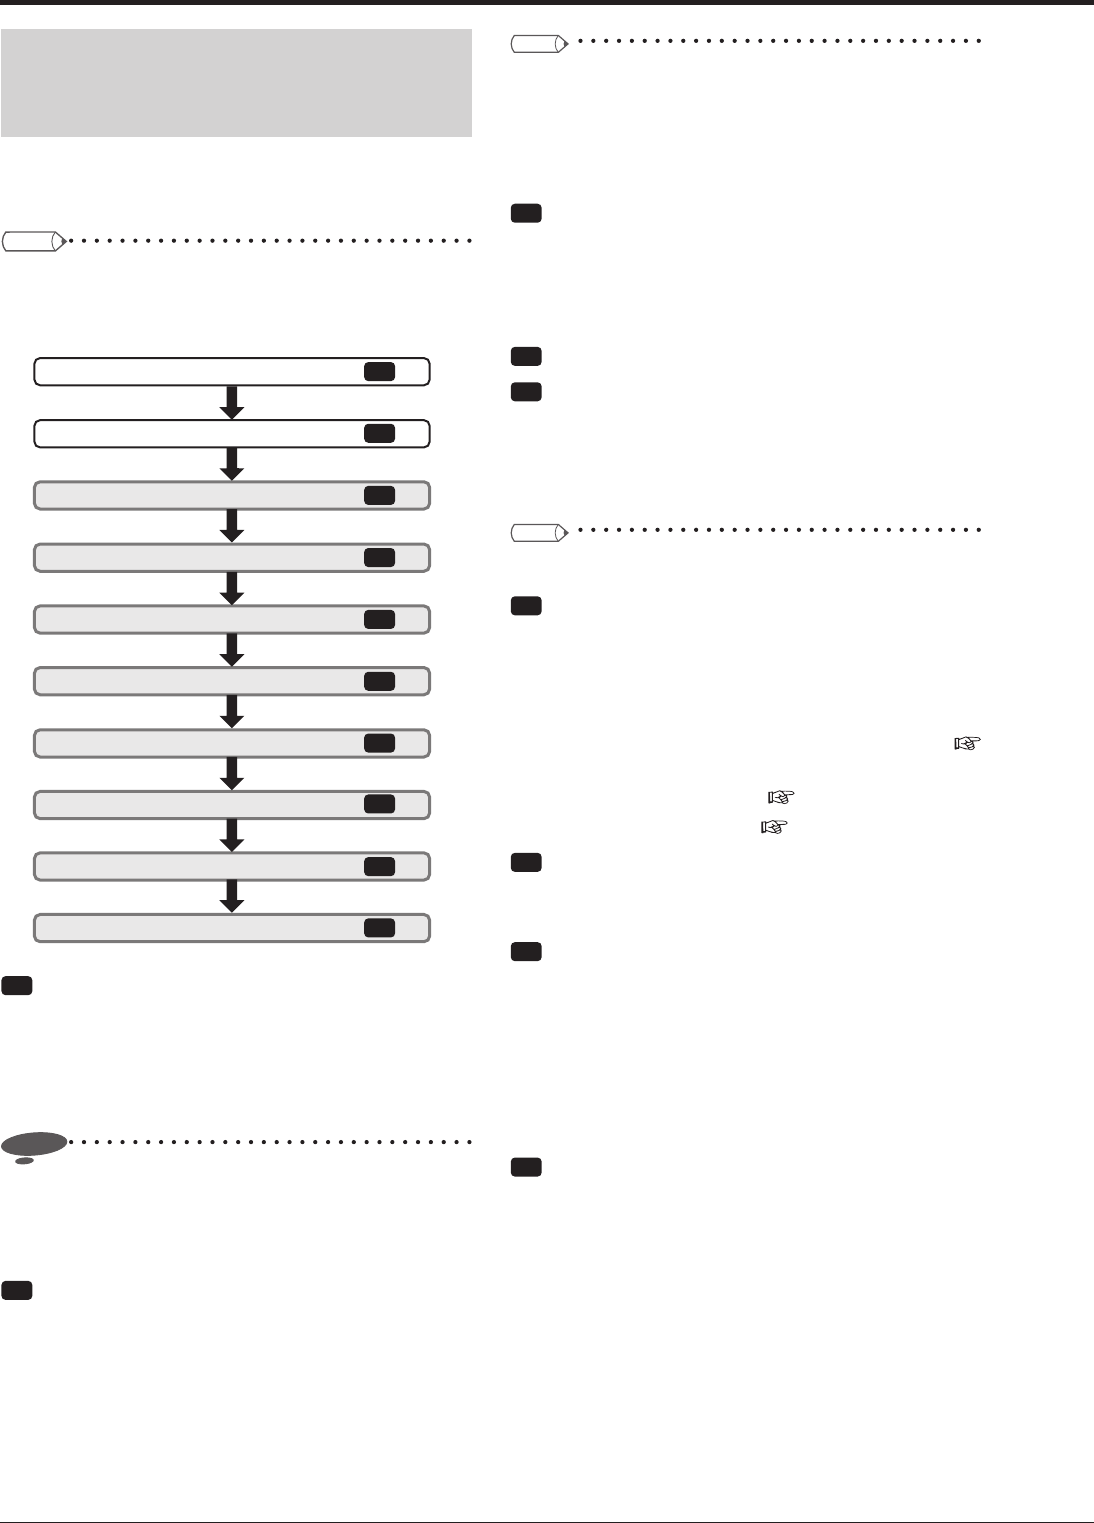
Language selection
Time/date adjust
HDD configuration
Recording setup
Step 1 Camera check
Step 2 Define the normal recording cycle
Step 3 Confirm the recording settings
Finish
5
6
7
8
9
10
3
1
2
4
Step
Step
Step
Step
Step
Step
Step
Step
Step
Step
Step
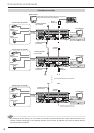
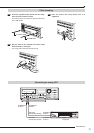
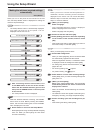
1 After connecting cameras and monitors, turn
on the MAIN switch on the rear of the recorder.
Check that the ACCESS indicator goes out and
then press the POWER button on the front panel
of the recorder.
•
The <Setup Wizard> screen is displayed.
Notice
• While the ACCESS indicator is blinking, the POWER
button does not work. Before pressing the POWER
button, wait until the indicator goes out and "POWER
OFF" is displayed on the LCD.
Step
2 Select whether or not to use the Setup Wizard.
•
Select [Next] when using the Setup Wizard and [Quit]
when not. When you select [Quit], the clock starts
from the initial setting.
Tips
• When you want to cancel the Setup Wizard in
midstream, cancel it according to the instructions
displayed on the screen. You can cancel the Setup
Wizard in step 6. In this case, the settings you made in
steps 1 to 5 remain effective.
Step
3 (When you select [Next])
Select a language.
•
The <Language selection> screen is displayed.
Select a language used for the menus.
•
Select a language and then [Next].
Step
4
-1
Set the current time and select [Set].
Step
4
-2
Select [Setting] and set the time zone depending
on the location of the recorder, and then select
[Set].
•
After fi nishing the setting, select [Return] to return to
the screen of step 4-1 and then [Next].
Tips
• When you select [Set], the clock starts.
Step
5 Set the HDD confi guration.
•
When you select [Register], all the connected HDDs
are automatically registered as Main device.
When the registration fi nishes, a confi rmation screen
is displayed. Check the settings and select [Next].
•
For setting Copy device and Archive device, see
pages 36 to 39.
•
For mirroring setting, see page 37.
•
For partition setting, see page 41.
Step
6 Select whether or not to make recording settings.
•
Select [Next] when you make recording settings and
[Quit] when not.
Step
7 (When you select [Next])
When you select [Execute], the recorder
automatically detects the active cameras and
displays their numbers.
•
When the recorder fi nishes detecting the cameras,
select [Next].
•
The detection results are applied to Recording A-D,
emergency recording, and single sequential display.
Step
8 Set the recording cycle and recording hours per
day.
•
After fi nishing the setting, select [Next].
Using the Setup Wizard