95
Communication
Connection mode setup
You can change the SSL settings.
Step
1 Display the [Main Menu] screen according to
steps 1 to 3 of "Login" on
page 86.
Step
2 Select [Confi guration Menu].
•
The [Confi guration Menu] screen appears.
Step
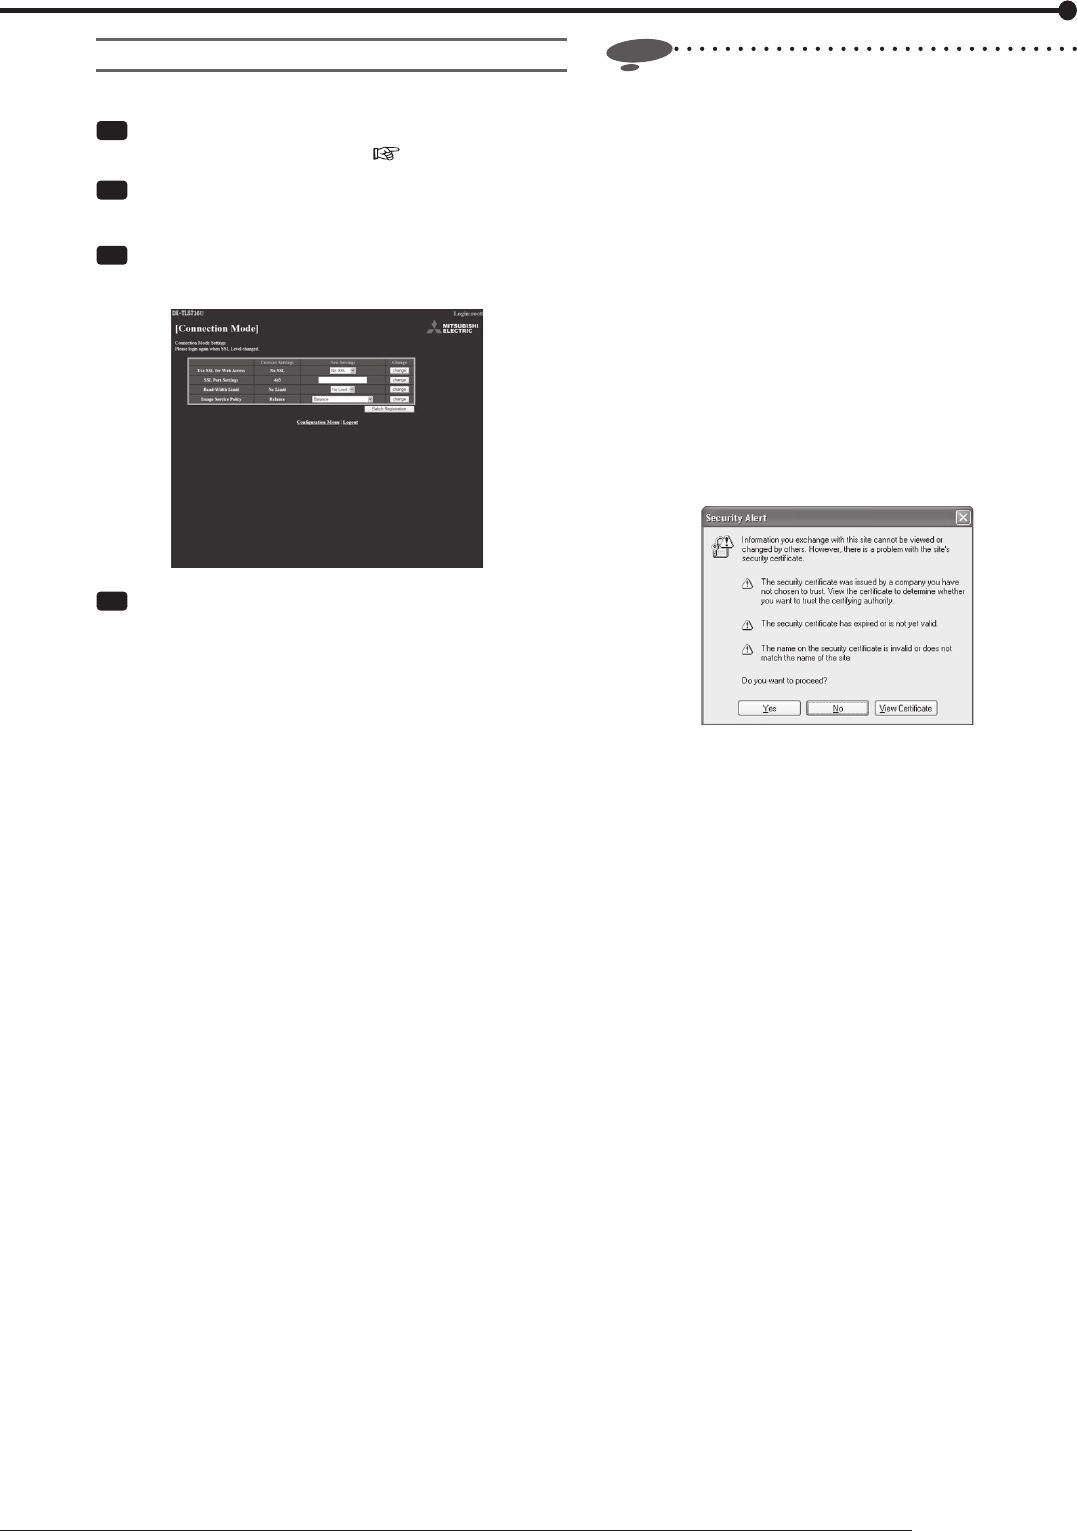
3 Select [Connection Mode Settings].
•
The [Connection Mode] screen appears.
Step
4 Enter a new value in [New Settings] of the item
you want to change and select [change].
•
When you select [Batch Registration], all the settings
shown on the screen are determined.
•
[Use SSL for Web Access]: You can select whether
or not to use Secure Socket Layer (SSL).
[No SSL]: SSL is not used.
[Use SSL]: SSL is used.
•
[SSL Port Settings]: You can set the number of the
port used for SSL communication.
•
[Band-Width Limit]: You can control the
communication bandwidth.
•
[Image Service Policy]: You can select the first
priority in image transmission.
[Priority to Number of Frames]: Image refresh rate is
increased.
[Priority to Image Quality]: High quality images are
transmitted.
[Balance]: Images are transmitted, keeping the
balance between the image refresh rate and the
image quality.
Notice
• When the communication fails, set the recorder's
communication band according to the communication
band used.
• [Image Service Policy] becomes enable only when the
operation load caused by recording is light. Use this
option when the total recording rate of the recorder
settings is set to three-quarters or less of the maximum
value.
For example, when the picture size is [4CIF], the
maximum recording rate is 120 FPS. In this case, set
each recording rate so that the total rate is 90 FPS or
less.
• When you select [Use SSL], connection is shut down.
Make a connection after a few minutes. When SSL is
enabled, the following message appears. Select [Yes]
and continue the setting.


