5-3SectionL: Data Link
54
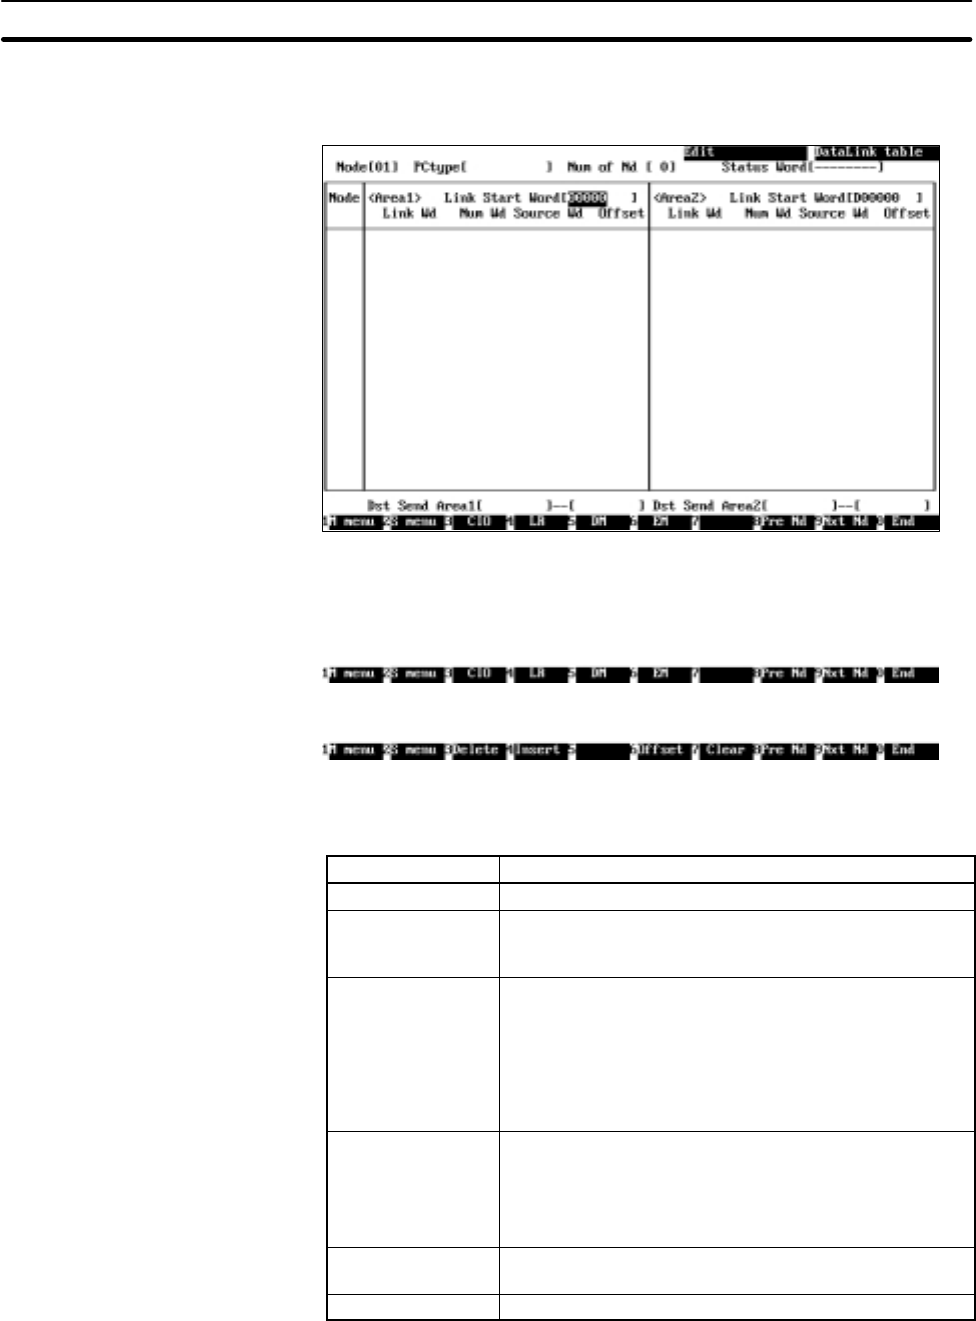
2. Select the node for which a data link table is to be created or edited. Use the
Cursor Keys to move the cursor to the node, then press the Enter Key. The
Data Link Table Screen for the specified node will be displayed.
The functions of the Function Keys differ depending on whether the cursor is
in a word address input field or in other input fields.
• The following Function Keys appear when the cursor is in a word address
input field
• The following Function Keys appear when the cursor is in other input fields
The screen can be switched to the Data Link Table Screen for a specified
node by moving the cursor to the “Node” field on the upper left of the screen
and entering the node address.
Key Function
F3 (Delete) Deletes the line on which the cursor is positioned.
F4 (Insert) Inserts one line before the line on which the cursor is
positioned. The newly inserted line is for a node with the
next smallest unspecified address.
F6 (Offset) Switches between the offset display mode and no offset
display mode. If an attempt is made to switch the mode
when offset data has already been entered, a
confirmation message will be displayed.
Press “Y” and then the Enter Key to set all the offsets to 0
and removes the offset displays. To cancel the operation,
press “N” and then the Enter Key.
F7 (Clear) Clears all the data link tables that are currently displayed.
When the F7 (Clear) Key is pressed, a confirmation
message will be displayed.
To clear the tables, press “Y” and then the Enter Key. To
cancel the operation, press “N” and then the Enter Key.
F8 (Pre Nd) Displays the Data Link Table Screen for the previous
node.
F9 (Nxt Nd) Displays the Data Link Table Screen for the next node.
3. Use the Cursor Keys to move the cursor to each field in the data link table
and enter appropriate data.
In the Data Link Table Screens, up to 16 lines can be displayed simulta-
neously. When setting 17 lines or more, the screen will automatically scroll.
