


Additional information
16
155
En
HDMI
If the unit does not operate normally due to external effects such as static electricity, disconnect the power plug from the
outlet and insert again to return to normal operating conditions.
If the picture freezes and the front panel and remote control buttons stop working
• Press
(Stop) then try restarting playback.
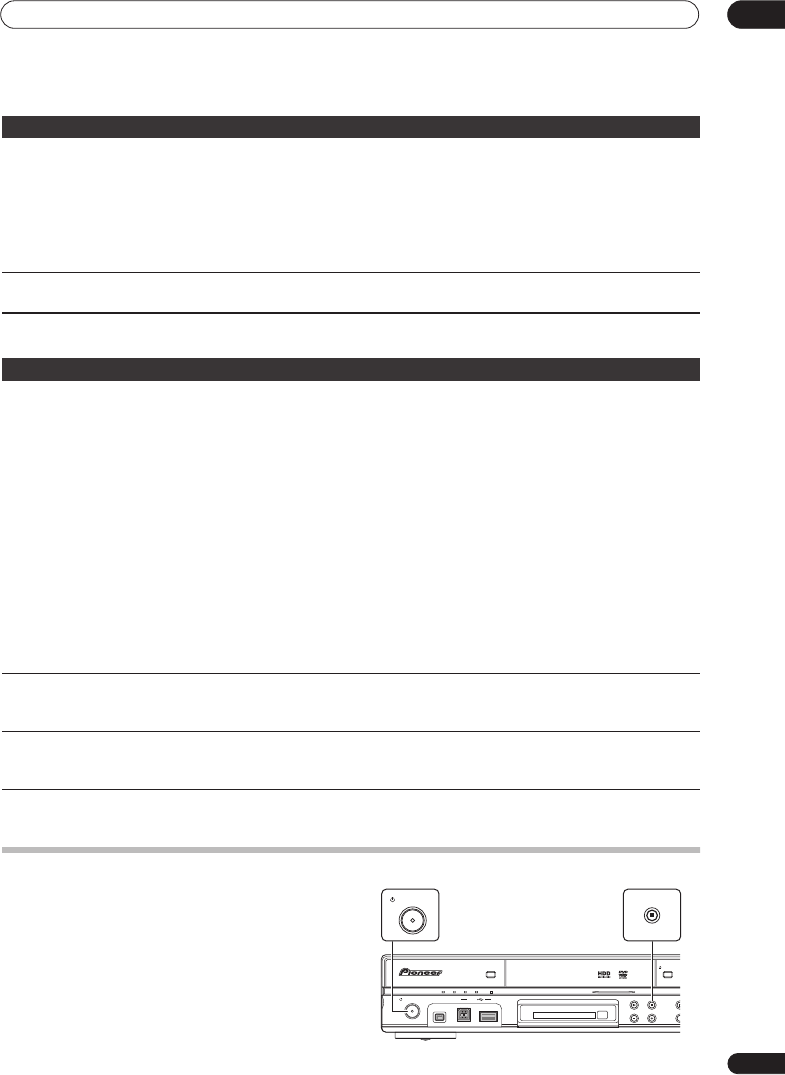
• Press the front panel
STANDBY/ON
button to
switch the power off, then switch back on and restart
playback. If the power fails to switch off, press and
hold
STANDBY/ON
for five seconds until the
power switches off.
The device connected to
the USB port is not
recognized
• Check that the device is compatible with this recorder (page 55).
• Use a USB cable less than 5 m in length.
• Check that the USB cable is inserted fully.
• Check that the USB device is powered on.
• Try switching this recorder into standby mode and then back on.
• Try using the
Restart USB Device
option from the Initial Setup menu (page 145).
• If several USB devices (camera, USB memory, card reader, etc.) are connected at the same
time, it’s possible that only the first device connected to this recorder will be recognized.
File names are not
displayed properly.
• Files names that do not conform to the ISO8859-1 standard may not display correctly on
this unit.
Problem
Remedy
Problem Remedy
The connected HDMI or
DVI device does not
display any picture (and
the front panel HDMI
indicator does not light)
• Try disconnecting then reconnecting the HDMI cable (while the power of both components
is on).
• Try switching the power of the HDMI/DVI device off then back on.
• Try switching off the HDMI/DVI device and this recorder. Next, switch on the HDMI/DVI
device and leave it for around 30 seconds, then switch on this recorder.
• When you connect an HDMI-compatible device make sure of the following:
– The connected device’s video input is set correctly for this recorder.
– The cable you’re using is fully HDMI-compliant. Using a non-standard cable may result in
no picture being output.
– Don’t use several HDMI cables connected together. Use a single cable to connect devices
together.
•
When you connect a DVI-compatible device make sure of the following:
– The connected device’s video input is set correctly for this recorder.
– The DVI terminal on the connected device is HDCP-compatible.
– The connected device is compatible with NTSC (720 x 480i/p, 1280 x 720p, 1920 x 1080i/p)
and PAL (720 x 576i/p, 1280 x 720p, 1920 x 1080i/p) video input.
• If the recorder’s internal HDD is damaged or broken, there will be no HDMI output.
• Not all HDCP-compatible DVI devices will work with this recorder.
No video from the HDMI
output
• If you choose a setting that is incompatible with your TV you may not be able to see any picture at
all. In this case, press
OPEN/CLOSE
while holding down the
(Stop) button on the front panel to
switch the setting (this also switches
Component Video Out
on page 139 to the default setting).
There’s no sound from the
connected HDMI or DVI
device
• There is no sound when using a DVI terminal.
• Some HDMI-compatible devices do not output sound (check with the manual that came
with the connected device).
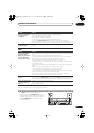
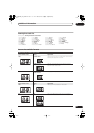
HDD/DVD
DivX
COPY
OPEN/CLOSE
STANDBY/ON
USB
DV IN
CH
INPUT
SELECT
STOP REC
COMMON INTERFACE
PLTVD.TVA.TV
STANDBY/ON
DVRLX60D_WV_EN.book 155ページ 2007年4月24日 火曜日 午後7時58分