Surround sound settings
08
32
En
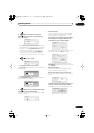
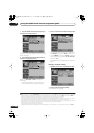
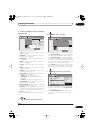
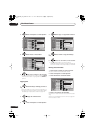
Dynamic Range Control
1
When watching Dolby Digital or DTS material at low
volume, low level sounds — including some of the dialog
— can be difficult to hear properly. Using one of the
Dynamic Range Control (DRC) settings can help by
bringing up the low level sounds, while controlling high
level peaks.
Dynamic Range Control works only with Dolby Digital
soundtracks and some DTS soundtracks.
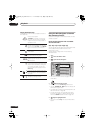
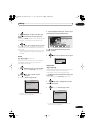
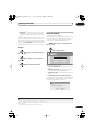
1 Press SETUP.
2 Use the
/
buttons to select DRC, then press
ENTER.
3 Use
/
to select a setting.
Select one of the following:
•
DRC OFF
(default)
– No dynamic range adjustment
(use when listening at higher volume)
•
DRC MID
– Mid setting
•
DRC HIGH
– Dynamic range is reduced (loud sounds
are reduced in volume while quieter sounds are
increased)
4 Press ENTER to exit.
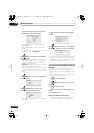
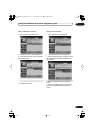
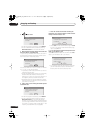
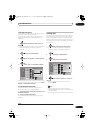
Dual mono setting
2
Specifies how dual mono encoded Dolby Digital or DTS
soundtracks should be played. You can also use this
setting to switch the audio channel on DVD-RW discs
recorded with bilingual audio.
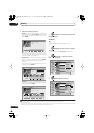
1 Press SETUP.
2 Use the
/
buttons to select DUALMONO,
then press ENTER.
3 Use
/
to select a setting.
Select one of the following:
•
CH1 MONO
(default)
– Only channel 1 is played
•
CH2 MONO
– Only channel 2 is played
•
CH1/CH2
– Both channels are played through the
front speakers
4 Press ENTER to exit.
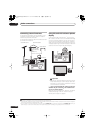
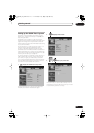
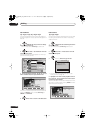
Adjusting the channel levels using
the test tone
If you prefer, you can set the channel levels using a test
tone as a reference, rather than playing a source (see
Channel level setting
on page 31). A test tone is played
through each speaker in turn, allowing you to adjust the
level as it plays.
Note that the channel level settings for stereo sources
are independent of the settings for surround sound
sources.
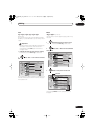
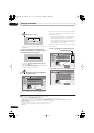
1 Press SURROUND to select the Auto listening
mode.
• If you want to set the channel levels for stereo (two
channel) playback, select the
STEREO
listening
mode.
2 Press TEST TONE.
The test tone is output from each speaker in turn.
3 While a test tone is playing, use the
/
buttons
to adjust that channel level.
The aim is to adjust the levels so that you hear the test
tone at the same volume from each speaker. You can
adjust the level of each channel by ±10 dB.
• You can adjust the overall volume of test tone output
using the
VOLUME
+/–
buttons (this does not affect
the channel level settings).
• If the system is in Stereo or Virtual mode, you will not
be able to adjust the center or surround channels.
• Because of the ultra low frequencies the subwoofer
produces, it may sound quieter than it really is. We
suggest adjusting the subwoofer level while listening
to a source. See the method described in
Channel
level setting
on page 31.
4 When you’re done, press ENTER to exit test tone
setup.
• If you use the Auto MCACC feature again, it will
overwrite the settings you have made here.
Note
1 This setting is effective for the speaker output. A similar adjustment feature is available on the HDD/DVD recorder — see
Audio DRC
on
page 141.
2 This setting is effective for the speaker output. A similar adjustment feature is available on the HDD/DVD recorder — see
Switching audio
channels
on page 99.
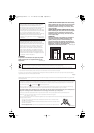
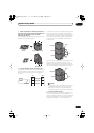
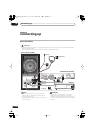
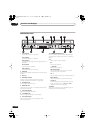
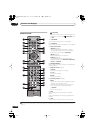
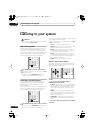
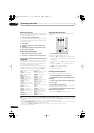
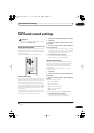
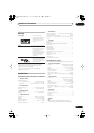
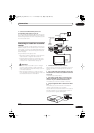
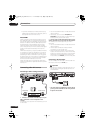
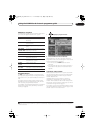
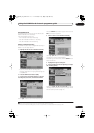
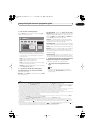
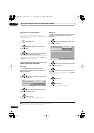
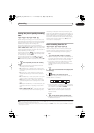
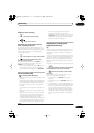
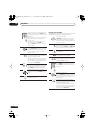
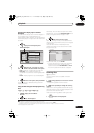
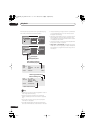
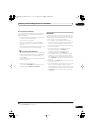
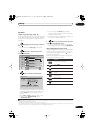
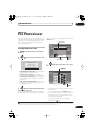
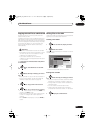
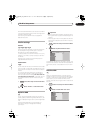
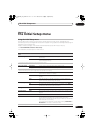
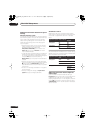
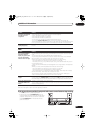
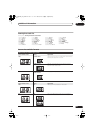
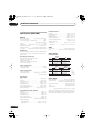
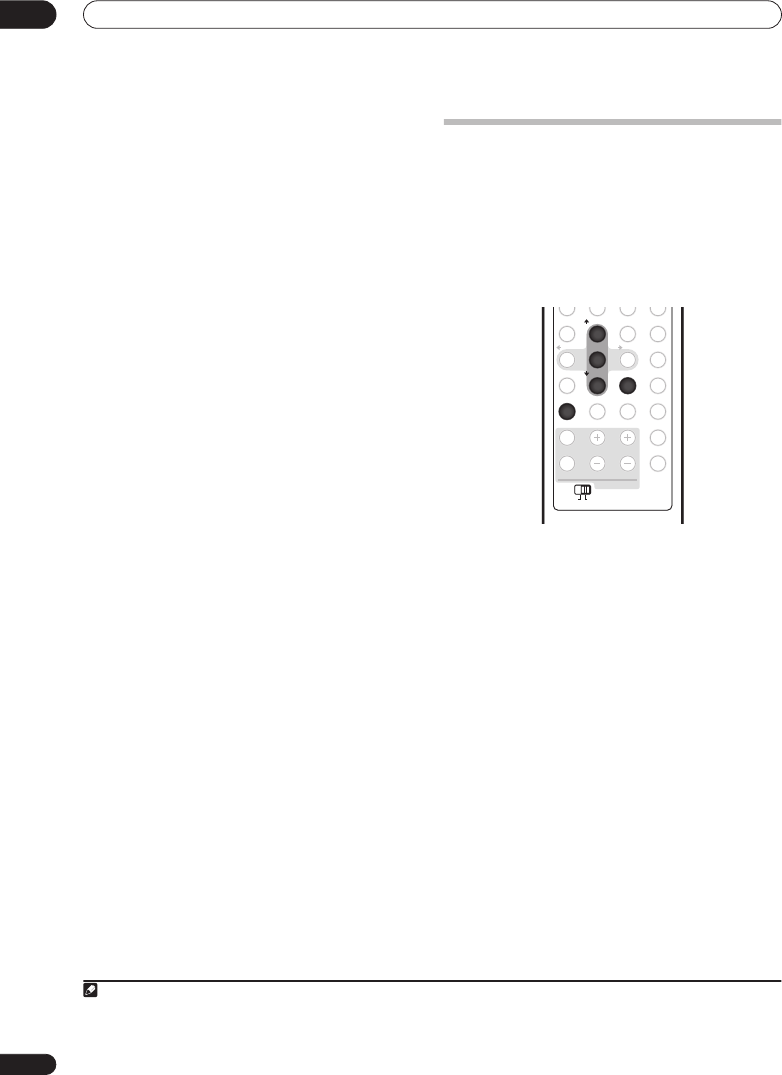
PAU SE LIVE TV
ONE TOUCH COPY
SETUP
F. S. SURR TEST TONE
SOUNDADVANCED
SURROUND
SLEEP CLEAR
VIDEO IN
MENU
JUKEBOX
RDS DISP
DISPLAY
VOLUMECHANNEL
SUBMAIN
TV CONTROL
TV/DVDTEXT
INPUT
ENTER
SR
+/
TUNE
+
/
TUNE
-
/
ST
+/
ST
-
123
456
78
0
9
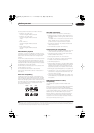
TEST TONE
SURROUND
SUBMAIN
ENTER
2
5
89
RCS-LX60D_WV.book 32 ページ 2007年4月24日 火曜日 午後7時57分